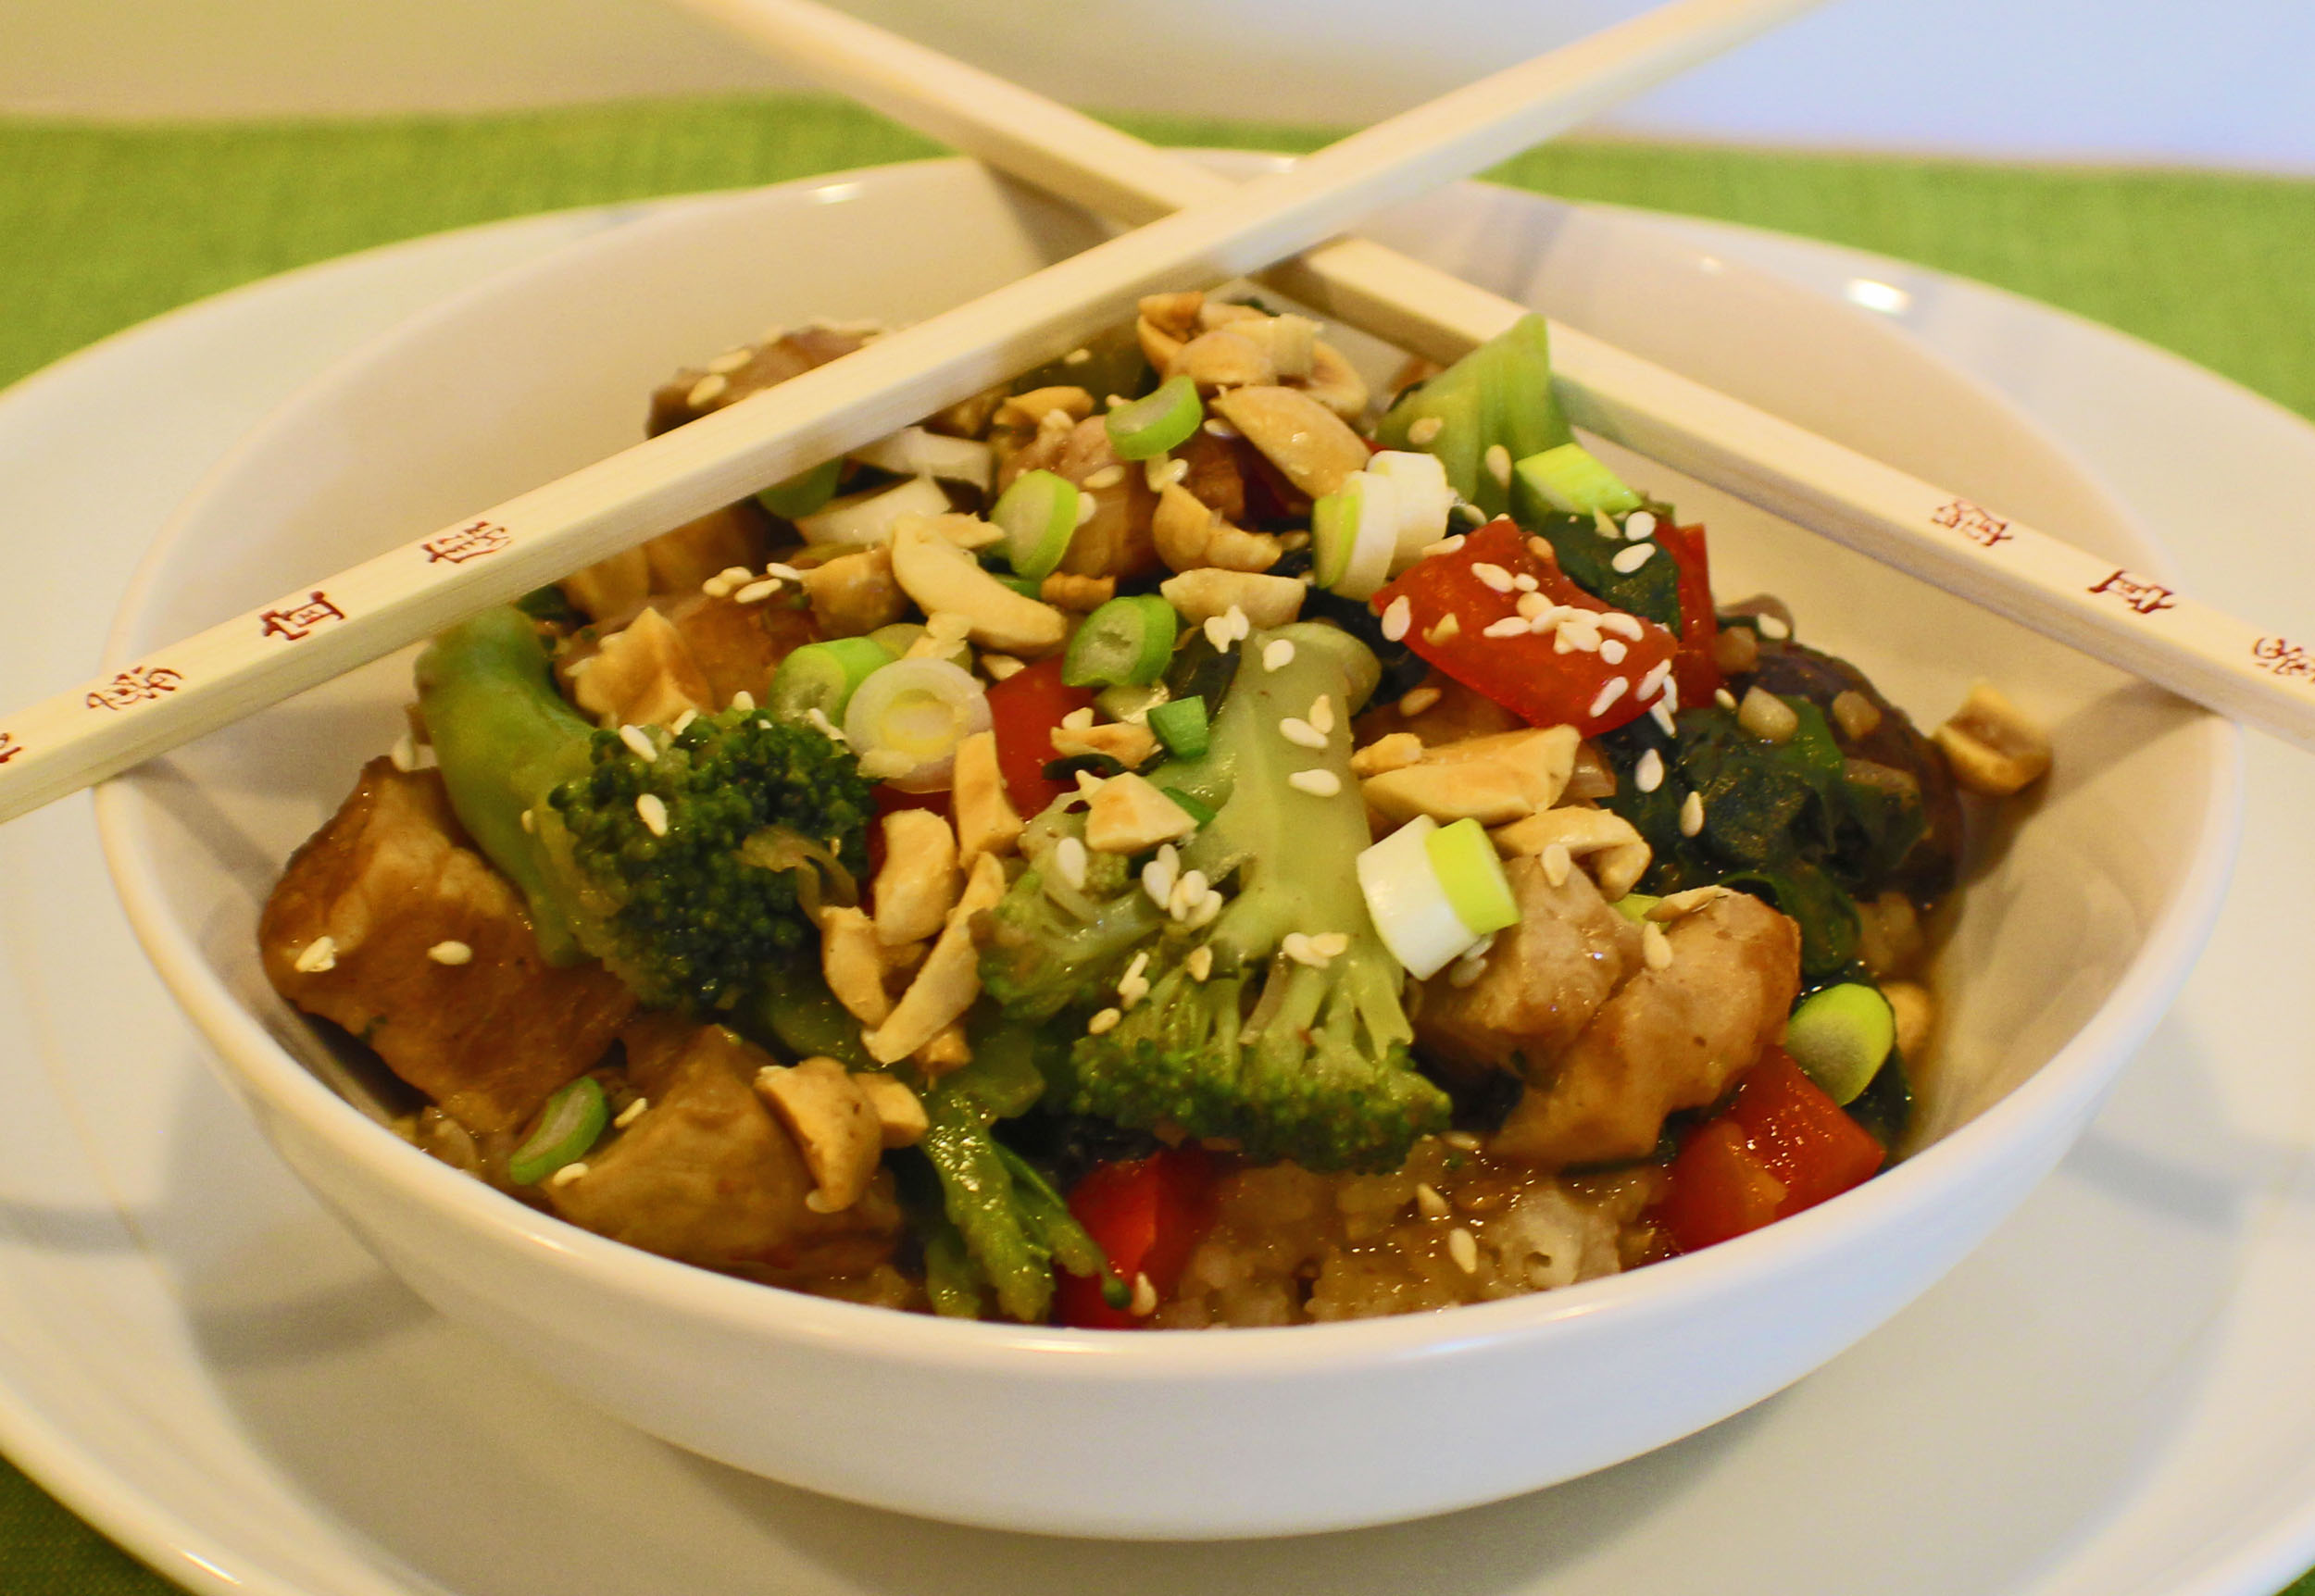
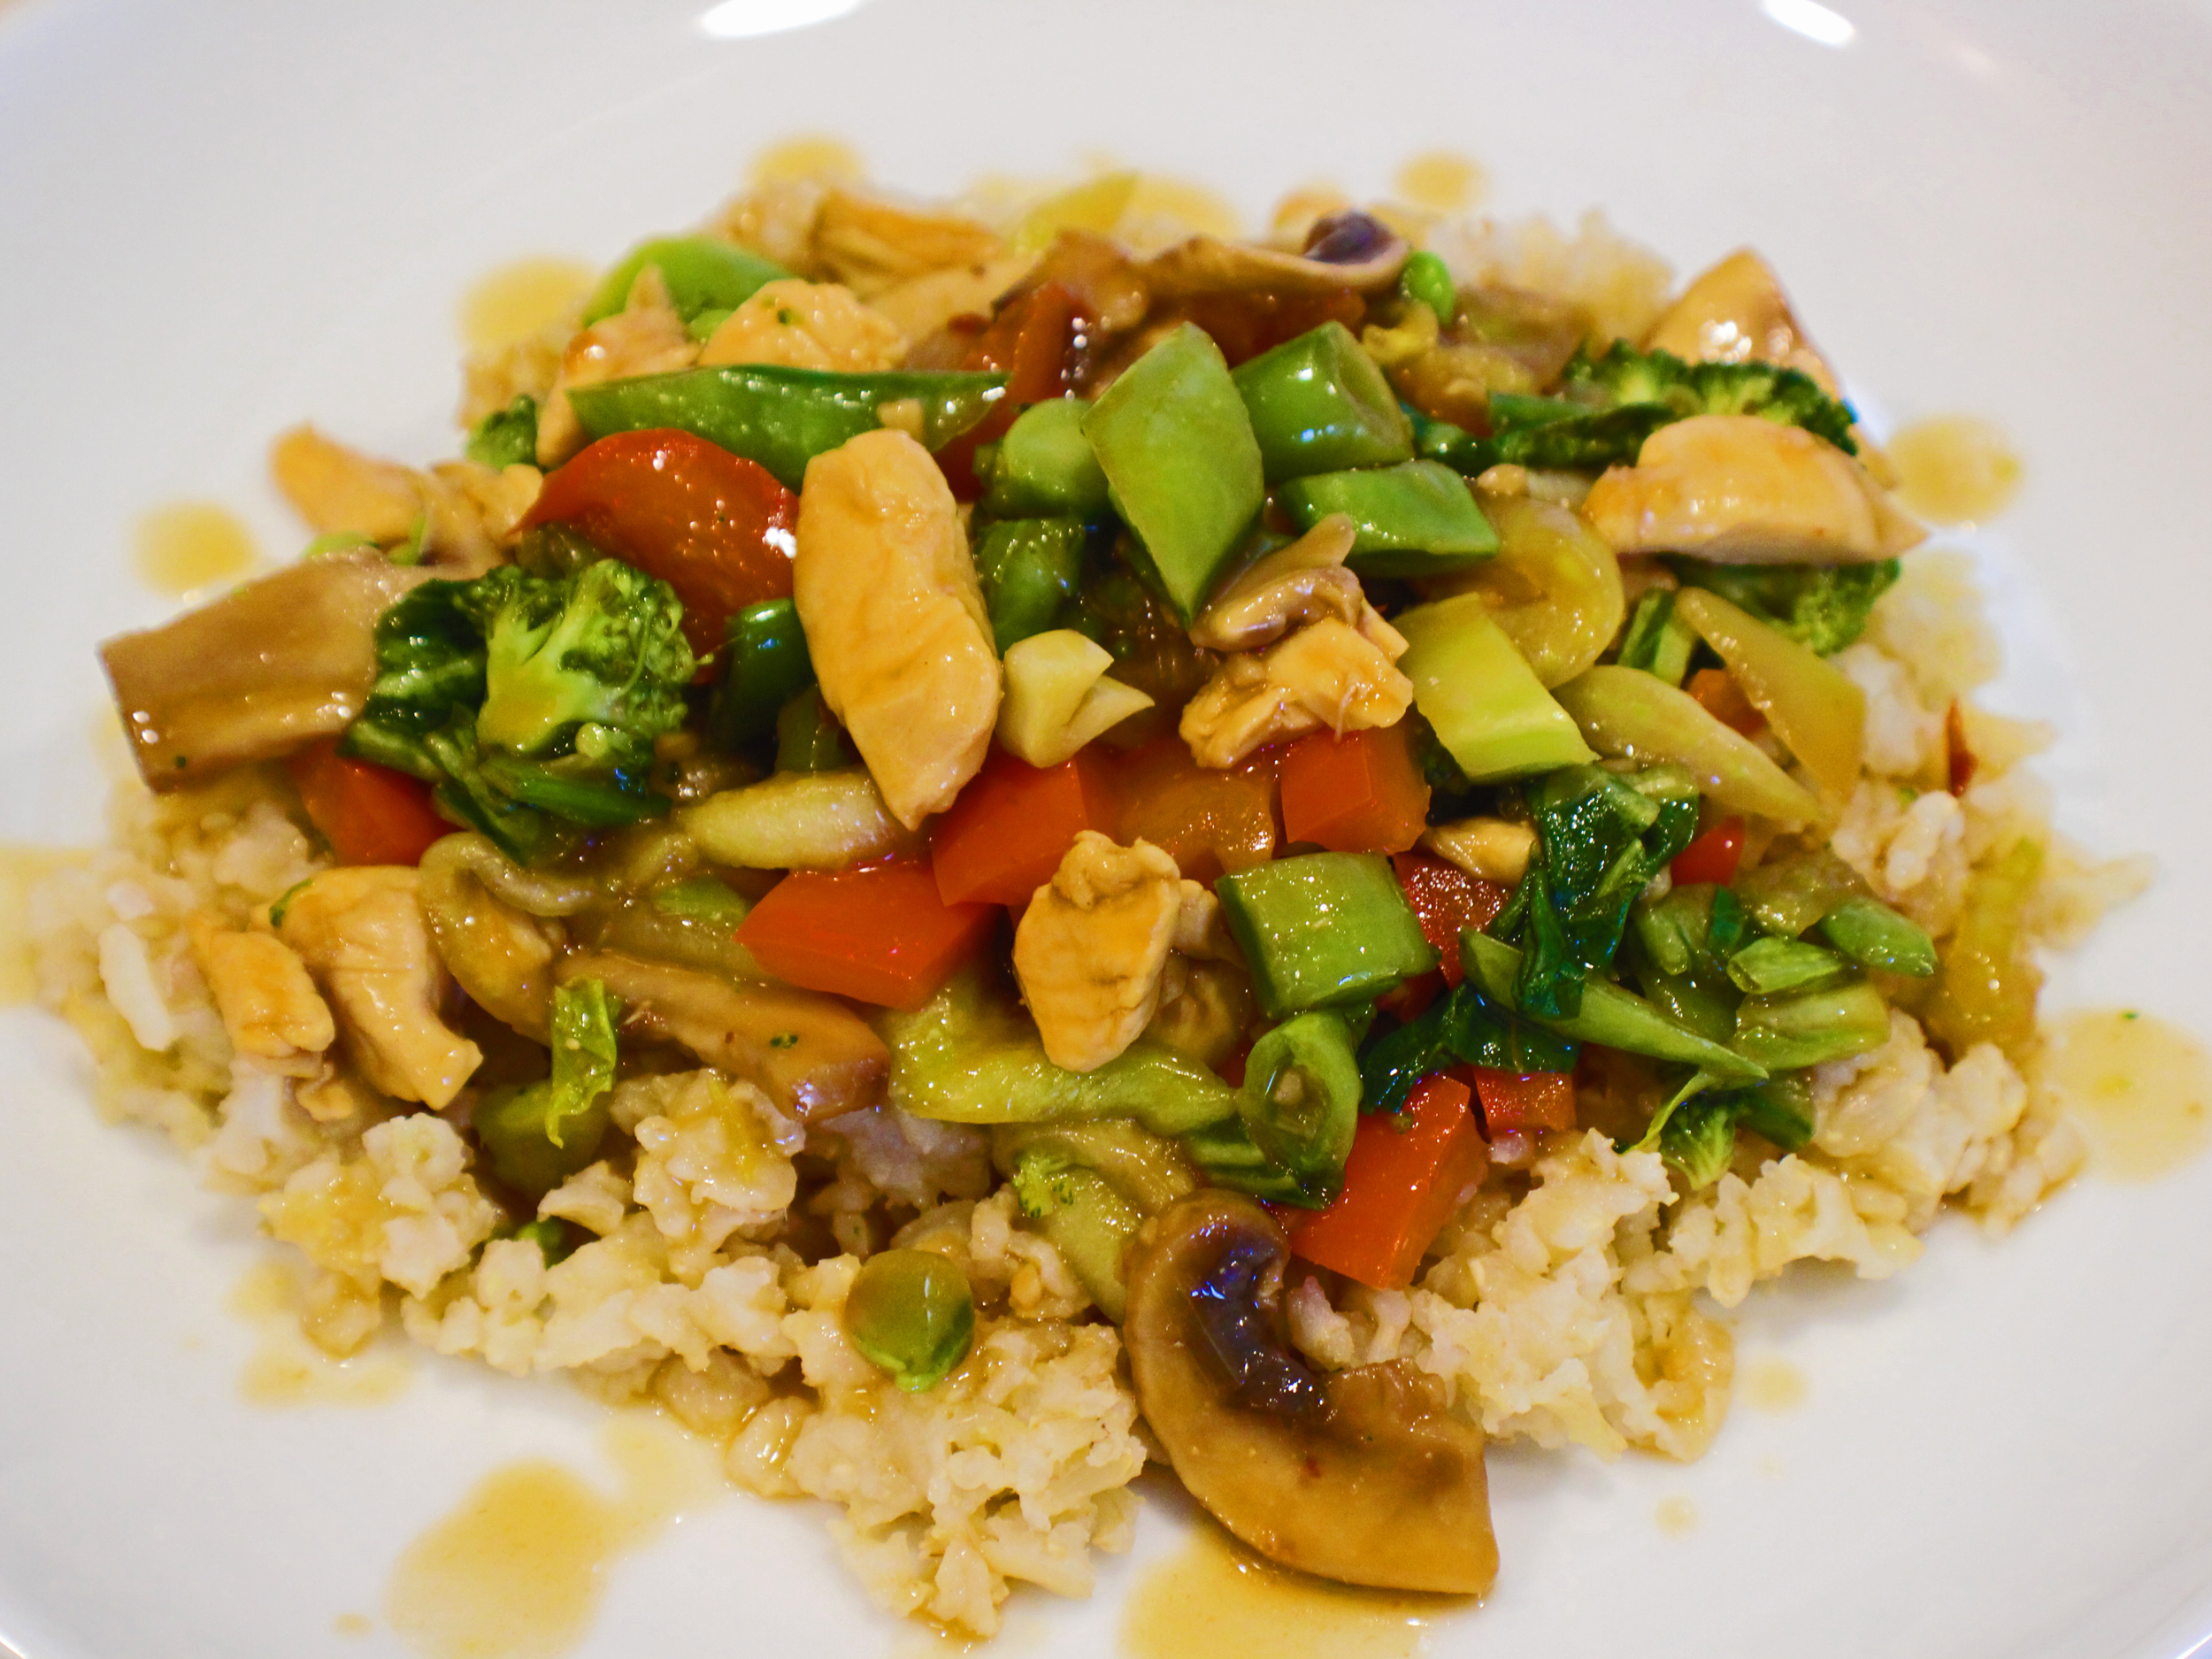


Orange Chicken
This quick chicken dinner has a touch of orange and a touch of heat, served on a bed of rice, makes for a wonderful lunch or dinner.
Servings: 6 cups
Calories: 103kcal
Equipment
- Cutting board and knife
- Large saute pan
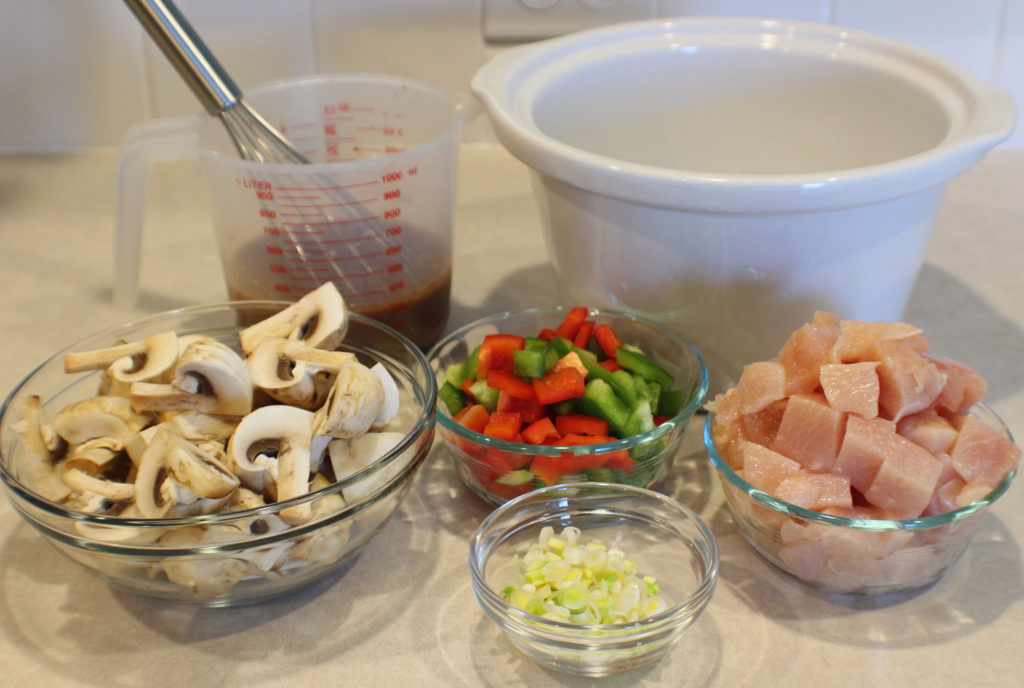
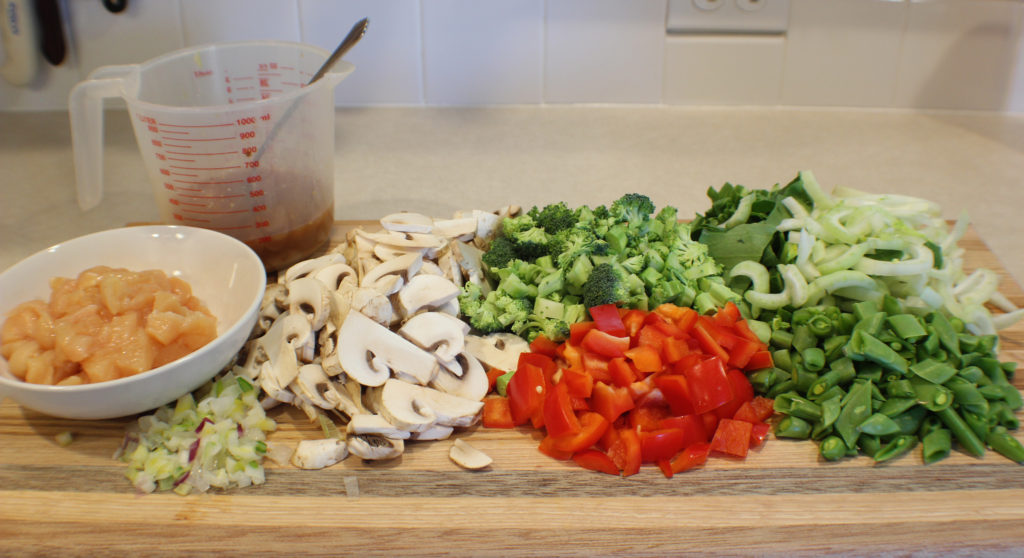
Ingredients
- 1 each chicken breast cubed
- 2 tbsp peanut oil
Sauce
- 1 each orange juice and zest
- ¼ cup soy sauce or wheat-free tamari
- 2 tbsp brown sugar
- 1/3 cup chicken stock
- 1 tbsp cornstarch
- 2 tsp garlic fresh, minced
- 2 tsp ginger fresh, minced
- 1 tsp sambal Oelek or 1 tsp red pepper flakes
Veggies
- 1 each red bell pepper chopped
- 2 cups broccoli florets
- 2 cups mushrooms sliced
- ½ each yellow onion
- 1 1/2 cups snap peas chopped
- 1 each baby bok choy shredded
Instructions
- Whisk cornstarch in chicken stock then whisk in orange juice, soy sauce, brown sugar, garlic, ginger, and sambal oelek. Set aside.
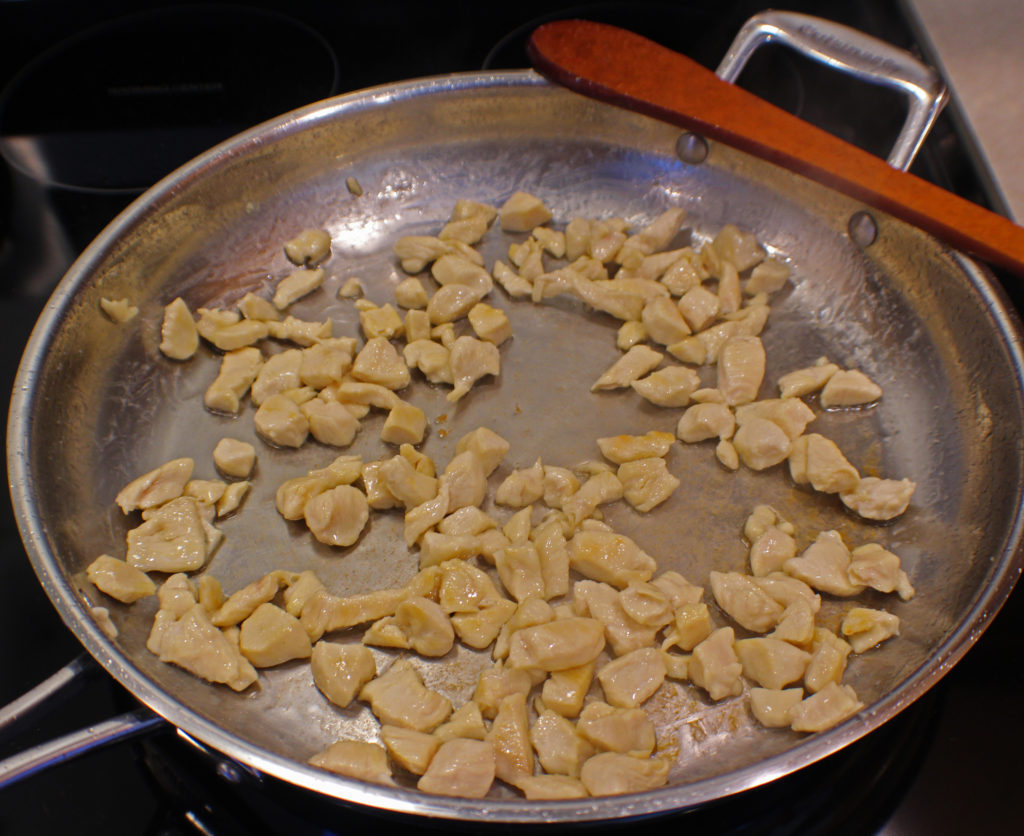
- On medium heat, sauté chicken in peanut oil until brown, about 5 minutes.
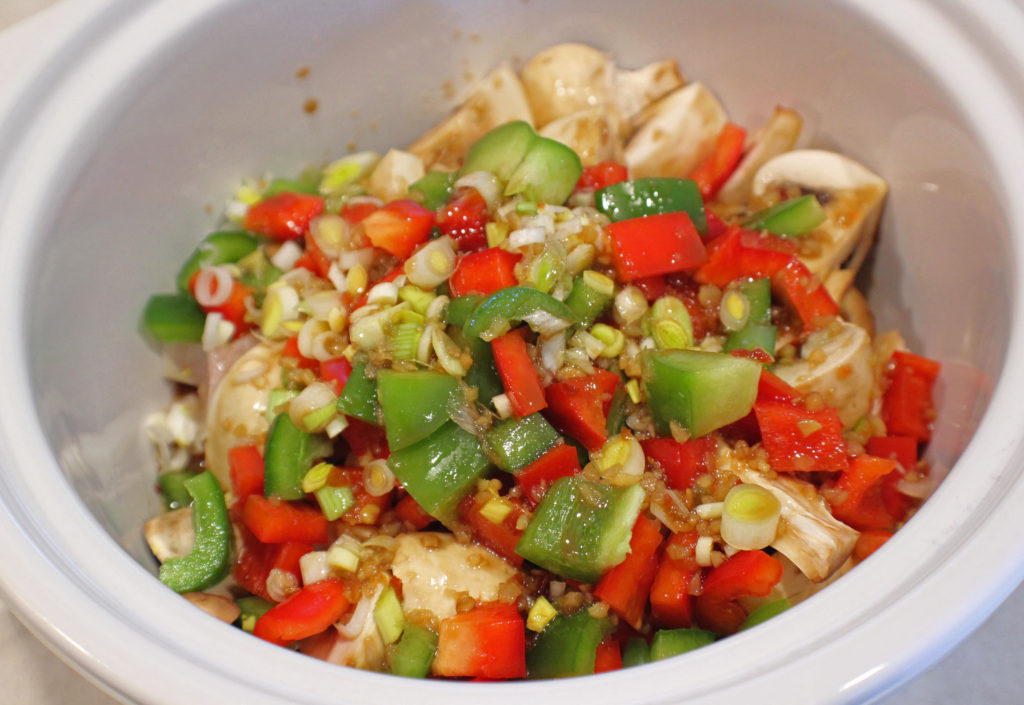
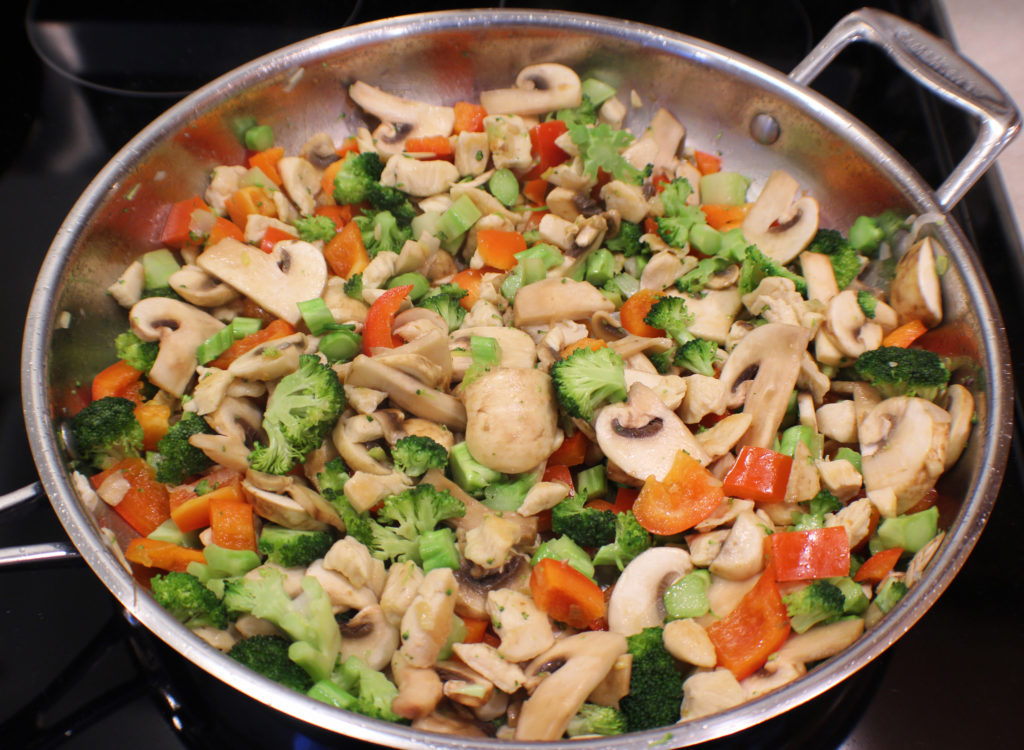
- Add bell pepper, broccoli, mushrooms, and onion to pan. Sauté until broccoli starts to soften but remains bright green, about 5 minutes.
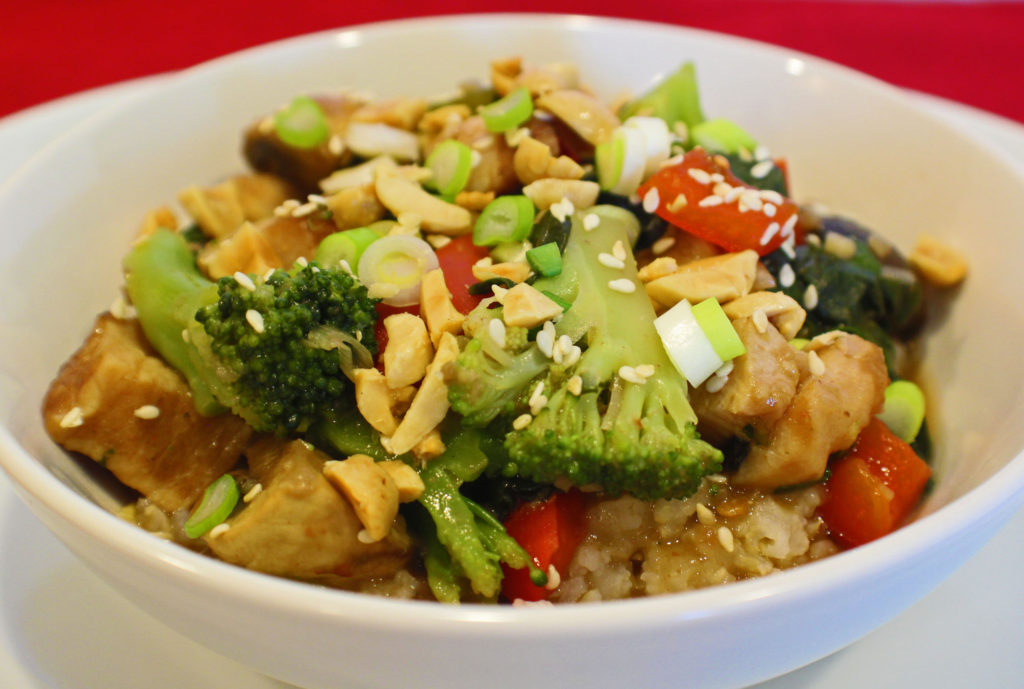
- Add sauce and bok choy. Simmer until sauce is thickened – about 5 minutes.
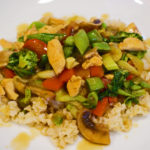
- Serve on cooked rice topped with some chopped, roasted peanuts.
- Enjoy!
Nutrition
Serving: 1cup | Calories: 103kcal | Carbohydrates: 12g | Protein: 4g | Fat: 5g | Saturated Fat: 1g | Cholesterol: 1mg | Sodium: 585mg | Potassium: 298mg | Fiber: 2g | Sugar: 7g | Vitamin A: 475IU | Vitamin C: 43mg | Calcium: 34mg | Iron: 1mg