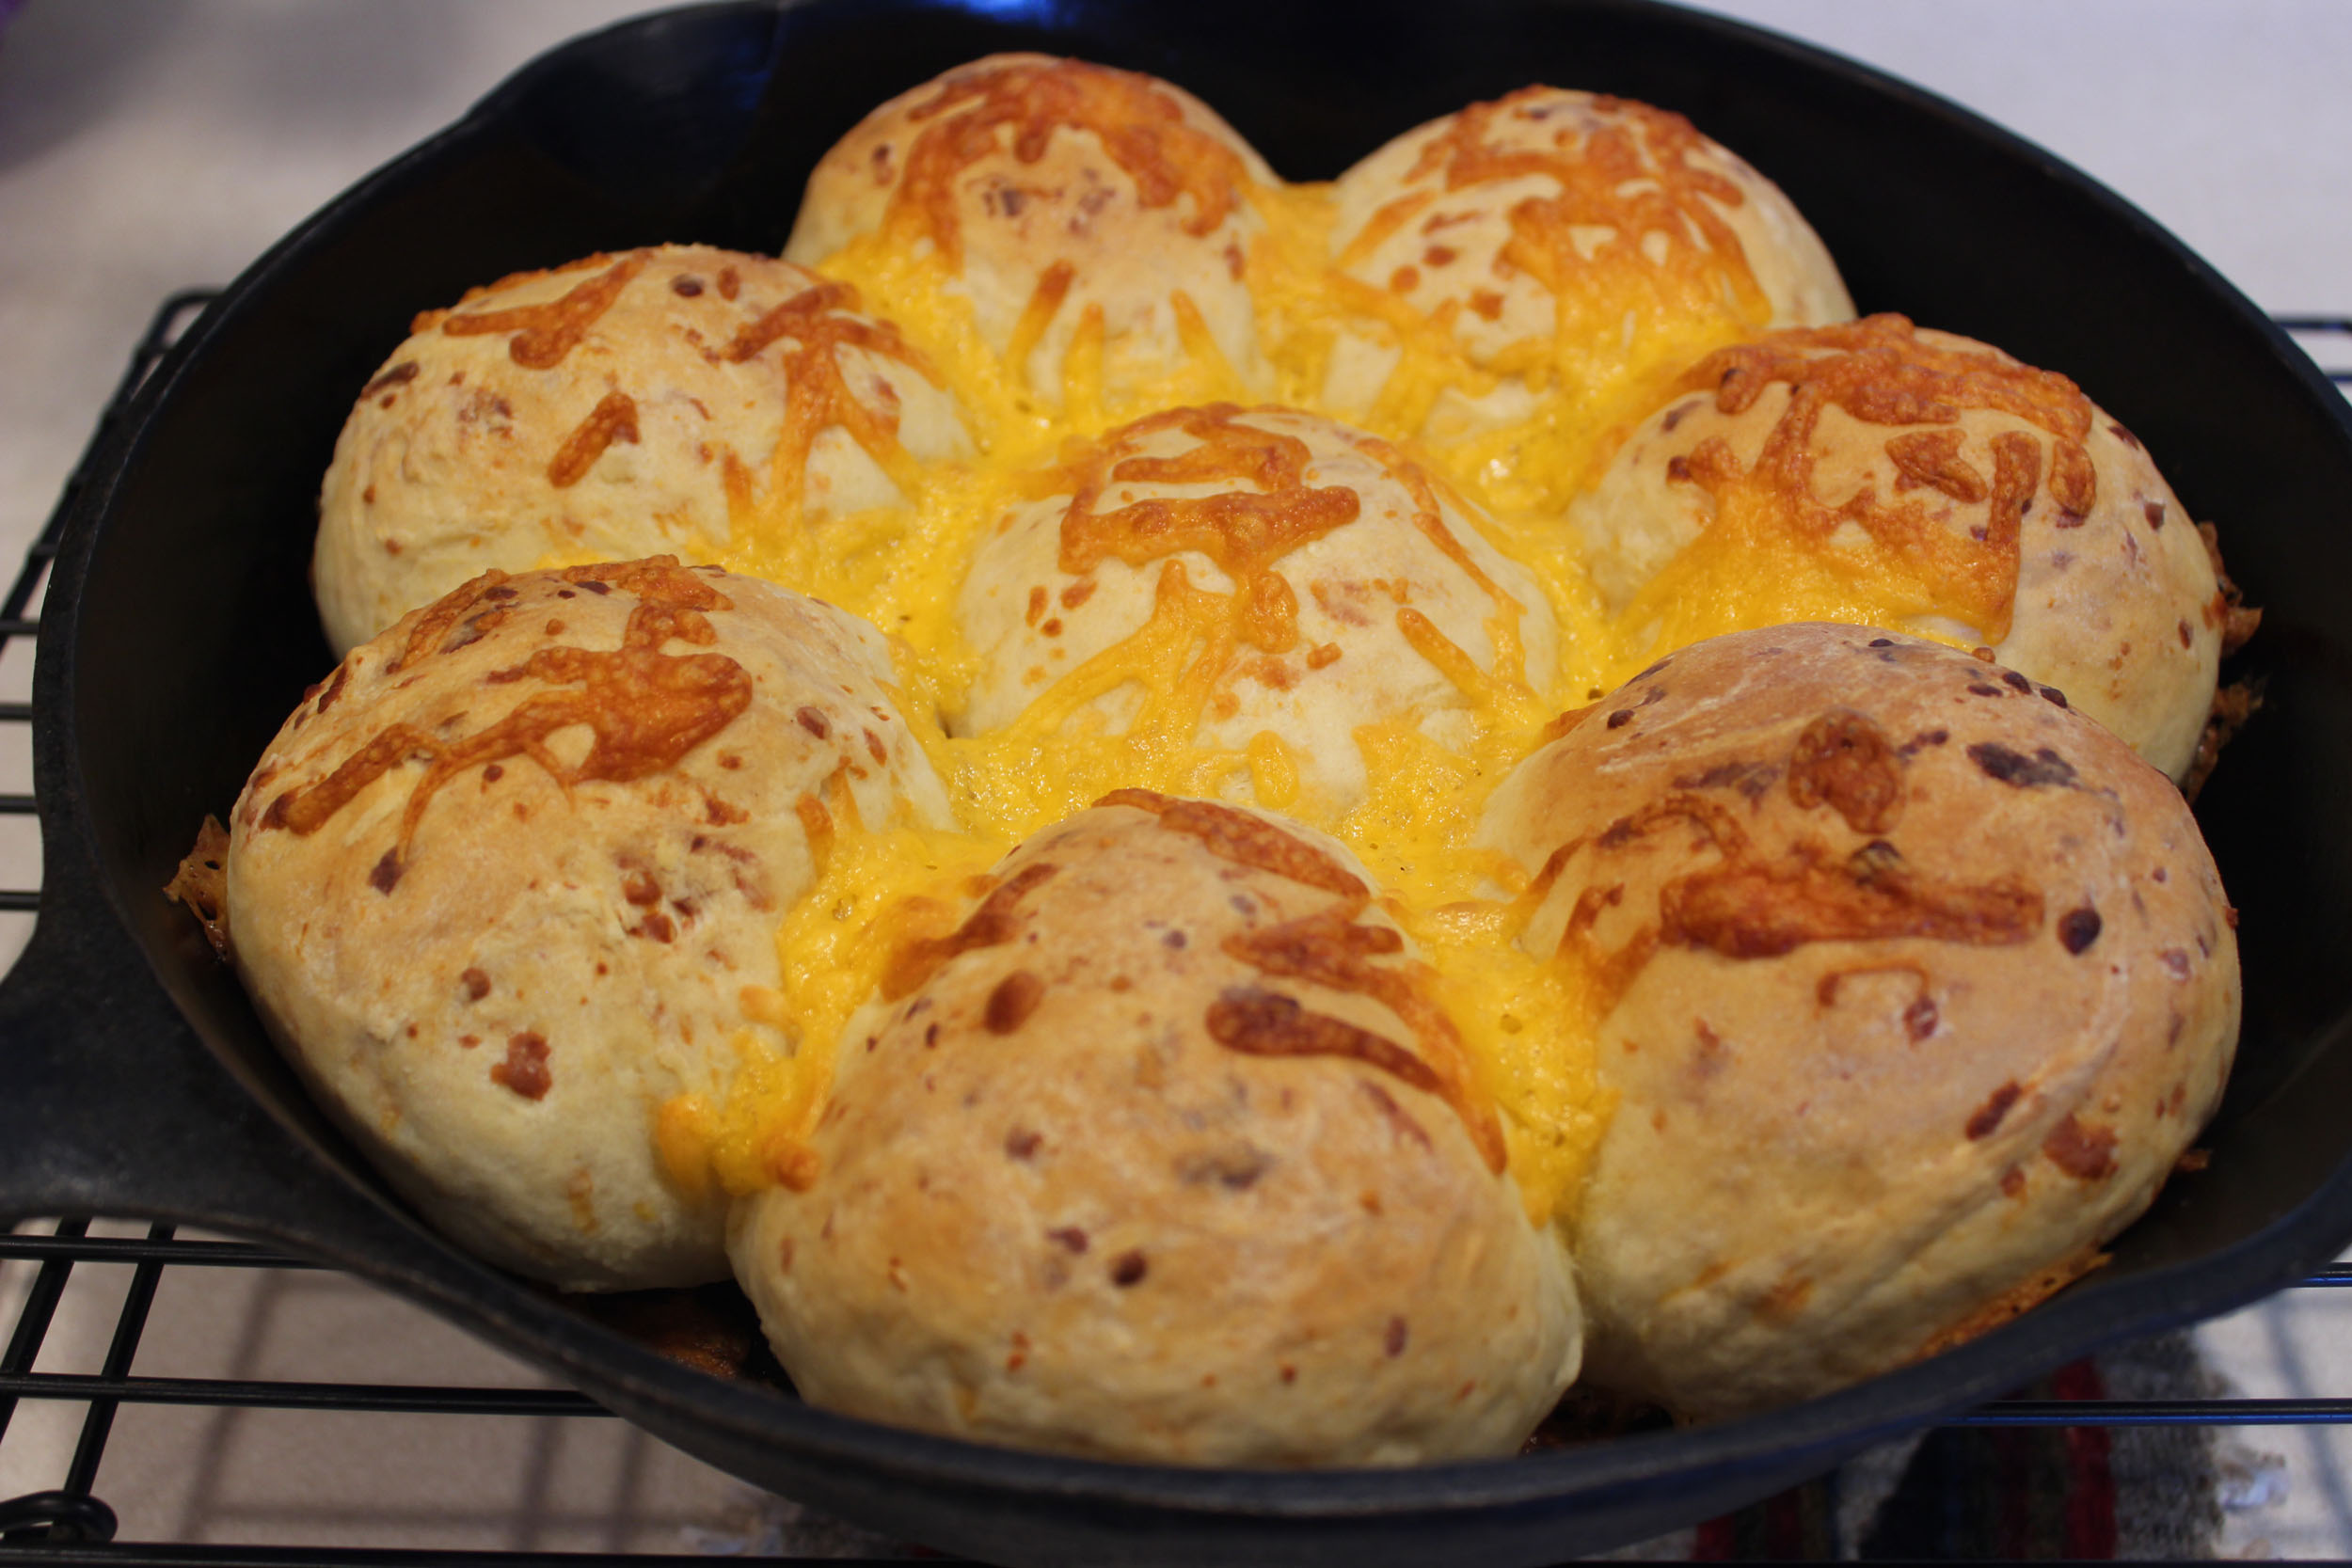
Naan Bread

I make a lot of bread of all different kinds and styles. Naan was one I hadn’t tried until a couple of years ago. The first recipe I tried it called for sprinkling some cornmeal on a pizza stone and baking the bread in a very hot oven. After I cooked a few, the smoke detector went off. Turns out the high heat started burning the cornmeal on the pizza stone. So, the best method I have found is cooking it in a non-stick pan on the stovetop. It takes a little time but is well worth it.

Start by combining the warm water, yeast, and sugar. Don’t add the salt in this stage, sugar feeds yeast and salt kills yeast. It should start frothing fairly quickly if the temperature of the water is just right.

Now add 3 cups of flour and the salt. Mix that in. Add another 1/2 cup of flour and mix. If the dough is still sticky, add a couple tablespoons of flour at a time until the dough forms a ball and pulls away from the sides of the bowl.

Remove the dough, spray the bowl with cooking spray and put the dough back in the bowl. Cover and set aside until doubled, about 1 hour.

Line a sheet pan with parchment paper and spray with cooking oil. Punch down the dough and remove onto a lightly floured surface. I form the dough into a log and try to cut into somewhat equal portions.

Roll the dough into balls and place on the parchment lined sheet tray. Spray the top of the dough balls and cover with plastic wrap. Let that sit for about 1/2 hour.

Now get your cooking set up ready. I have oil for brushing the dough, a pan heating up on the stove on medium low, some garlic for sprinkling on, and some foil to put the finished bread in so I can put it in my oven to keep warm while I’m cooking all of them. You are ready to start cooking.

This is the biggest non-stick pan I have, so I can only cook 2 at a time. Brush the bottom of your pan with a little olive oil; this step is not necessary, but it adds a good flavor.

For each ball, pick it up and stretch it with your fingers, kind of like pulling pizza dough. Don’t worry about the unevenness of the dough. Place the dough in the pan and brush to tops with a little olive oil and sprinkle on some granulated garlic if you desire.

Flip after a couple of minutes and cook the other side. It’s ok to flip several times, I do that so I don’t burn my bread.

Watch the color of the dough, you can tell as it changes color if it is cooked.

Each one should take about 5 to 7 minutes to cook all the way through.

I have found that my pan gets hotter as I’m cooking so I have to turn down my burner during the cooking process. I start out with it on the 4 setting and end up finishing on 2 or 2 1/2.

It doesn’t matter what size you want to make your Naan, as this is a great pull off what you want to soak up the sauce or dip into whatever your are eating bread.

Enjoy!

Naan

Naan is an easy bread to make and pairs well with just about any Indian or Asian style foods as well as a lot of American foods that we eat with a bit of bread.
Prep Time10 minutes
Cook Time30 minutes
Resting Time1 hour 30 minutes
Total Time2 hours 10 minutes
Course: Bread
Cuisine: Asian, Indian
Keyword: Bread
Servings: 10 each
Calories: 175kcal
Author: Eating With Deb

Equipment

  • Stand Mixer
  • Large saute pan
  • Sheet tray lined with parchment paper

Ingredients

  • 1 ¼ cups water 110 115°
  • 1 tsp active dry yeast
  • ½ tsp sugar
  • 3 ¾ cups flour
  • 2 tsp sea salt
  • Olive oil for brushing
  • Granulated garlic for sprinkling

Instructions

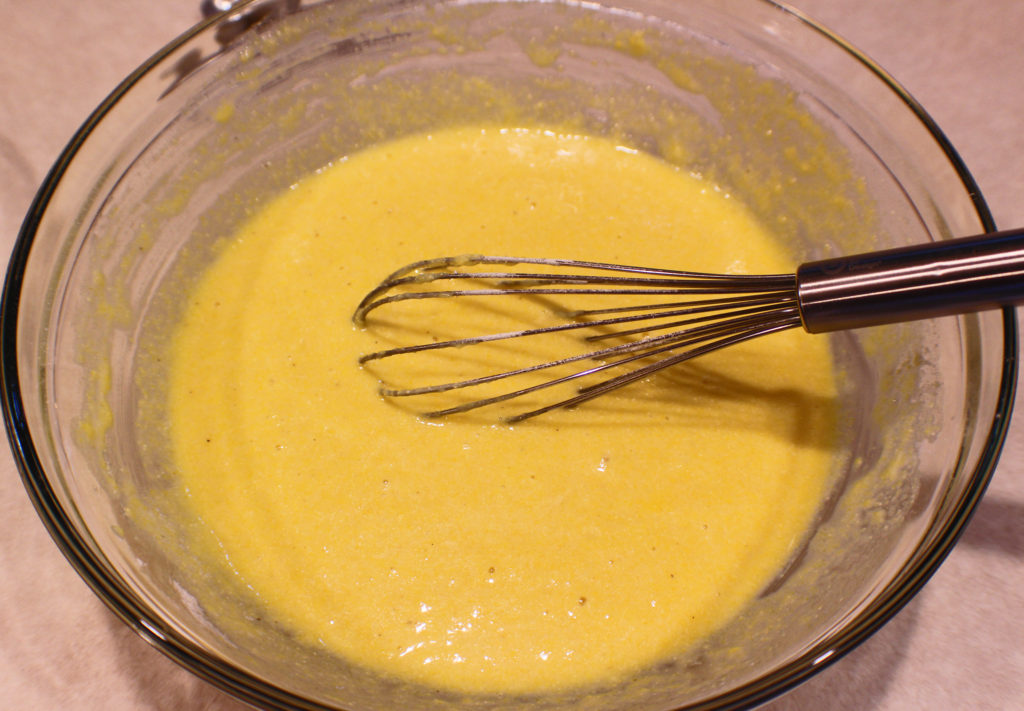
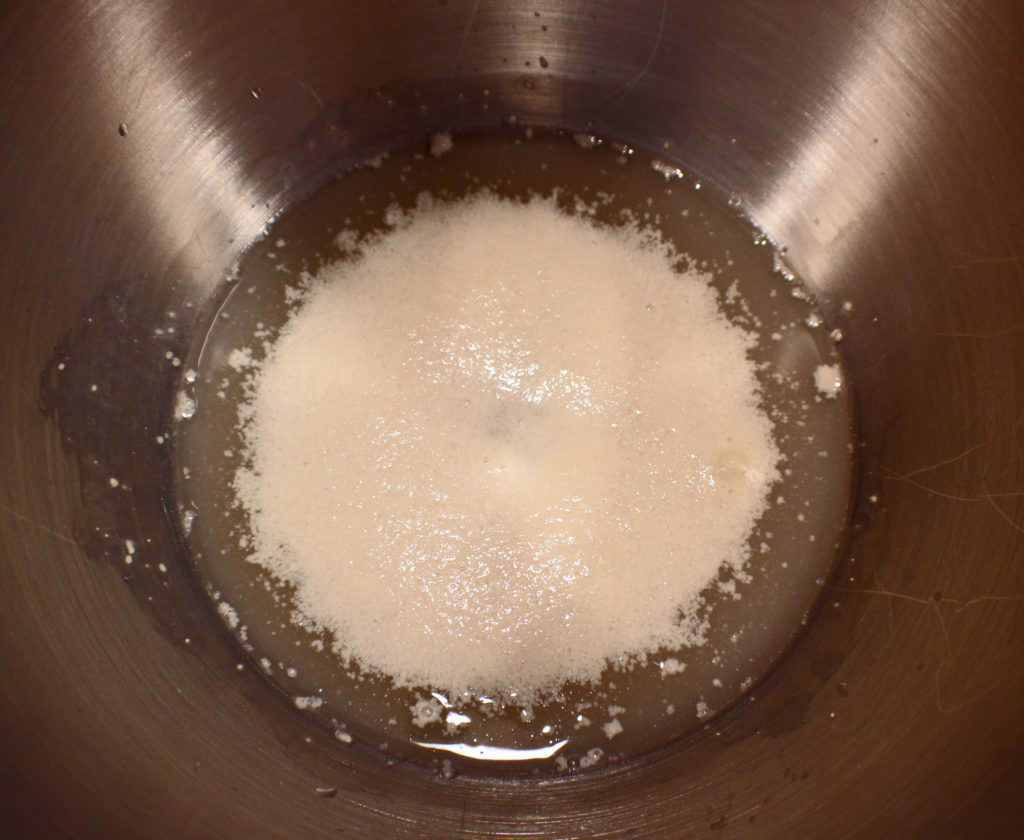
  • In a large mixing bowl*, add water, sugar, and yeast. Mix and let stand until frothy (about 20 minutes).
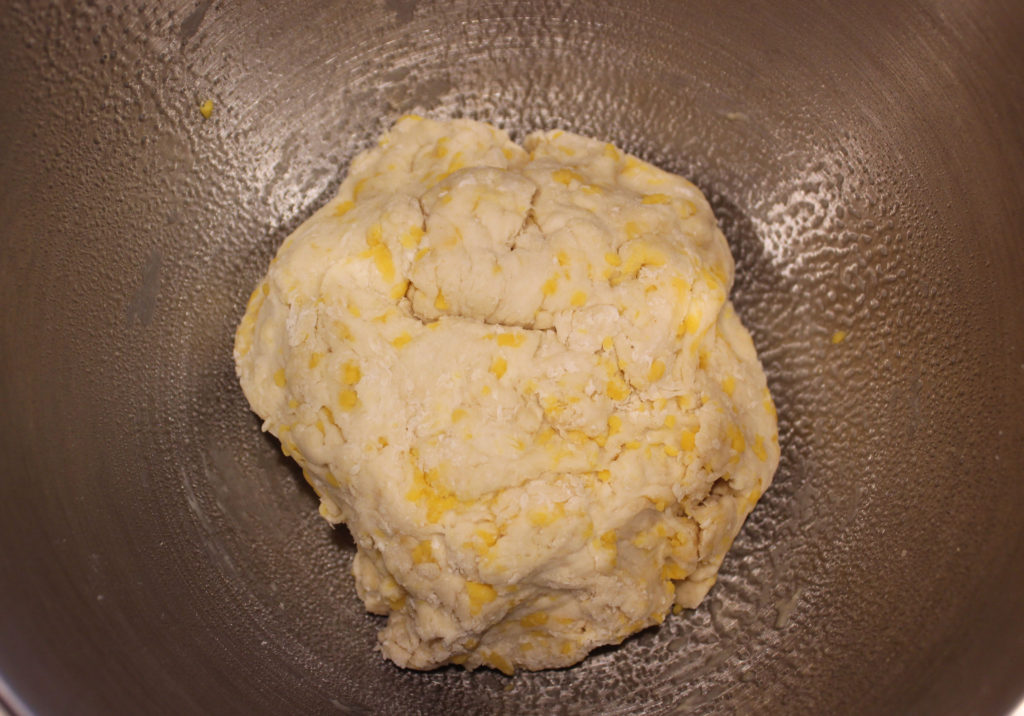
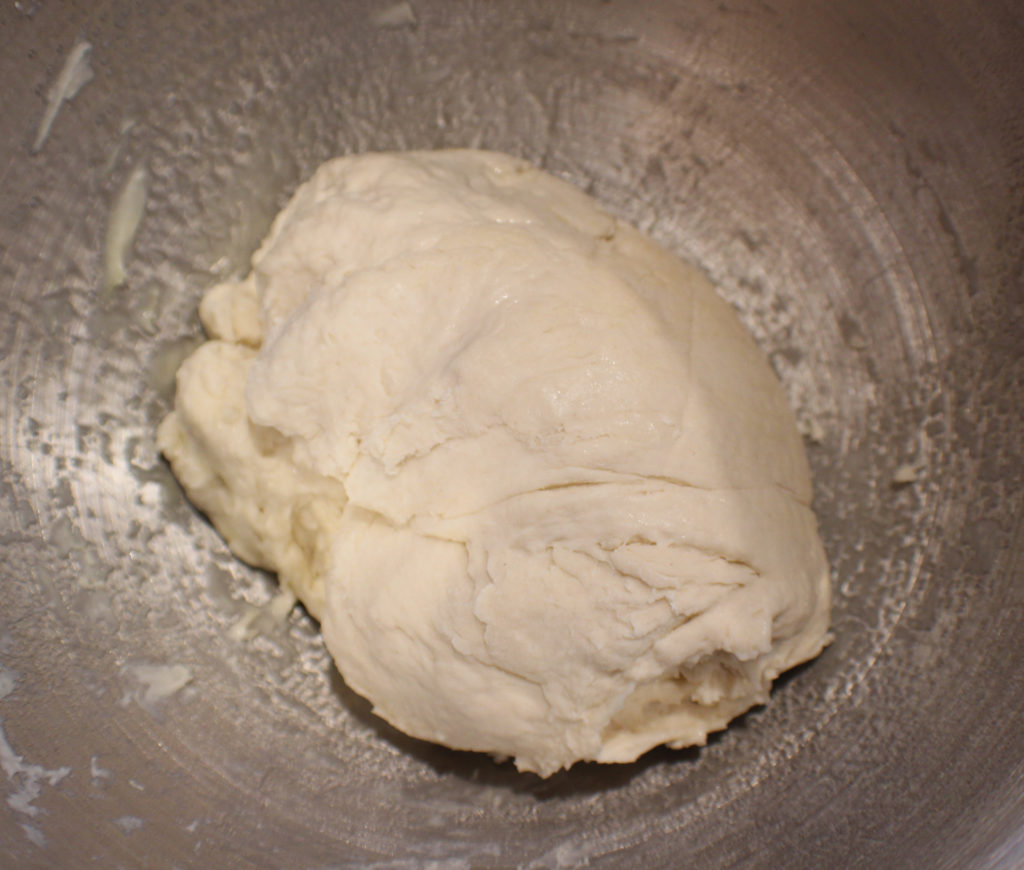
  • Mix in 3 cups of flour and salt. Add another ½ cup of flour and mix. If dough is sticky keep adding flour a little at a time until it pulls away from the sides of the bowl and forms a ball.
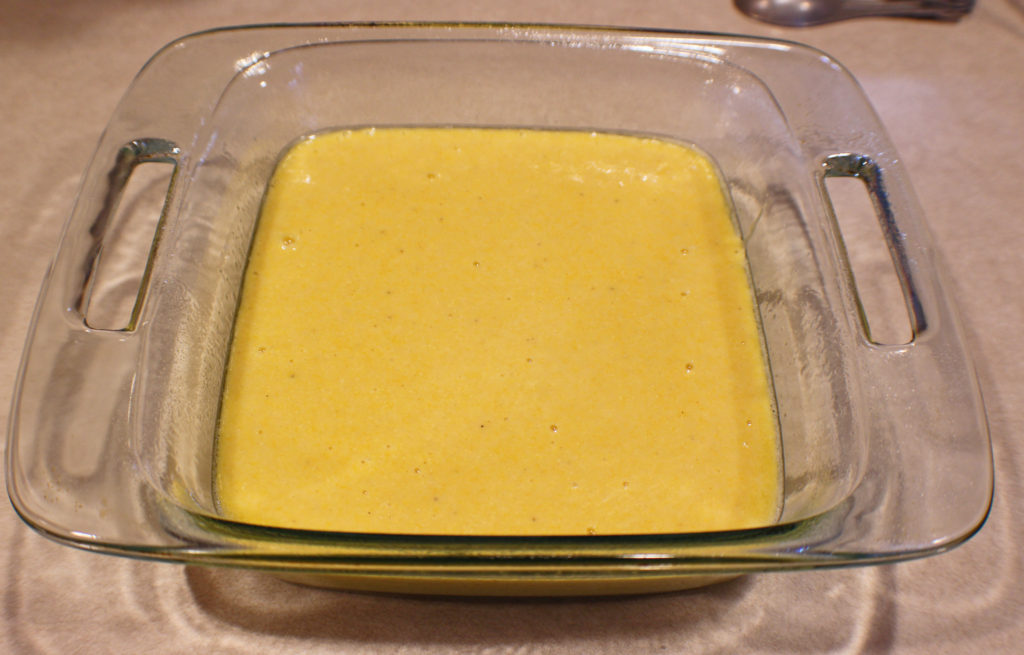
  • Remove from bowl and spray bowl with non-stick cooking spray and return dough to the bowl. Cover bowl with plastic wrap and set aside until doubled in size (about 1 hour).
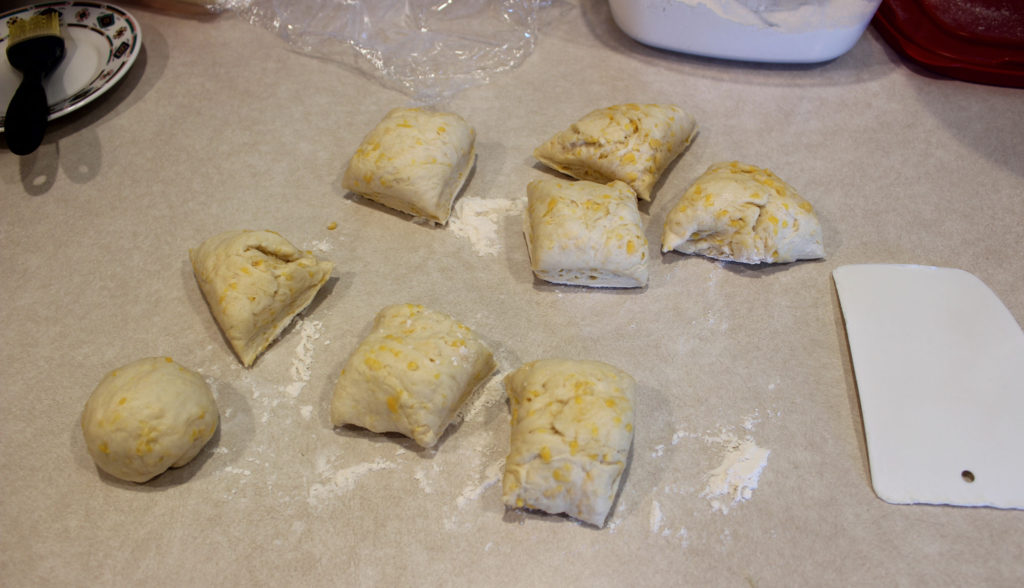
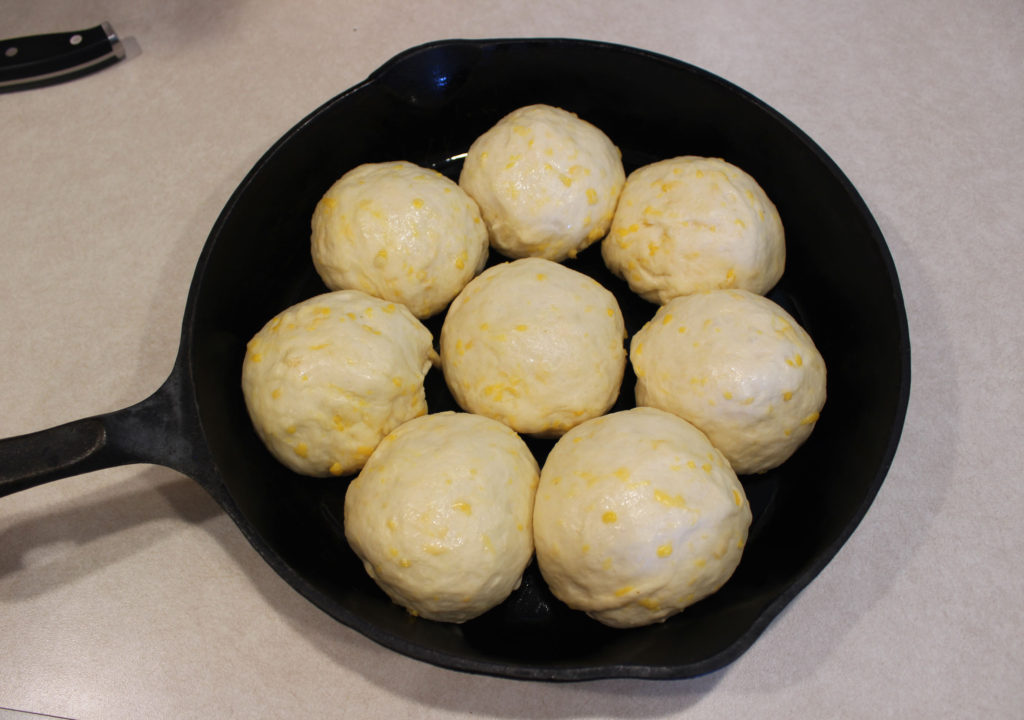
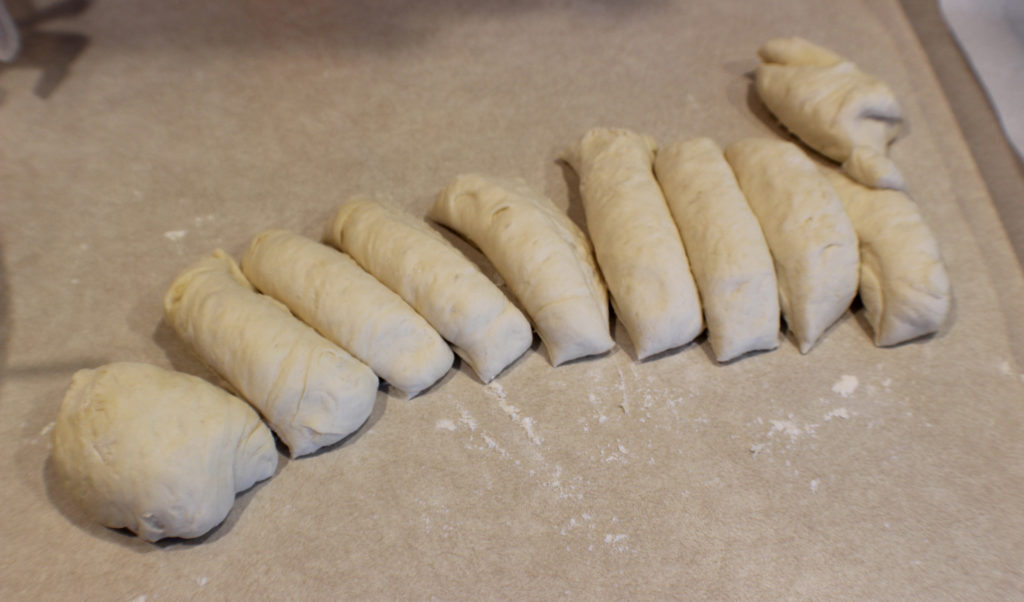
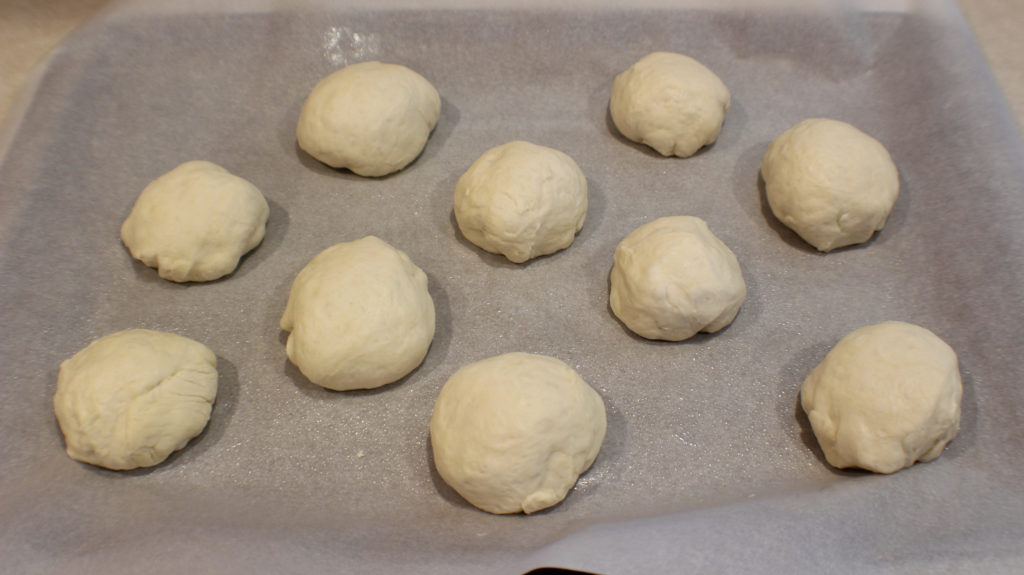
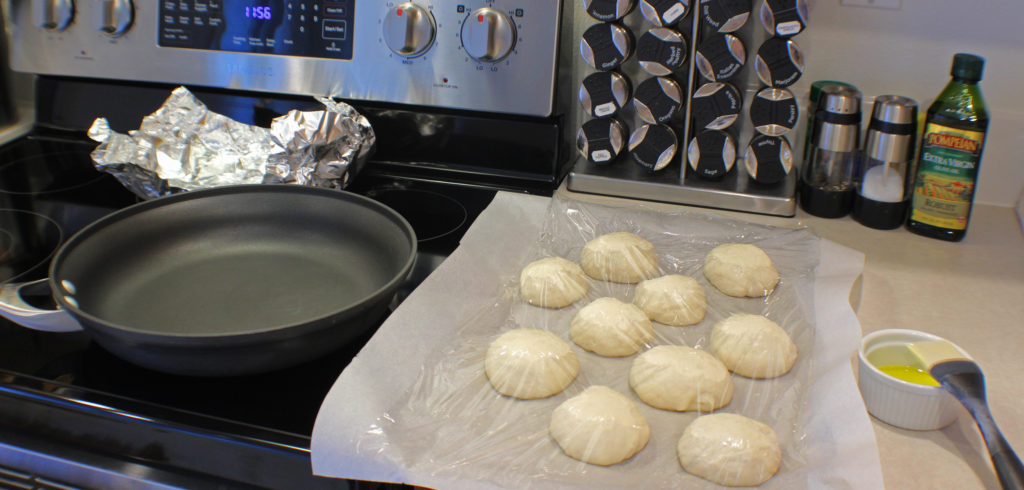
  • Line a sheet pan with parchment paper and spray with cooking oil. Punch down dough and form into golf ball size balls (or slightly larger). You may need some flour on your work surface while doing this step. Put the balls on the pan, spray the tops with cooking oil and cover with plastic wrap. Set aside for about ½ hour.
  • Using a non-stick pan, heat it on the stove top. Don’t turn burner on past about 4 or the dough will cook too fast, burn and be doughy. (I found after the first couple I had to turn down the burner to 2 or 2 1/2.) Depending on the size of your pan, will depend on how many you can cook at a time.
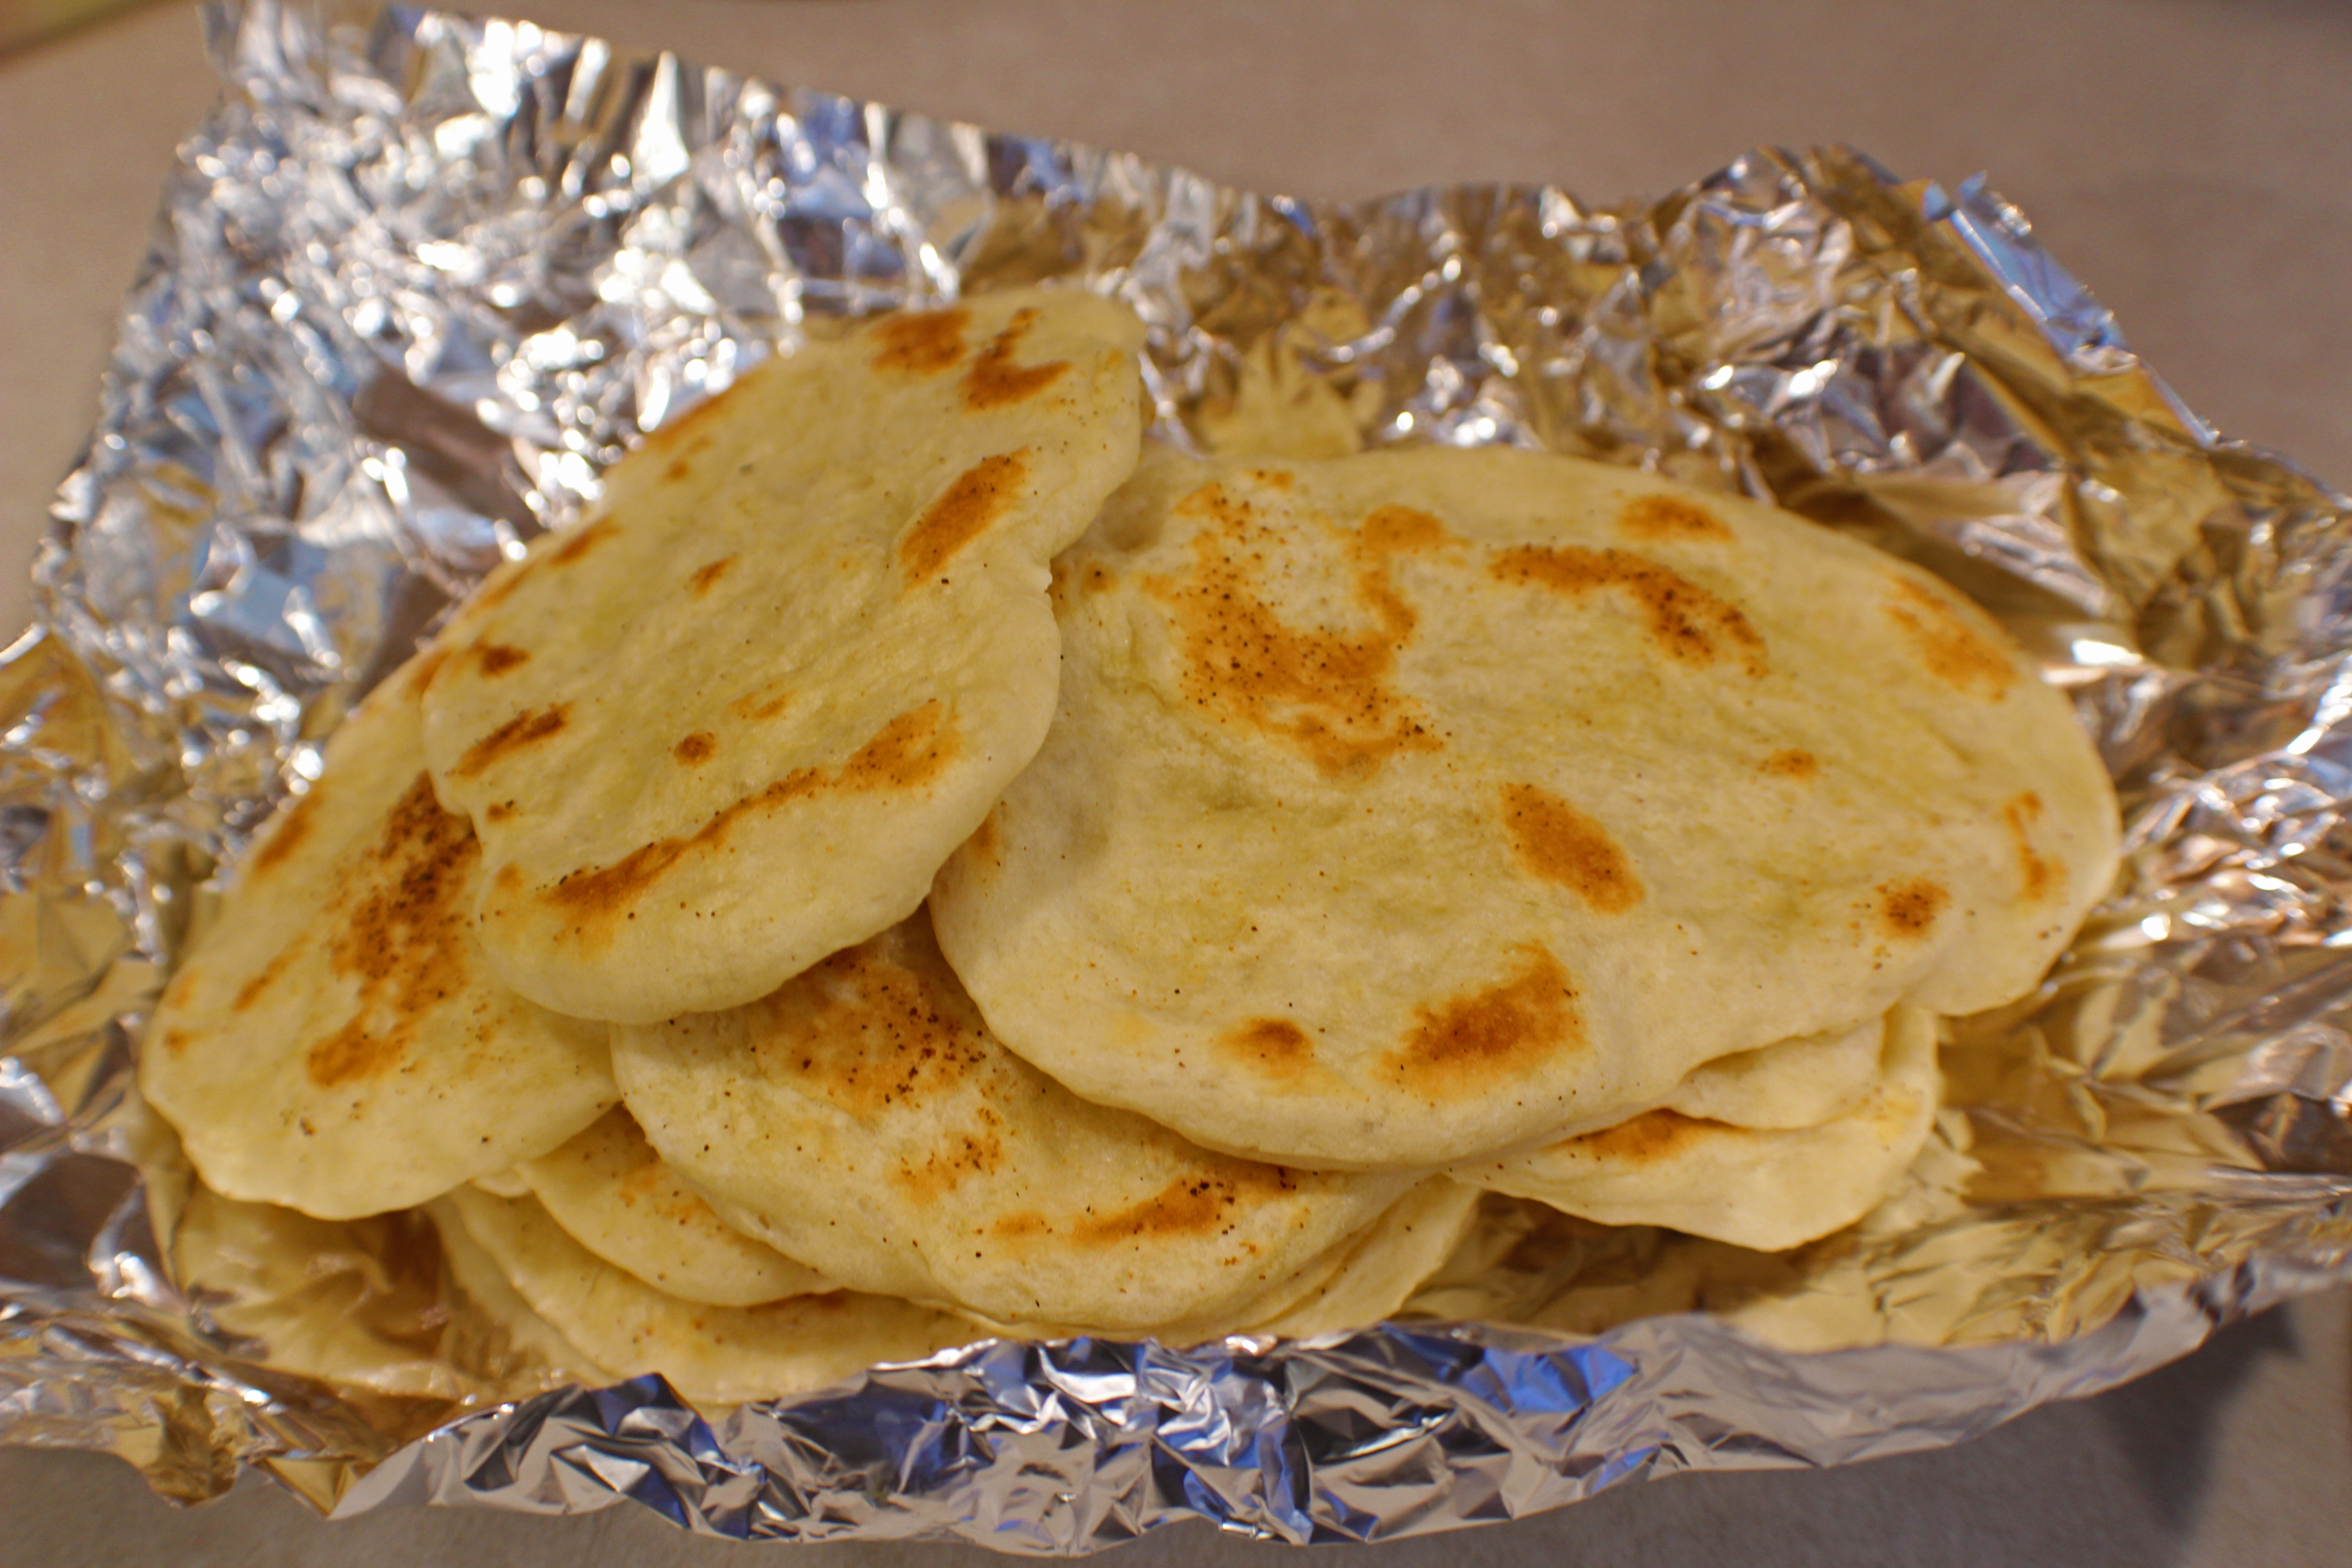
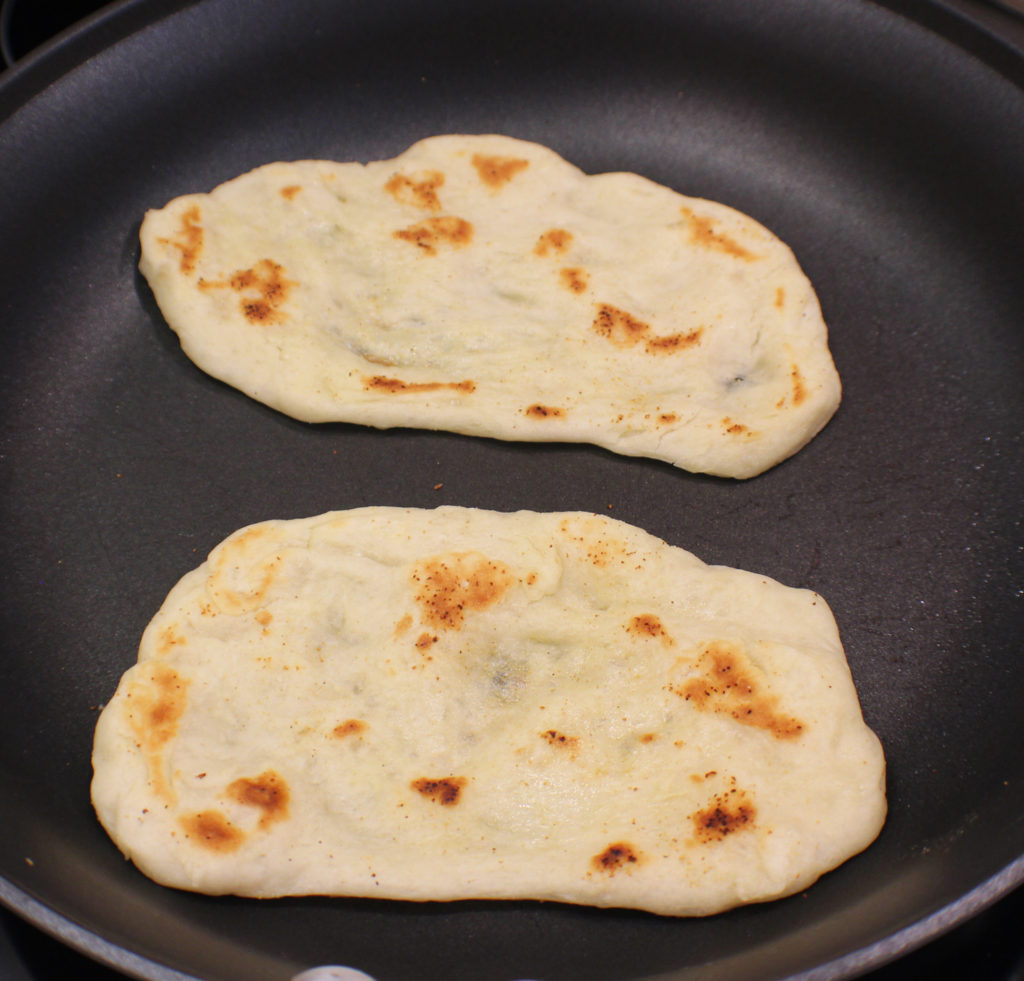
  • Brush bottom of pan with a little olive oil. Stretch each ball into an oblong shape and place in the pan, don’t crowd or let them touch. Brush tops with olive oil and sprinkle with a little bit of garlic, if desired. Using a spatula or tongs, flip after a couple minutes. You can keep flipping so they don’t burn. Total cook time will be about 5 to 7 minutes. Repeat until all dough is cooked.
  • Enjoy!

Notes

*I use my stand mixer and dough hook for all breads. This will need the dough for you, otherwise you will have to need the dough by hand for about 5 minutes once the flour and salt is added.
• You can make larger or smaller balls depending on the size of the final piece you want or the size of your pan
• I tried a recipe that cooked them in the oven on a pizza pan using cornmeal so they didn’t stick to the pan, but I set off the smoke alarm because the oven temp has to be at 500° and the cornmeal started burning
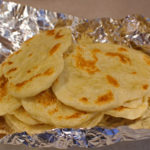
• You can set up a foil bowl or a pan in the oven on warm and as you cook them remove them to the oven to keep warm until done and ready to serve
• If made ahead, wrap bread in foil and put in a 350° oven until warm

Nutrition

Serving: 1slice | Calories: 175kcal | Carbohydrates: 36g | Protein: 5g | Fat: 1g | Saturated Fat: 1g | Sodium: 468mg | Potassium: 62mg | Fiber: 2g | Sugar: 1g | Vitamin C: 1mg | Calcium: 9mg | Iron: 2mg

Garlic Cheddar Dinner Rolls

There is nothing better than homemade bread fresh out of the oven, well almost nothing, maybe chocolate, but fresh bread is way up on the list. These rolls are easy to make and well worth the wait.

Start by putting yeast, sugar, olive oil, and warm water in the bowl of a stand mixer. A few things to note in this step:

   – do not add the salt in this step, sugar activates yeast and salt kills it;

   – your water should be around 110 – 115 degrees, any cooler it will take longer to activate, if at all, and any warmer risks killing the yeast, I use my wrist to temp the water but until you get used to the feel, use a thermometer;

   – a stand mixer makes life easy, but if you don’t have one, just use a large bowl and a hefty wooden spoon to mix or a dough hook on a hand mixer.

Once your yeast is nice and bubbly, it’s time to add the rest of the ingredients. Add the garlic, salt, cheddar cheese, and 1 cup of flour. Mix until just combined. Add the other 2 cups of flour and mix for about 3 minutes. If it doesn’t for a ball, add more flour and little at a time until the dough forms a ball. Remove dough from the bowl, spray it with cooking spray and return dough to bowl. Cover and set aside.

After about an hour the dough should have about doubled in size and is nice and airy looking. Punch down the dough and put it on a clean, floured surface and mound it into a wide log.

Cut into 8 equal chunks. Just eyeball it, no need to get out a kitchen scale. I cut the dough log in half, each half in half, and each quarter in half. It usually comes out fairly even but it’s ok if they aren’t all exactly the same size. Roll each chunk into a ball.

Drizzle about 1 tablespoon of olive oil in the bottom of a 12 inch cast iron pan and spread it around the bottom and sides using a brush or a paper towel works too. Place the dough balls evenly around the pan, spray the top of the rolls, cover with some plastic wrap and set aside for about 30 minutes, until doubled.

When almost doubled, preheat the oven to 350 degrees.

When the rolls are ready for the oven, remove the cover and put in the oven for 15 minutes. Remove from the oven and add the rest of the cheddar cheese. Return to the oven for another 10 to 15 minutes until nice and golden brown.

Remove from oven to a raised wire rack or a wool hot pad. Learn from my mistake and don’t put a hot cast iron pan on a cotton or polyester hot pad, it will start it on fire!

Garlic Cheddar Dinner Rolls

Dinner rolls can be simple to make, especially when using a cast iron pan. Add a couple of different flavor ingredients, in this case, garlic and cheddar cheese, and you have a quick and tasty roll to add to your dinner.
Prep Time15 minutes
Cook Time30 minutes
Total Time2 hours 30 minutes
Course: Bread
Cuisine: American
Keyword: Bread, dinner rolls, rolls
Servings: 8 rolls
Calories: 304kcal
Author: Eating With Deb

Equipment

  • Stand Mixer
  • 12 inch Cast Iron Pan

Ingredients

  • 2 1/2 tsp active dry yeast
  • 1 cup warm water 110-115 degrees
  • 1 tbsp sugar
  • 2 tbsp olive oil
  • 1 tsp sea salt
  • ½ tsp granulated garlic
  • 1 ½ cups cheddar cheese grated
  • 3 cups bread flour

Instructions

  • In a large bowl or stand mixer with a dough hook add yeast, sugar, 1 tbsp olive oil, and water. Let it sit for 10 - 15 minutes until the yeast is bubbly. Add the granulated garlic, sea salt, 1 cup cheddar and 1 cup of flour – mix until combined. Add the other 2 cups of flour and mix for 3 minutes. If needed, slowly mix in more flour to form a soft dough. Remove from bowl.*
  • Spray mixing bowl with cooking spray and place dough back in your bowl, cover and let rise until doubled – about 1 hour.
  • Punch down dough and put on a floured surface. Shape into a log, using a pastry knife, cut into 8 equal pieces. I cut the log in half, then each half in half, then each quarter into half – this gives me fairly equal pieces.
  • Put 1 tbsp olive oil in the bottom of a 12 inch cast iron pan and spread around the bottom and sides.
  • Roll each dough piece into a ball and place evenly around the pan. Cover and let rise until doubled in size (about ½ hour – may take longer depending on how warm you kitchen is).
  • Preheat oven to 350°.
  • Remove cover from rolls and bake for 15 minutes. Remove from oven and add remainder of the cheddar cheese. Bake for another 10-15 minutes until golden brown.
  • Remove from oven to a raised baking sheet or place on a wool hot pad or a turret suitable for holding a hot cast iron pan. Let sit for about 15 minutes before removing from pan and eating.
  • Enjoy!

Notes

I have used whole wheat bread flour in this recipe and it turns out great, the only problem is I’ve had a difficult time finding whole wheat bread flour. But if you can get it and like whole wheat bread, I would recommend using it.
*If not using a mixer with a dough hook when doing the original mixing, place dough on a floured surface and knead until smooth and elastic – about 6 – 8 minutes.

Nutrition

Serving: 1roll | Calories: 304kcal | Carbohydrates: 37g | Protein: 12g | Fat: 12g | Saturated Fat: 5g | Cholesterol: 22mg | Sodium: 425mg | Potassium: 103mg | Fiber: 2g | Sugar: 2g | Vitamin A: 212IU | Calcium: 160mg | Iron: 1mg

Cornbread

I love cornbread as long as I can spread butter and honey on it and pick it up without crumbling to bits. This recipe stays moist and holds together even if you need to make it gluten-free or dairy-free or both! It is simple and can be thrown together about as quick as any box mix. And, in my opinion, tastes better than any box mix.

Just mix the cornmeal, flour (white or gluten-free), sugar, baking soda, and salt in one bowl and the milk (dairy or dairy-free), eggs and vegetable oil in another.

Then whisk the dry ingredients into the wet.

Line a 12 muffin tin with papers or spray an 8 x 8 glass pan and pour the batter in.

Bake in a 350 degree oven – about 20 minutes for muffins and 25 – 30 minutes for the pan. Insert a toothpick in the center and if it comes out clean, they are ready. Top with some butter (or butter substitute) and honey or your favorite preserves.

Enjoy!

Cornbread goes great with any chili. You can make my  No Bean Chili recipe in about 45 minutes.

Print Recipe
5 from 1 vote

Cornbread

Cornbread can go with just about any meal and can easily be made gluten-free just by replacing the flour with gluten-free baking flour. I have used the Bob's Red Mill 1 to 1 gluten-free baking flour and it turns out delicious and moist. This recipe can be made dairy-free as well by switching out the milk with unsweetened coconut or another nut or soy milk. I have made this gluten-free and dairy-free at the same time (crazy!) and it turns out tasty and moist.
Prep Time15 minutes
Cook Time20 minutes
Cook time for 8 x 8 pan30 minutes
Course: Bread
Cuisine: American
Keyword: Cornbread, Dairyfree, Glutenfree
Servings: 12 muffins
Calories: 186kcal
Author: Eating With Deb

Ingredients

  • 1 cup cornmeal
  • 1 cup flour all-purpose or Bob’s Red Mill 1 to 1 gluten-free
  • 1/2 cup sugar
  • 2 tsp baking powder
  • 1 tsp sea salt
  • 1 cup milk cow or coconut or another nut or soy milk
  • 3 each eggs
  • 1/3 cup vegetable oil

Instructions

  • Pre-heat oven to 350 degrees.
  • In a large bowl, whisk together wet ingredients.
  • In a medium bowl, whisk together dry ingredients.
  • Add dry to wet and mix until just incorporated.
  • Makes 12 regular size muffins. I like using muffin papers so I know they won't stick.
  • Or, spray an 8x8 pan (preferably glass) with non-stick cooking spray and add the mixture to pan.
  • Bake about 20 minutes for the muffins or 25 – 30 for the pan. Insert a toothpick or knife, if it comes out clean, the cornbread is done.
  • Enjoy!

Nutrition

Calories: 186kcal | Carbohydrates: 27g | Protein: 3g | Fat: 8g | Saturated Fat: 5g | Cholesterol: 3mg | Sodium: 274mg | Potassium: 81mg | Fiber: 2g | Sugar: 10g | Vitamin A: 33IU | Calcium: 64mg | Iron: 1mg