Making butter has always intrigued me but also seemed intimidating. When I first started doing research on the process it didn’t help me get over the fear. Some said to put carrots in the heavy cream and let it soak for a bit so it would turn yellow when whipped. I also saw the “put it in a jar and shake it” method. That takes a lot of time and arm, wrist, and hand strength – a method I would recommend for a group of people, or have a mixer ready to go, because you will probably give up before reaching the butter stage.
When I finally tried it, it wasn’t daunting at all. In fact, it is very easy and fun and a great project to do with children. I’ve also found that depending on what area of the country you live in, homemade butter can be cheaper than buying a mid-range priced butter and tastes oh, so much better!
So here is an easy to follow and make step-by-step process of making your own butter:
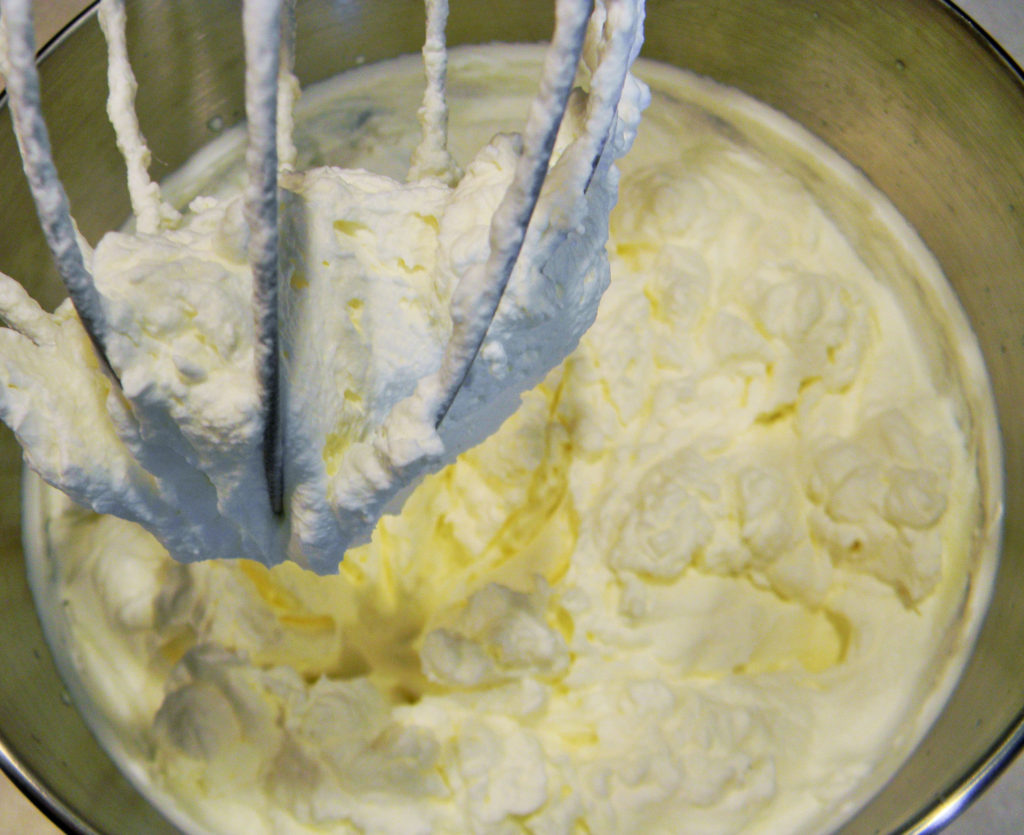
Start with heavy whipping cream (1 to 2 pints) in a mixing bowl, food processor, or blender. Be sure to not over-fill any of the containers as the cream will splatter or ooze out. I use my stand mixer and if using 2 pints I start out on the first setting until it starts to thicken. As it gets thicker, I turn up the mixer.
Eventually you will get to the whipped cream stage, a very good stage, but not quite what we are after, so keep mixing.
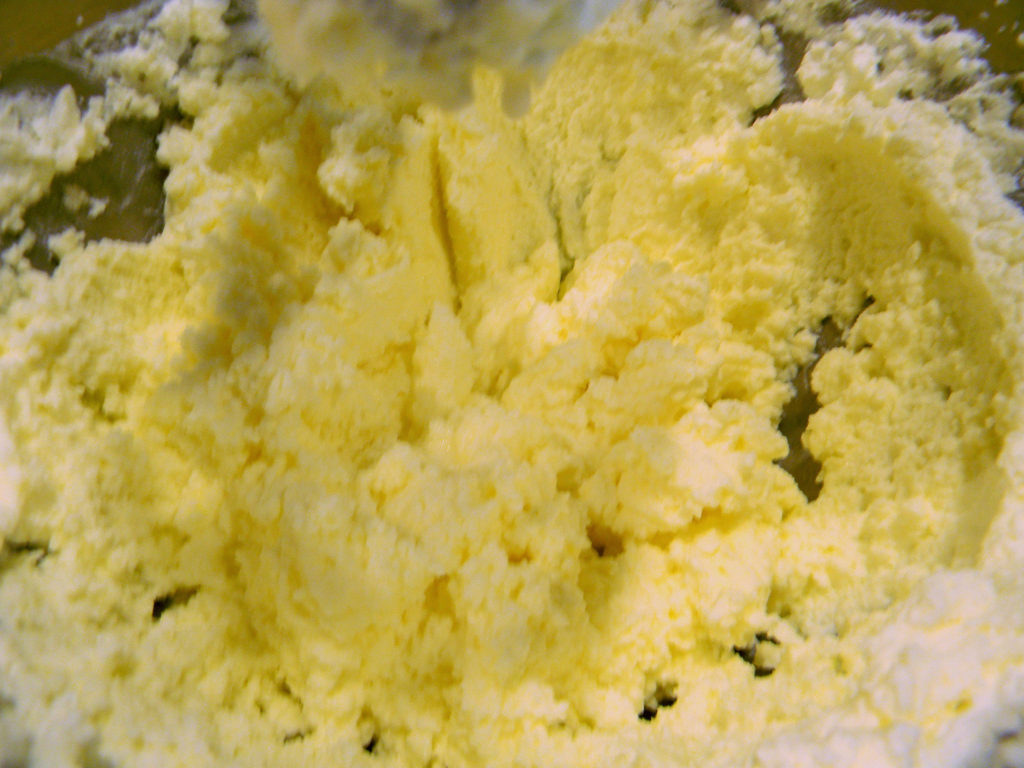
Finally you get to the point where the solids start to separate from the liquid. Almost there. Keep mixing until you get full separation.
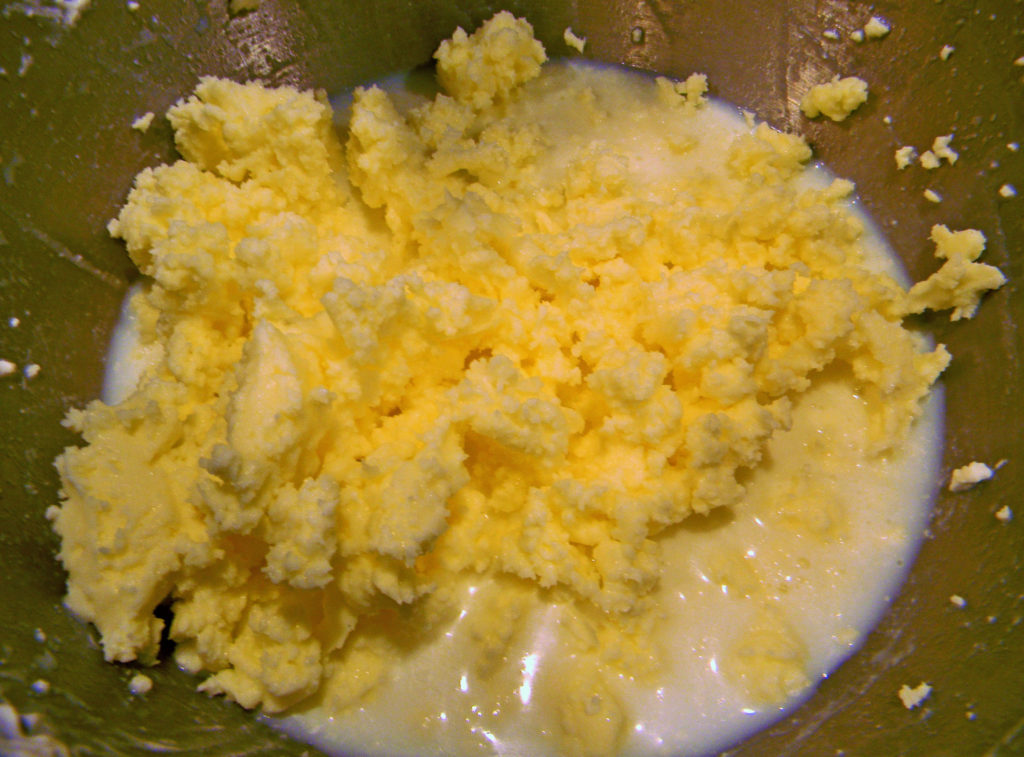
And now it is ready to drain.
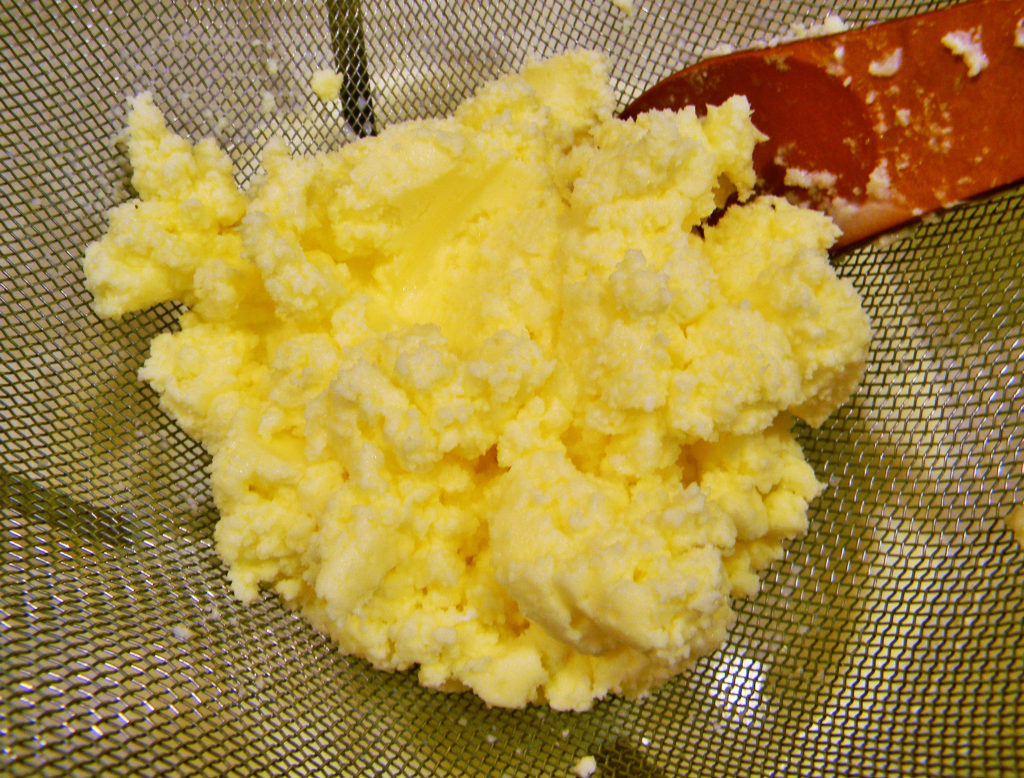
Strain out the milk into a bowl and save. It is quite tasty and good in coffee, used in baking, or I’ve used it to marinate chicken before breading and frying.
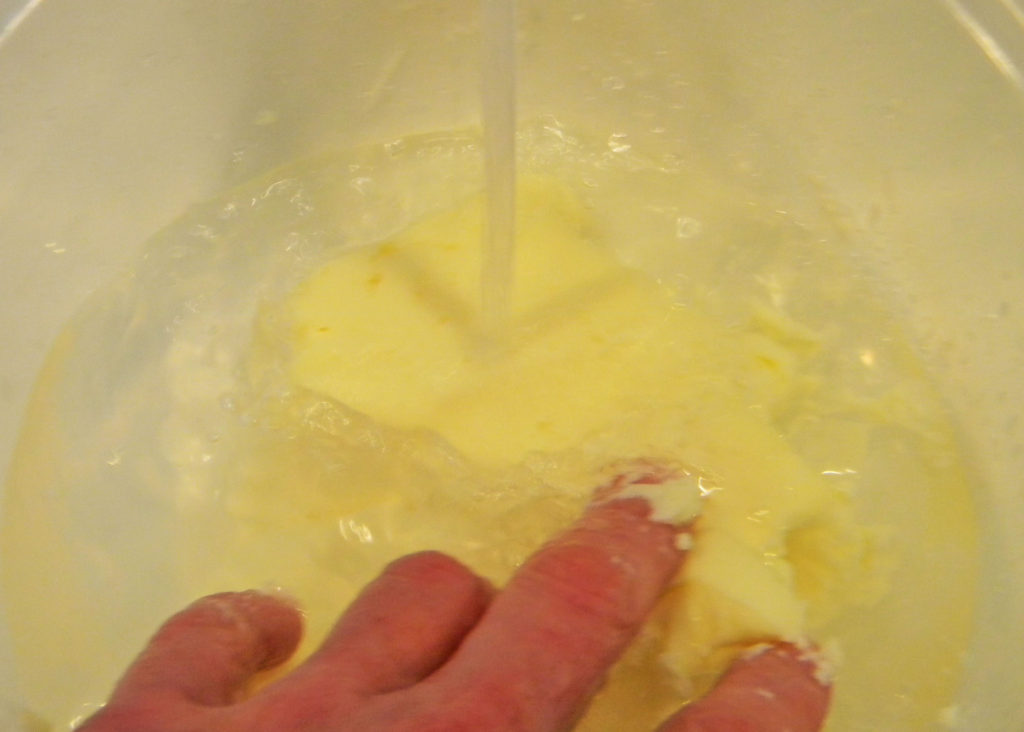
Now it’s time to rinse. This is an important step as it helps remove any “milk” that is left which will help preserve the butter longer.
Add about 1 cup or so of very cold water and squeeze the butter in the water. Drain and repeat several times until the water is clear after squeezing through the butter.
Once the water runs clear, drain and squeeze out any remaining water. You can use a cheese cloth, but I found the butter sticks to it and you loose some of the butter you worked so hard to make.
You could certainly use kitchen gloves for this step. Your hands will end up very oily when doing this.
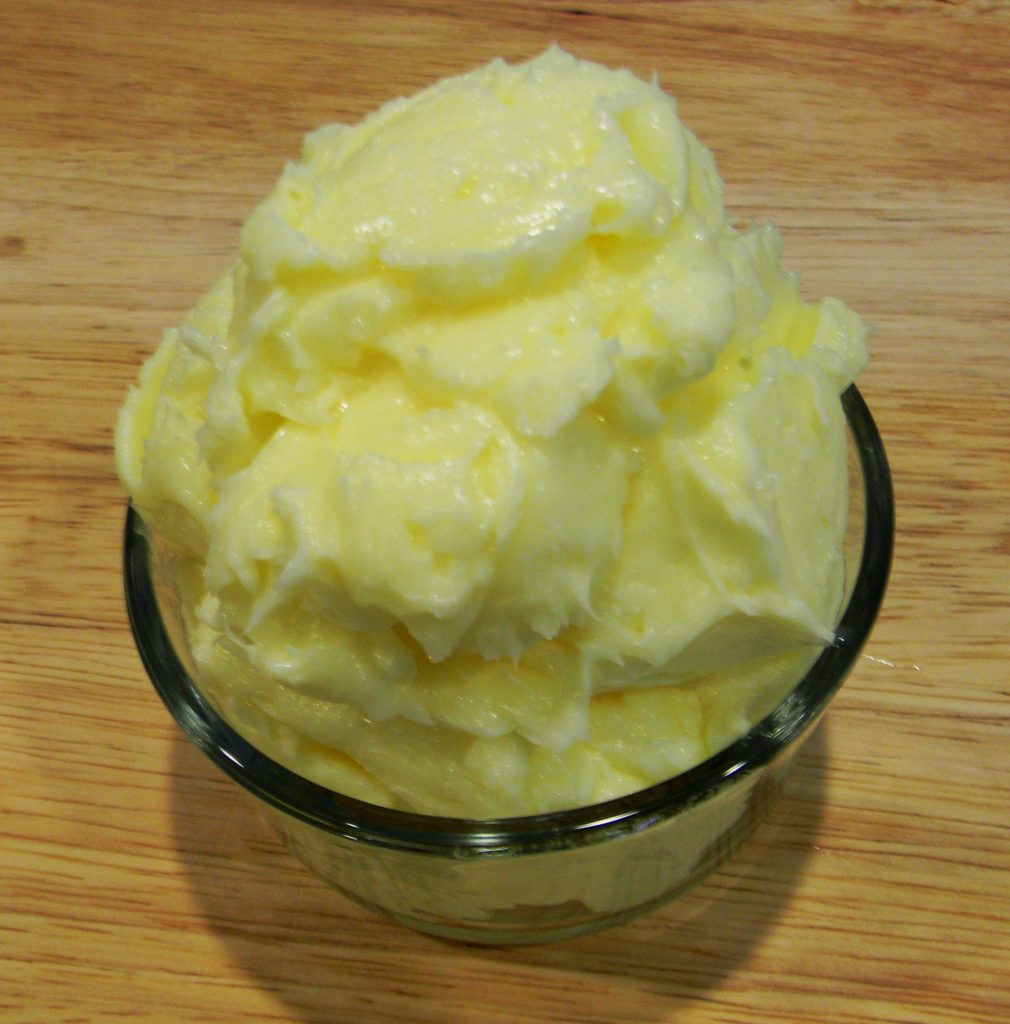
Put the butter in a dry bowl or on a cutting board and using the back of a spoon or your hands that are already oily, mix in your salt. You can add as much or as little as you desire. If you want to experiment a little, add a pinch at a time and taste so you don’t over salt the butter.
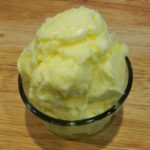
You’ll notice that the butter turned yellow all on its own without adding any coloring.
Roll the butter in wax paper or put it in a container that seals and keep it in the refrigerator or freezer.
Try it on homemade Cornbread or Garlic Cheddar Dinner Rolls.
Enjoy!
Homemade Butter
Equipment
- Stand Mixer, beaters, blender, or food processor
- Fine mesh sieve
- Bowl
Ingredients
- 1 pint heavy whipping cream
- 1/4 tsp sea salt
- cold tap water
Instructions
- Put the cream in the mixer bowl, blender, or food processor. Be sure not to fill past the liquid line.
- Starting on a low speed, start mixing the cream. Gradually turn up the speed until the solids completely separate from the liquids.
- Drain the solids from the liquid and reserve the milk.
- Put the solids, or butter in a bowl and add 1 cup or so of cold water.
- Squeeze the butter so the water goes through it. Drain and repeat until the water runs clear.
- Drain one last time and mix in the salt.
- Roll the butter in wax paper or put in a food container and store in the refrigerator or freezer.

