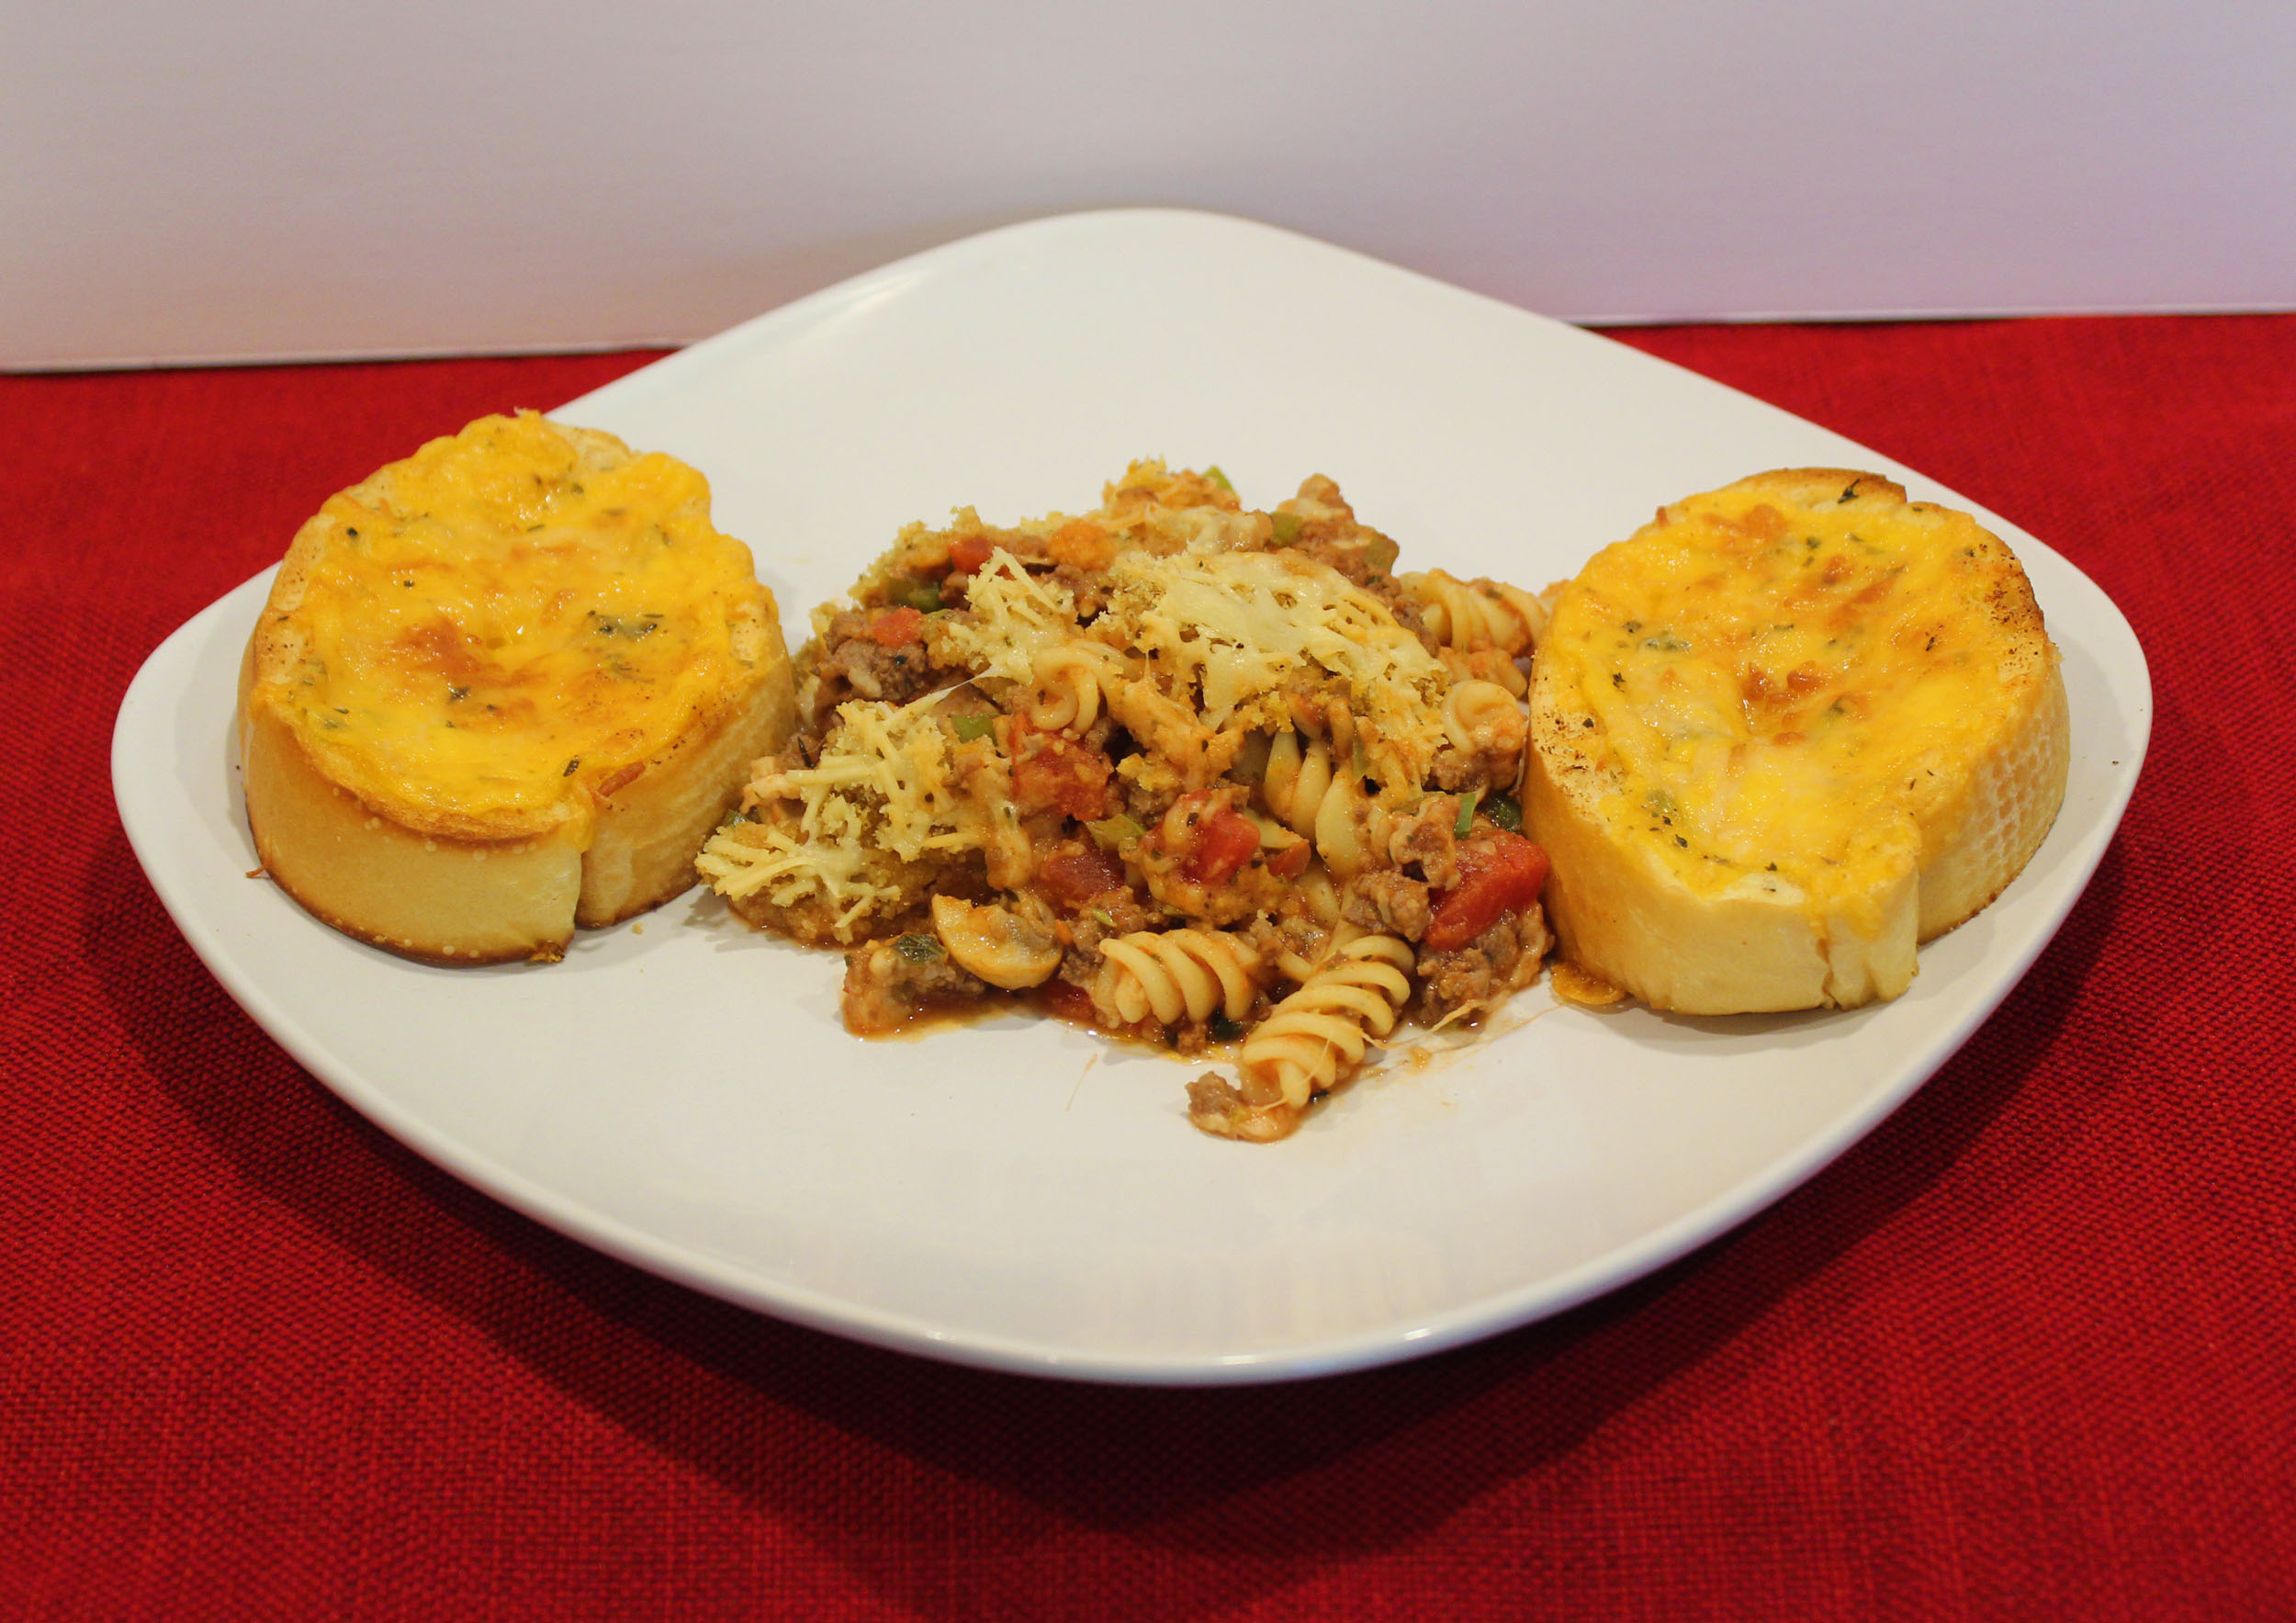

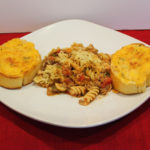
Deconstructed Lasagne
This dish has all the wonderful flavors of lasagna without all the work.
Servings: 12 cups
Calories: 261kcal
Equipment
- Medium Stock Pot
- Large saute pan
- 4-quart Casserole Dish
Ingredients
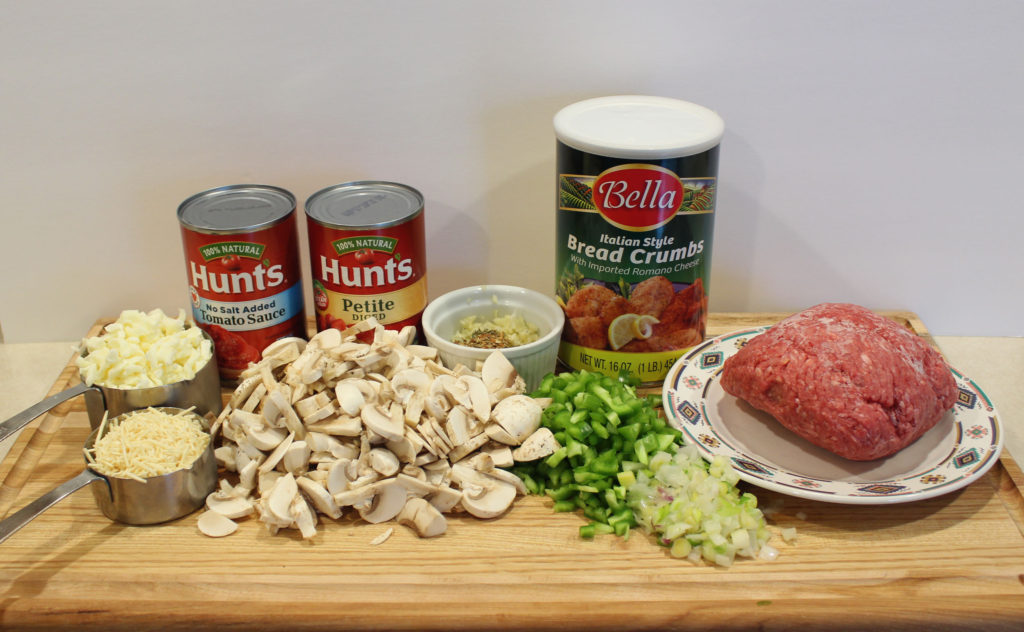
- 1 pound ground beef extra lean
- 4 cups mushrooms sliced
- ½ cup yellow onions diced
- 1 each bell peppers diced
- 15 oz can tomato sauce
- 15 oz can diced tomatoes
- 2 cups rotini pasta dry
- 1 tbsp Italian seasoning
- 2 tsp garlic fresh, minced
- ½ tsp crushed red pepper flakes
- ½ tsp fennel seeds
- 2 cups grated mozzarella cheese
- ½ c Parmesan cheese grated
- Topping
- 1/3 cup Italian seasoned bread crumbs
- ½ cup parmesan grated
Instructions
- Gather and prep all ingredients. Crush pepper flakes and fennel seeds using a mortar and pestle.
- Pre-heat oven to 350 degrees.
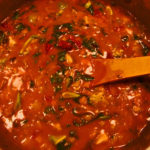
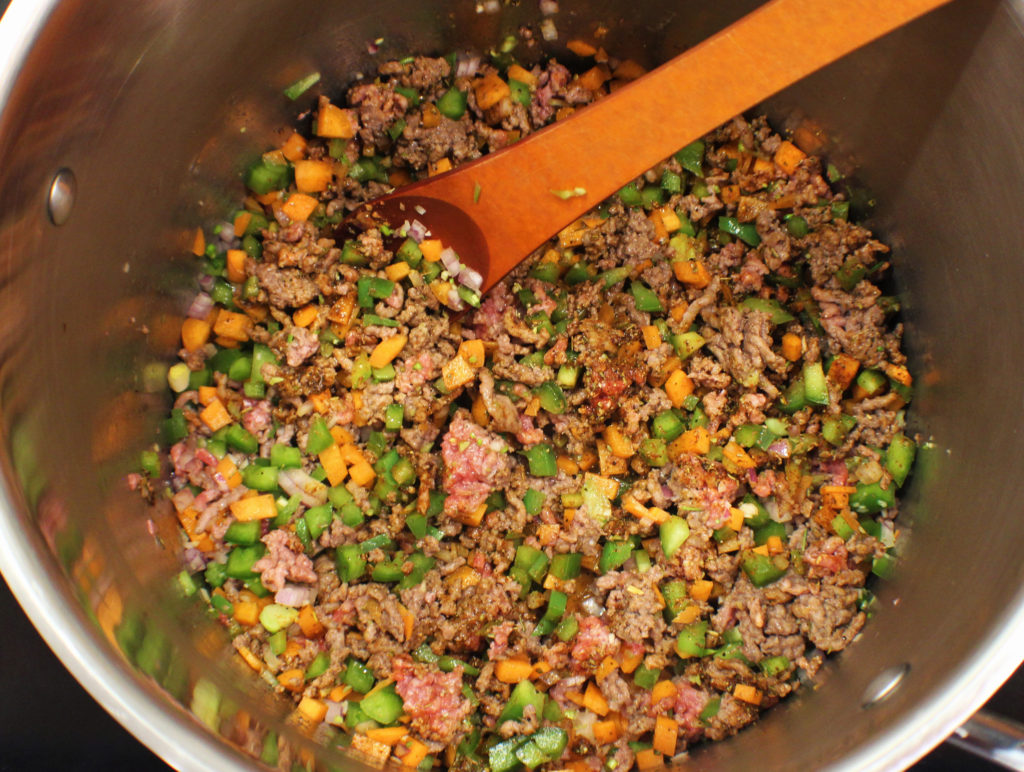
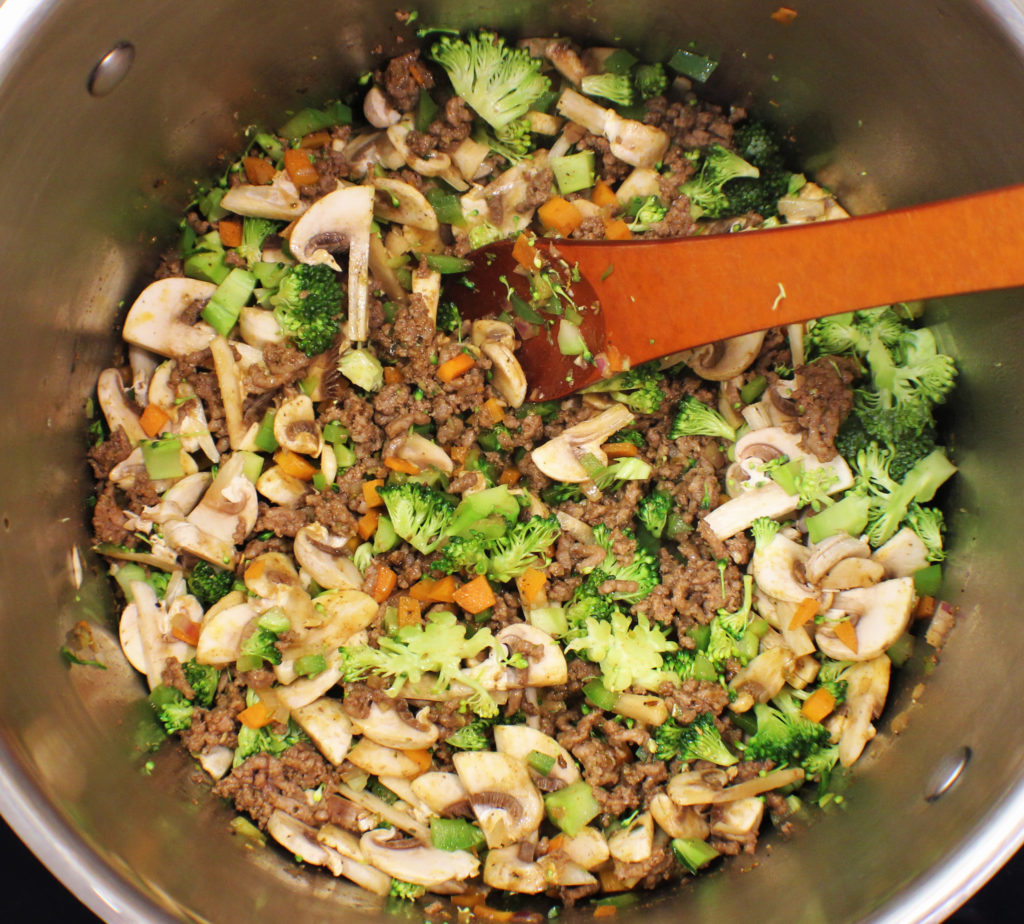
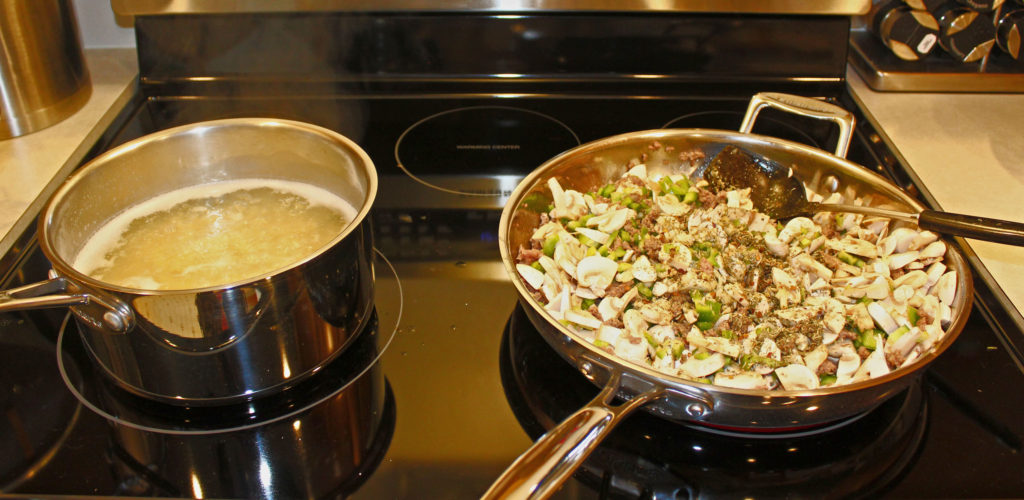
- In a large sauté pan, start browning the ground beef. When almost done add the onions, mushrooms, bell pepper, and seasonings. Sauté for about 5 minutes.
- While sautéing meat and veggies, cook pasta to al dente according to package directions. Drain and set aside until needed.
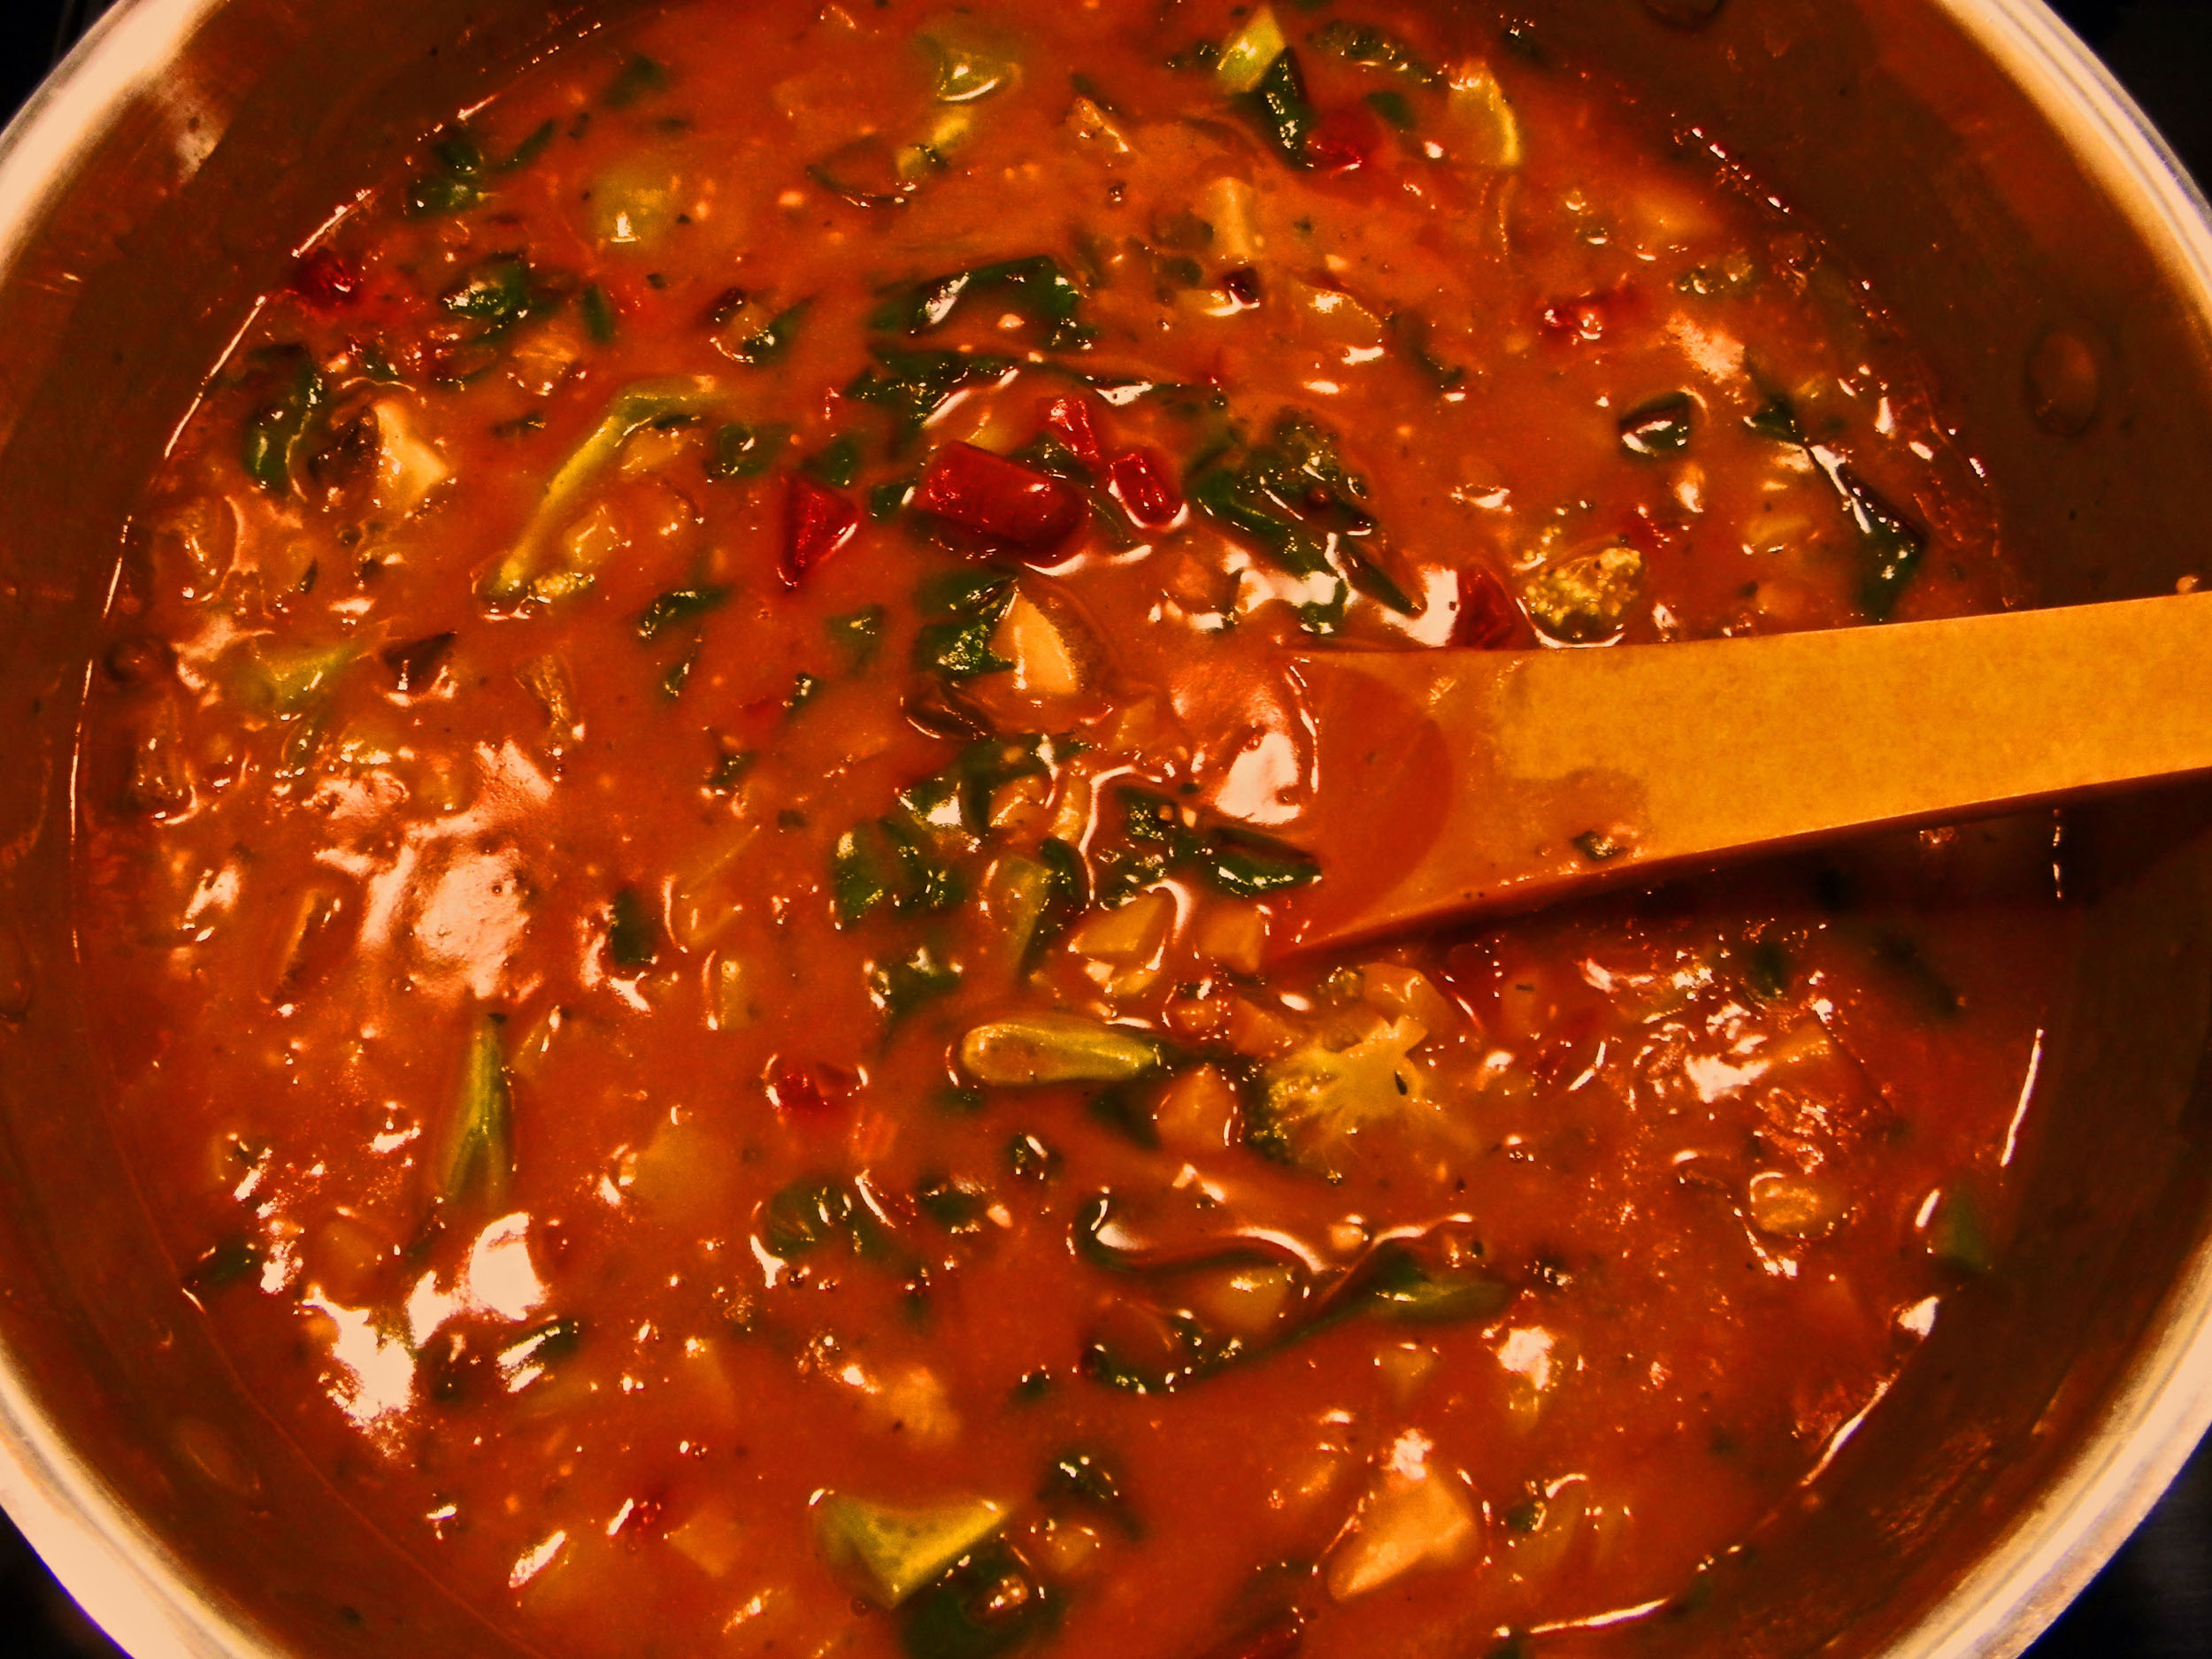
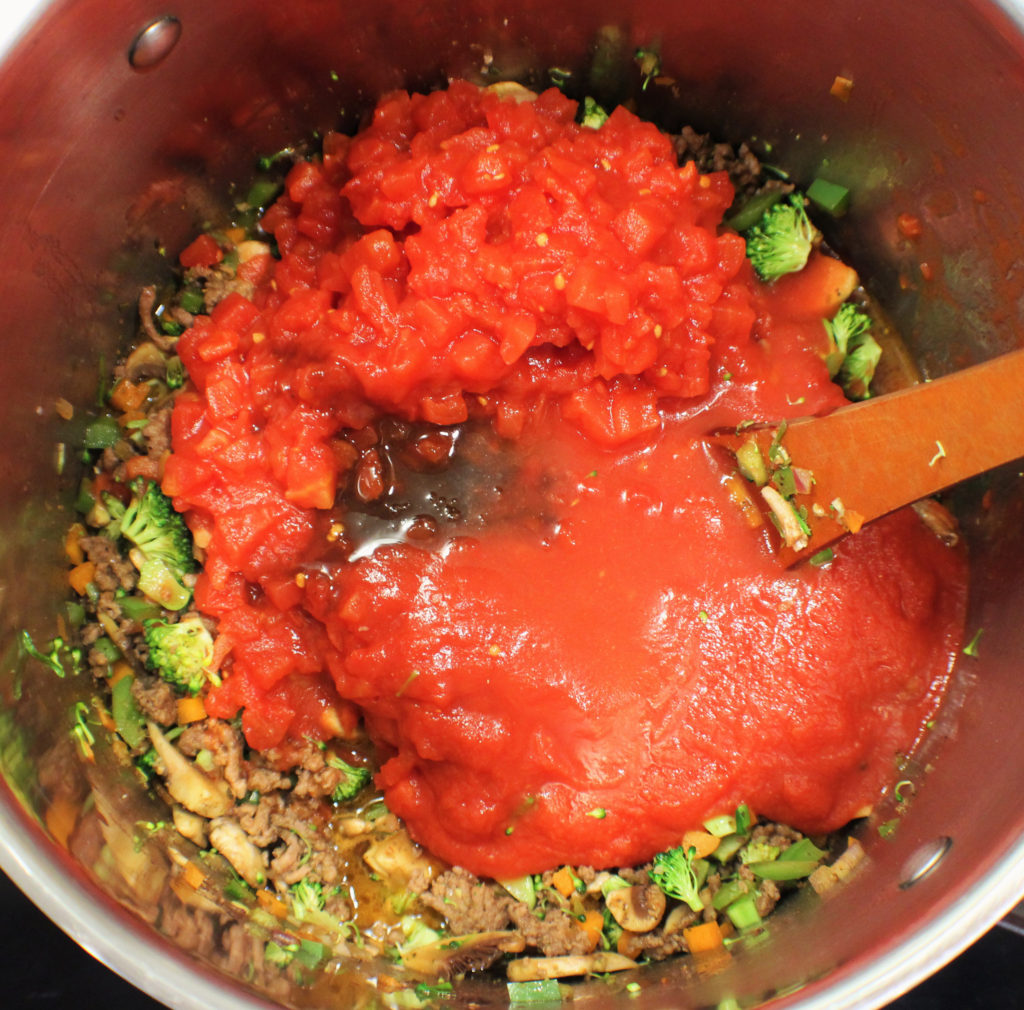
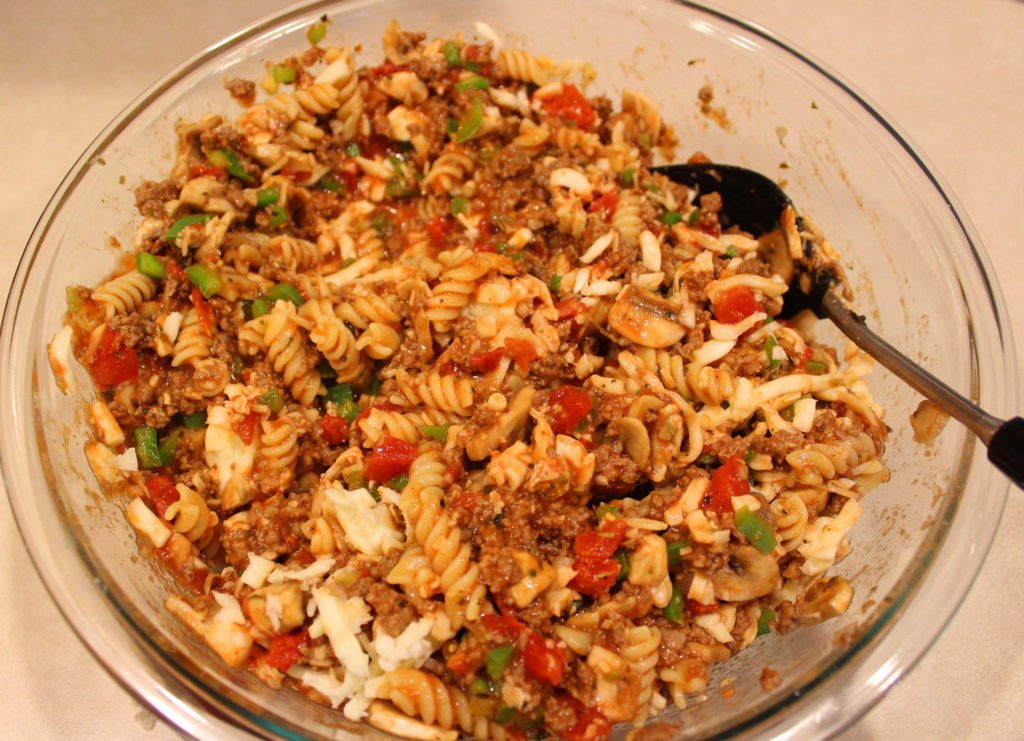
- In the saute pan or a bowl, combine the meat mixture, tomato sauce and diced tomatoes, pasta, and cheese.
- Spray a 4 (to 6)-quart casserole dish with cooking spray and add pasta mixture. Top with bread crumbs and Parmesan cheese. Cover and bake for 30 minutes until bubbly.
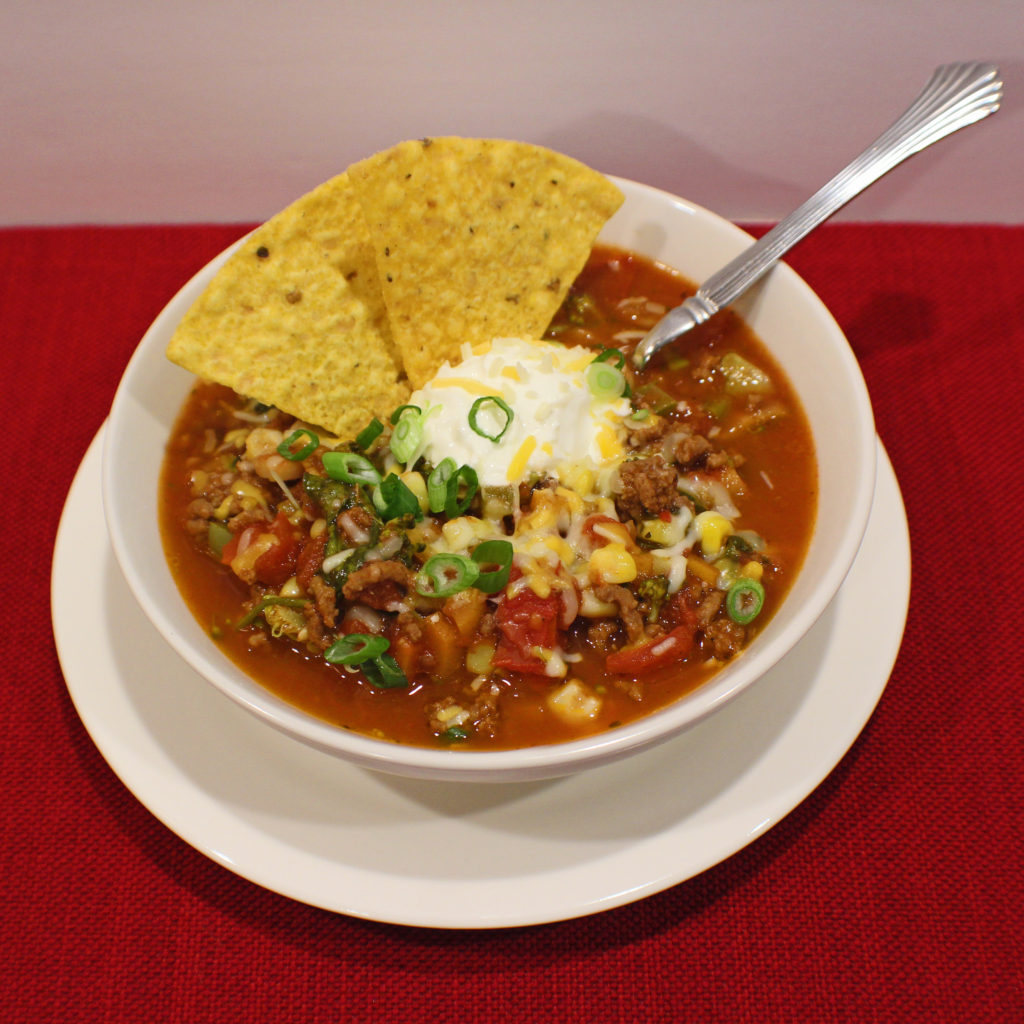
- Enjoy!
Nutrition
Serving: 1cup | Calories: 261kcal | Carbohydrates: 16g | Protein: 17g | Fat: 14g | Saturated Fat: 7g | Cholesterol: 47mg | Sodium: 561mg | Potassium: 455mg | Fiber: 2g | Sugar: 4g | Vitamin A: 424IU | Vitamin C: 7mg | Calcium: 234mg | Iron: 2mg