
Mushroom Demi Glace
Easy to prepare; it takes time to simmer, however, this demi glace is a rich gravy that is worth the wait.
Servings: 4 peop;e
Calories: 180kcal
Equipment
- Cutting board and knife
- 6 to 8 quart sauce pan
- Whisk
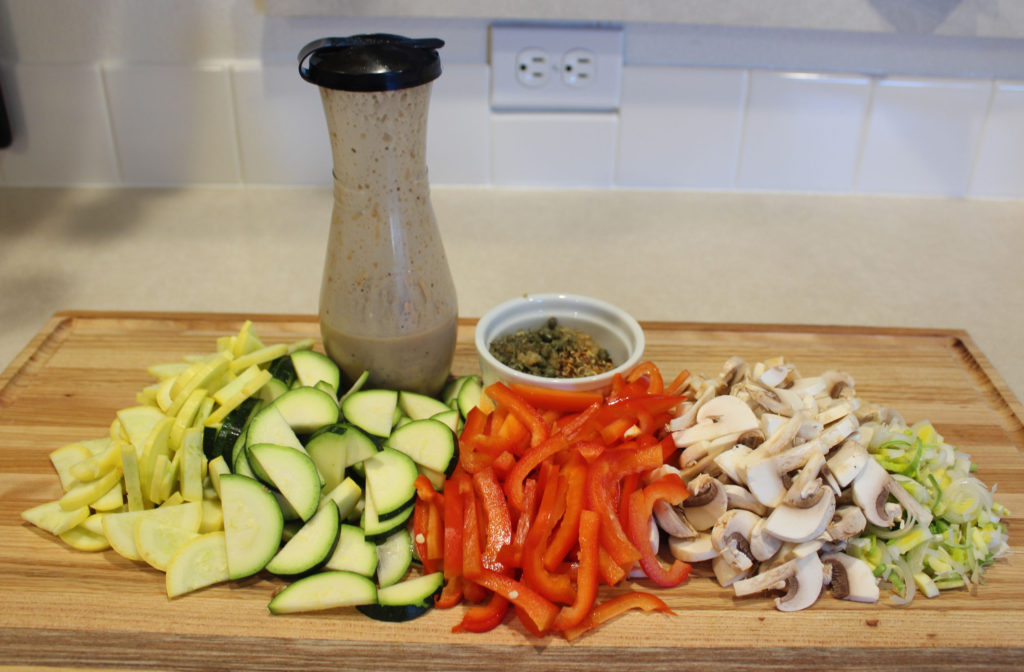
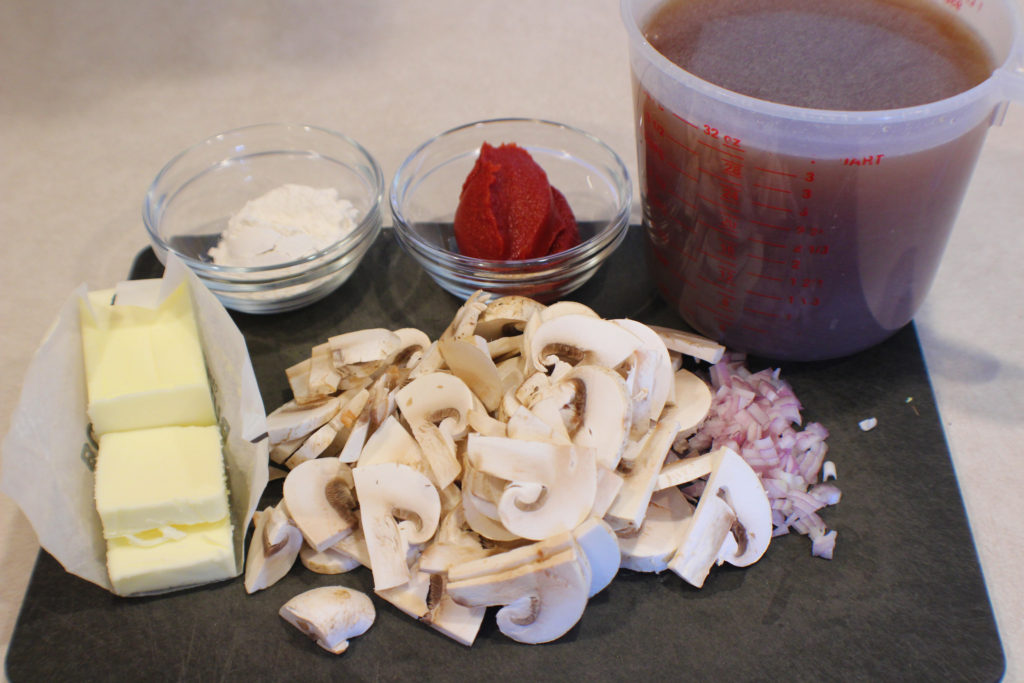
Ingredients
- 2 tbsp olive oil
- 2 cups mushrooms sliced
- 2 tbsp shallots minced
- 2 tbsp butter
- 2 tbsp flour
- 2 tbsp tomato paste
- 1 quart Beef stock for vegetarian use mushroom or veggie stock
- 1 tsp granulated garlic
- Sea salt and black pepper to taste
Instructions
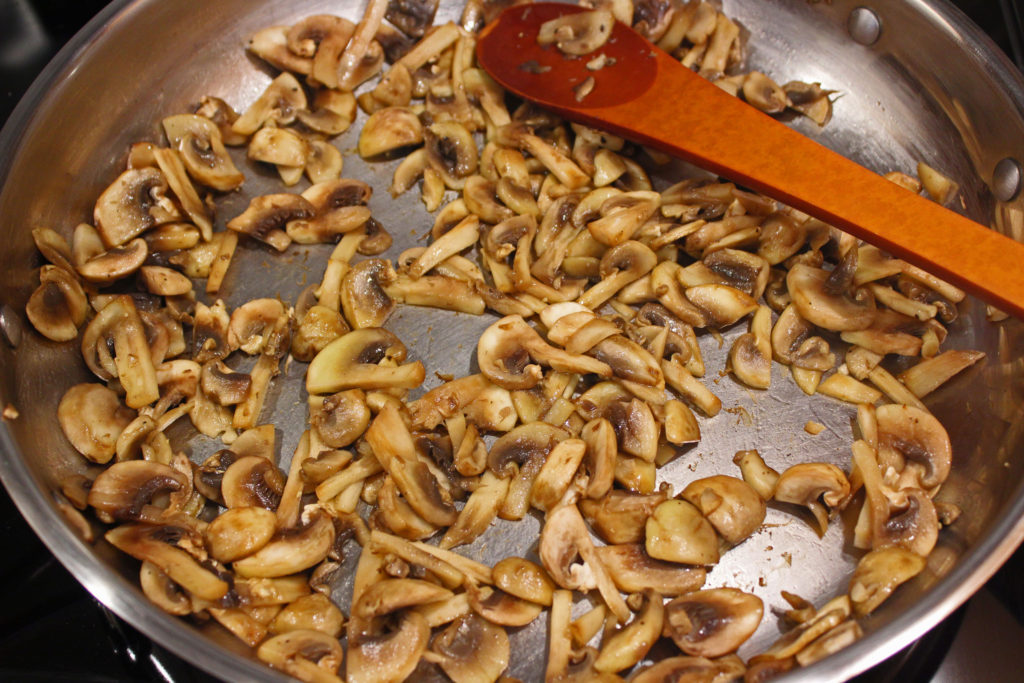
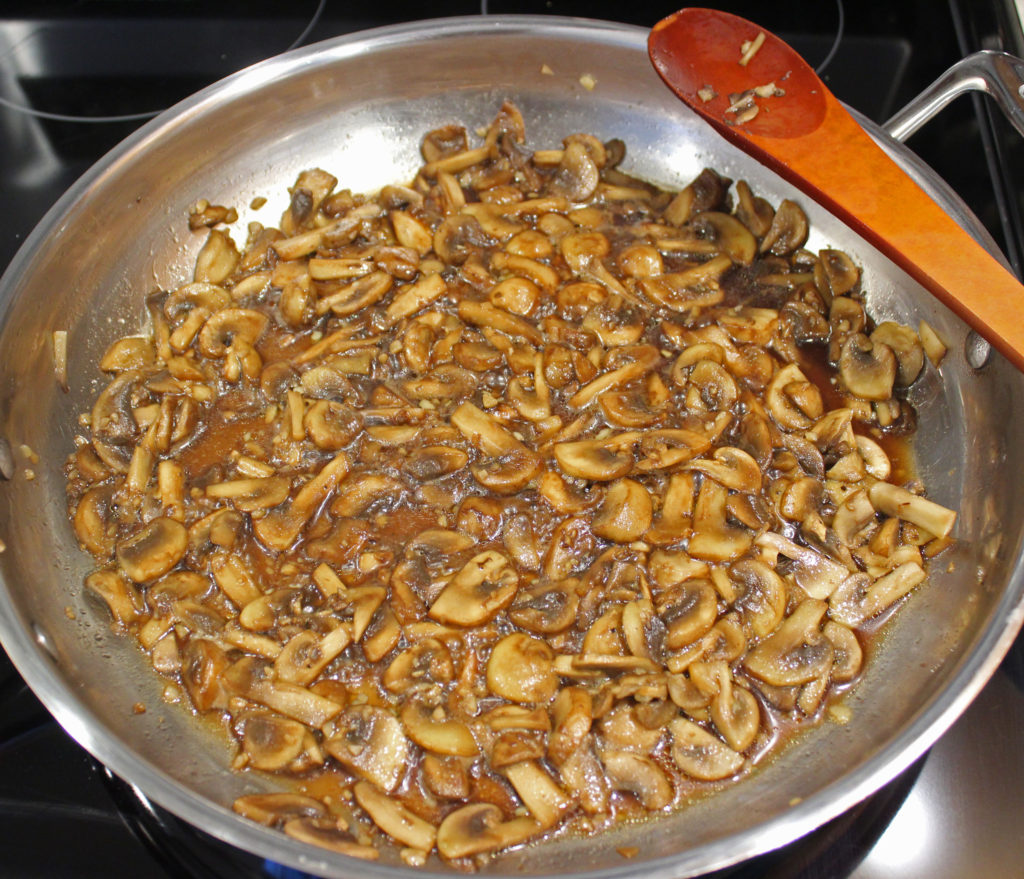
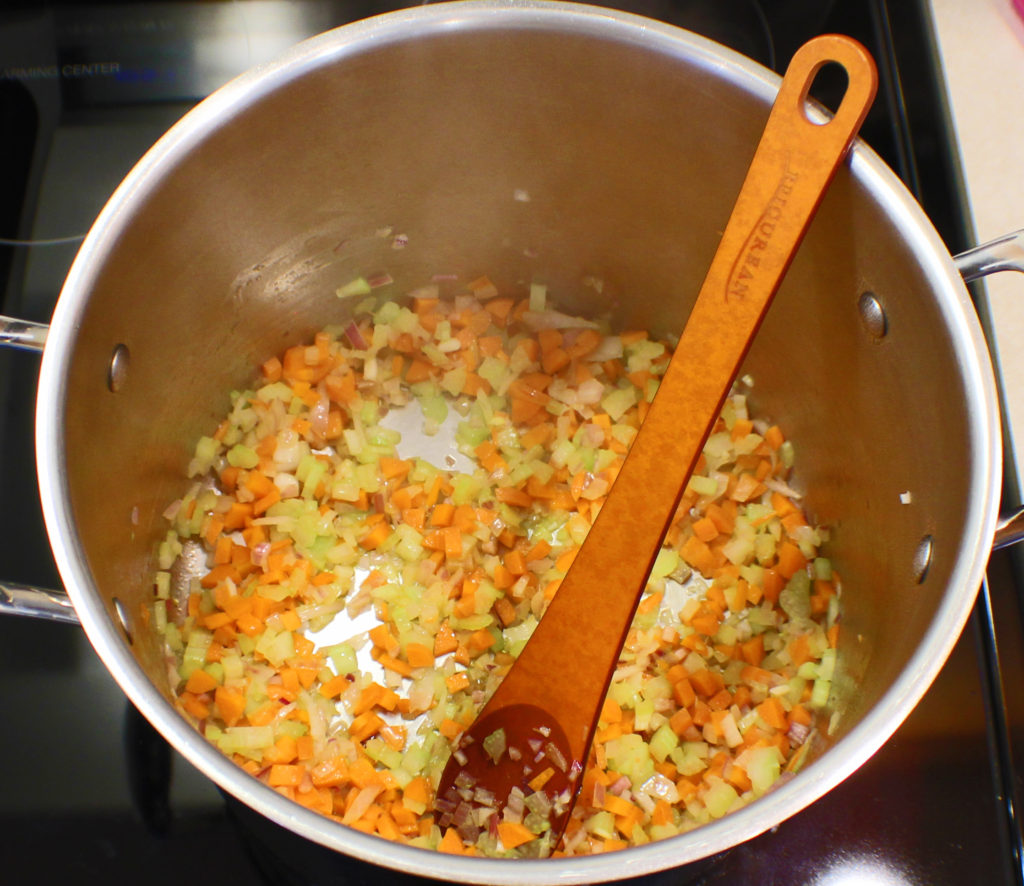
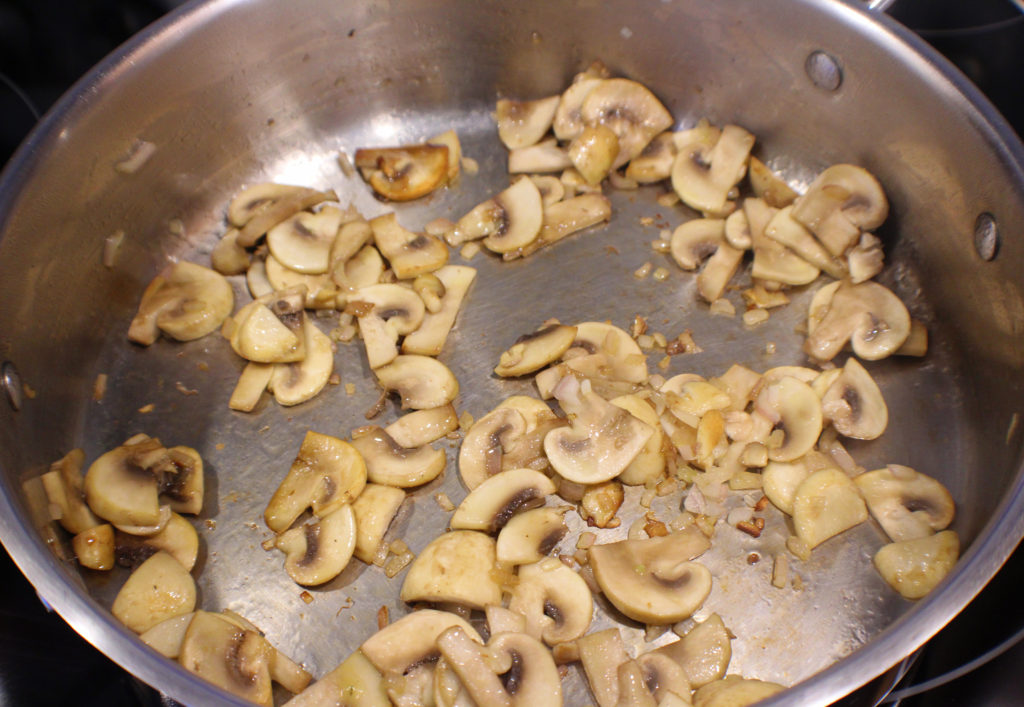
- Heat a 4-inch deep stainless steel pan on medium heat. Add olive oil, mushrooms, and shallots. Sauté until mushrooms are browned and shallots are translucent. Remove from pan and set aside.
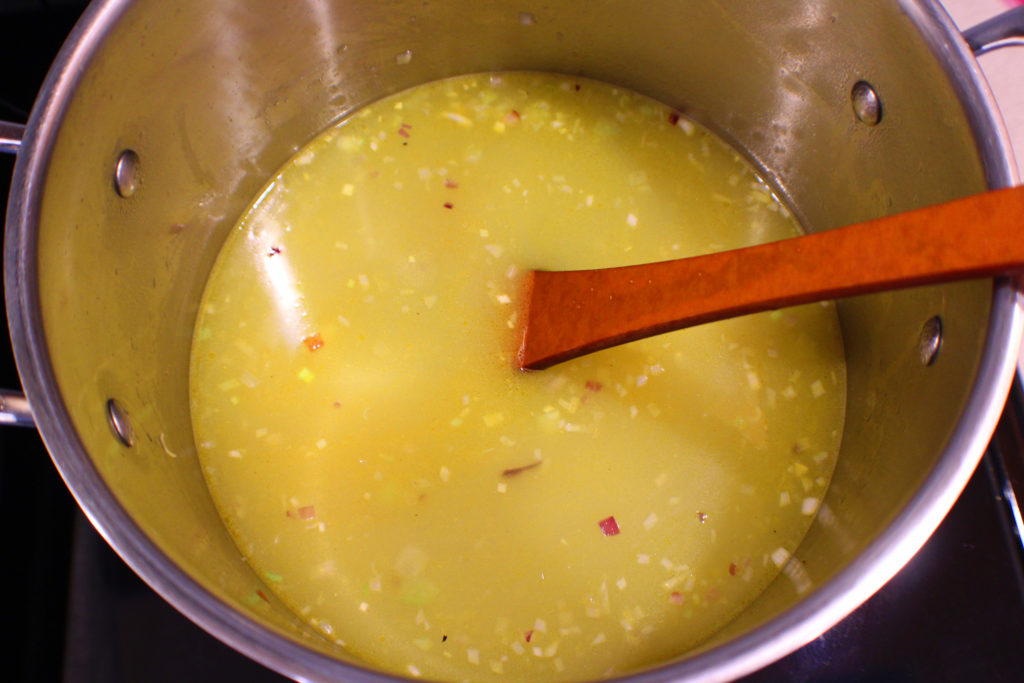
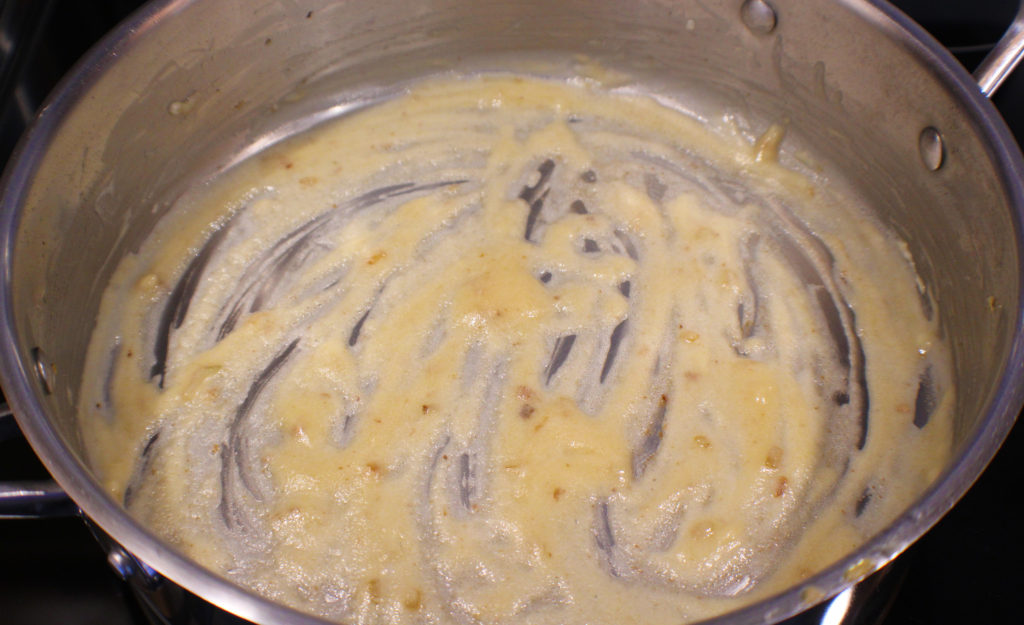
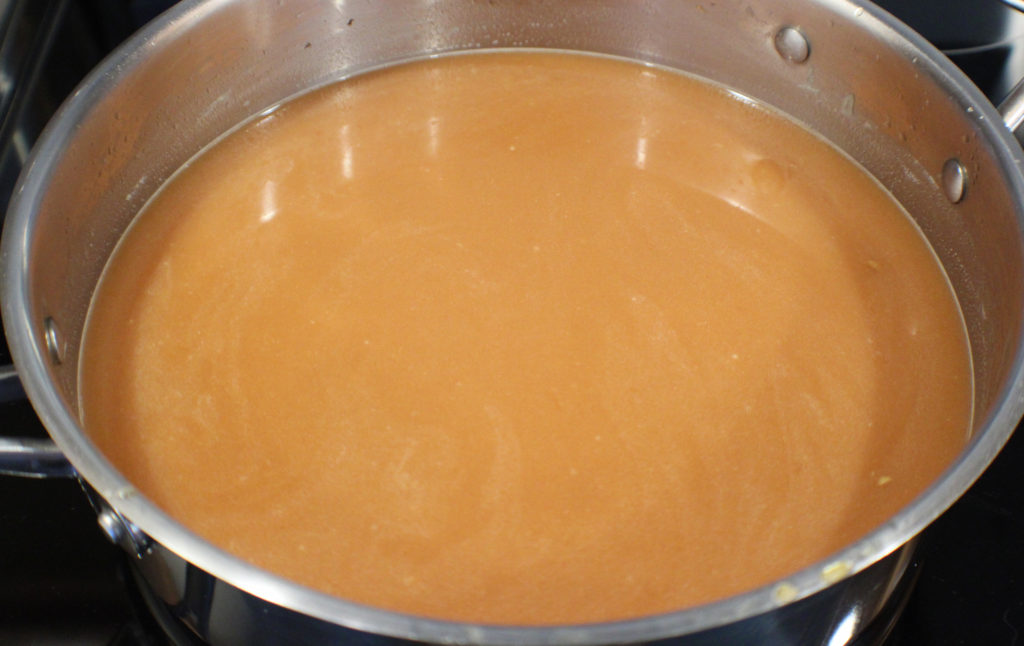
- Add butter to the hot pan, melt, and whisk in the flour. Cook until butter and flour have browned – do not burn. Slowly whisk in beef stock making sure to whisk out all the lumps, then add granulated garlic, and tomato paste.
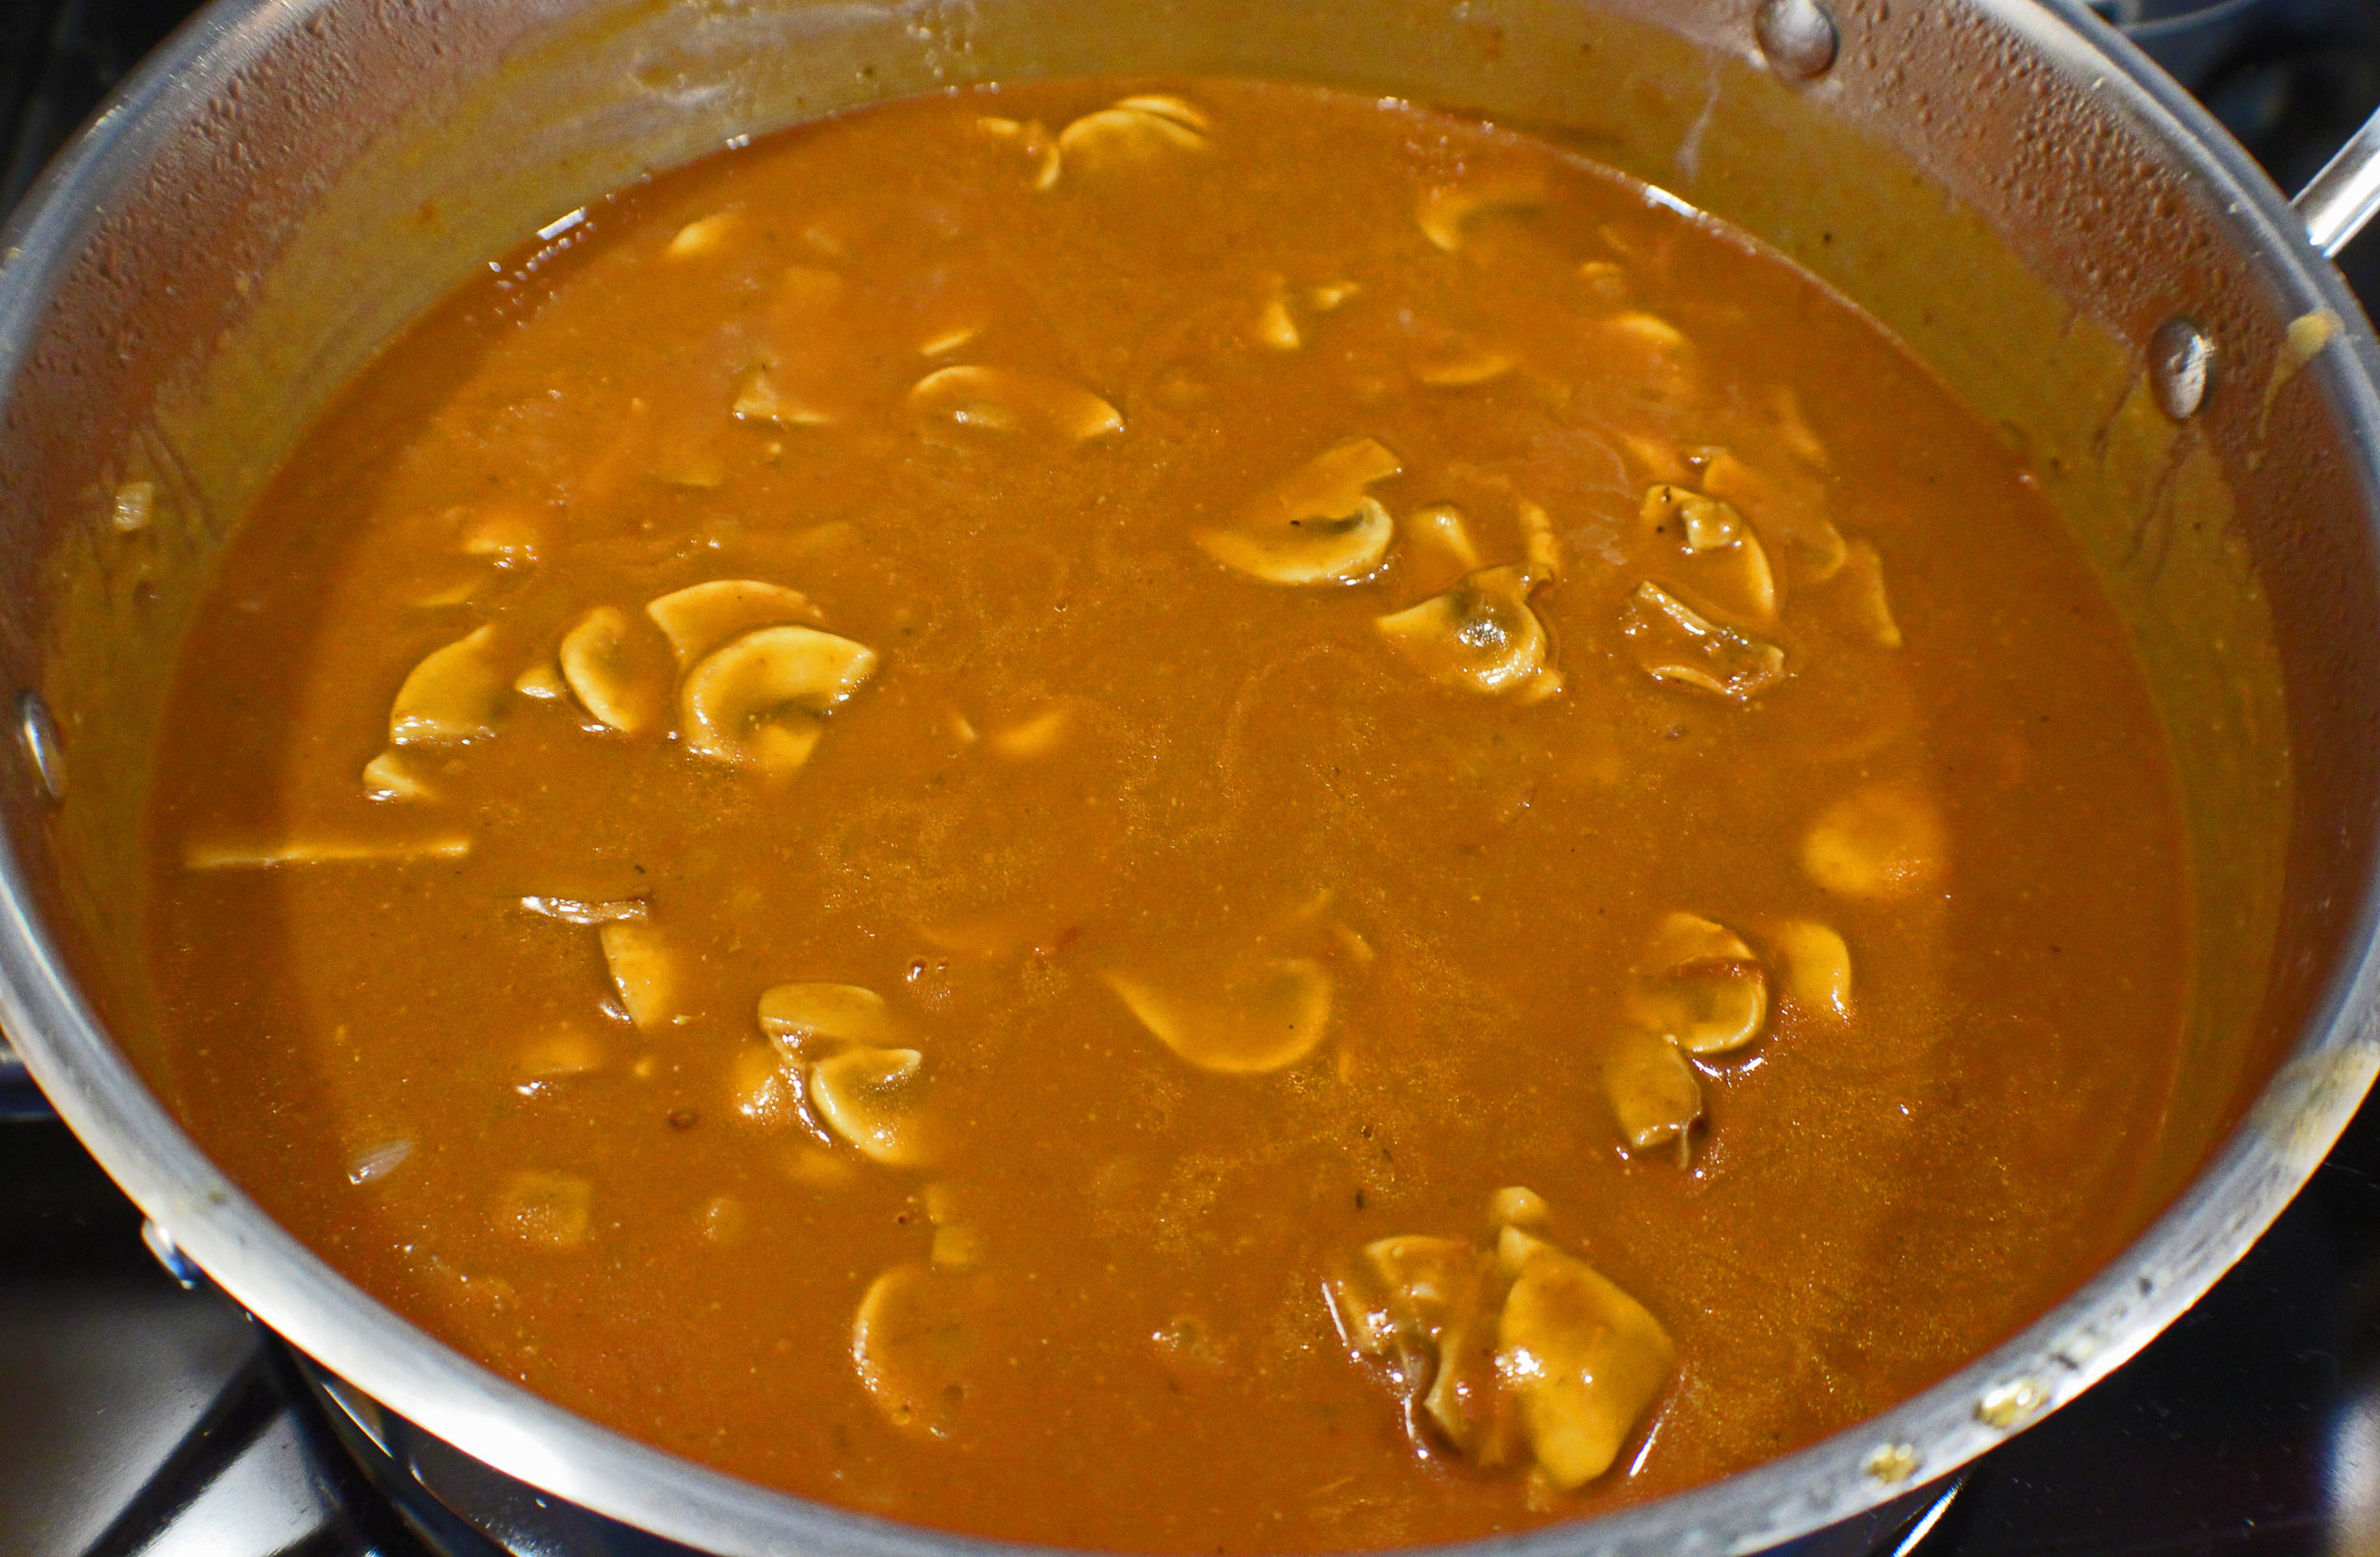
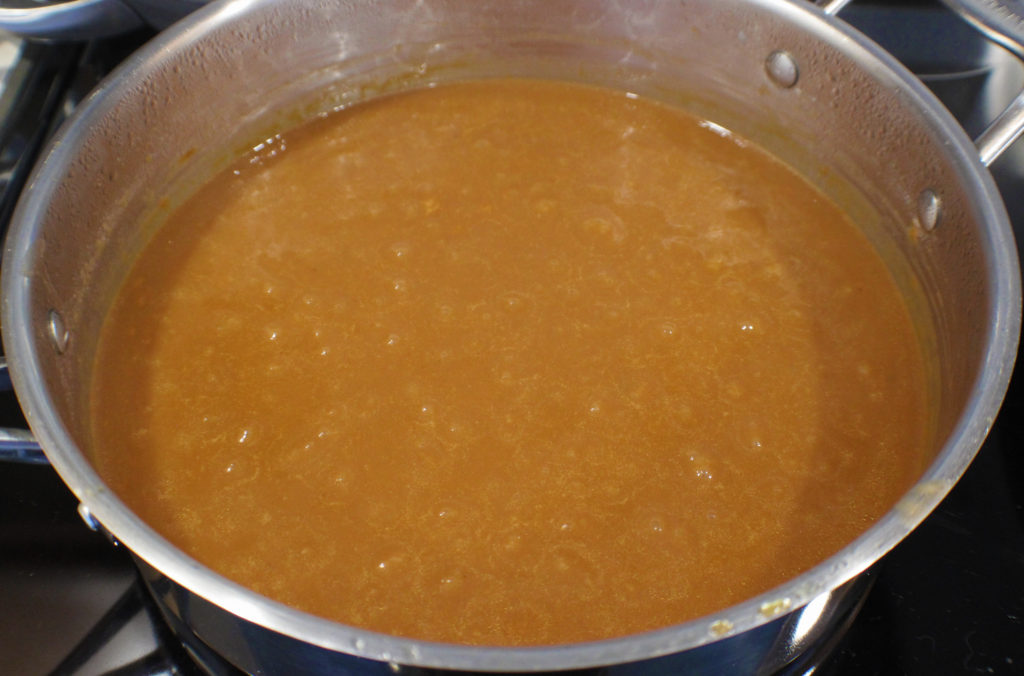
- Bring to a simmer, reduce heat to low, and simmer for 1 hour, stirring frequently. Gravy should be reduced in half. Add mushrooms and shallots in the last 5 minutes.
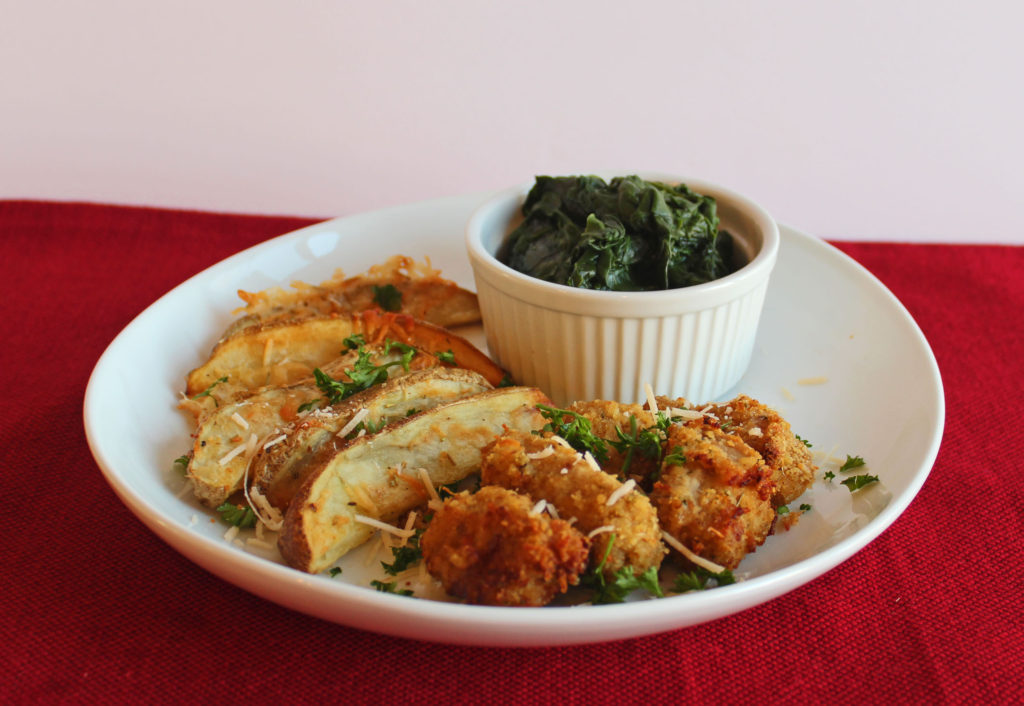
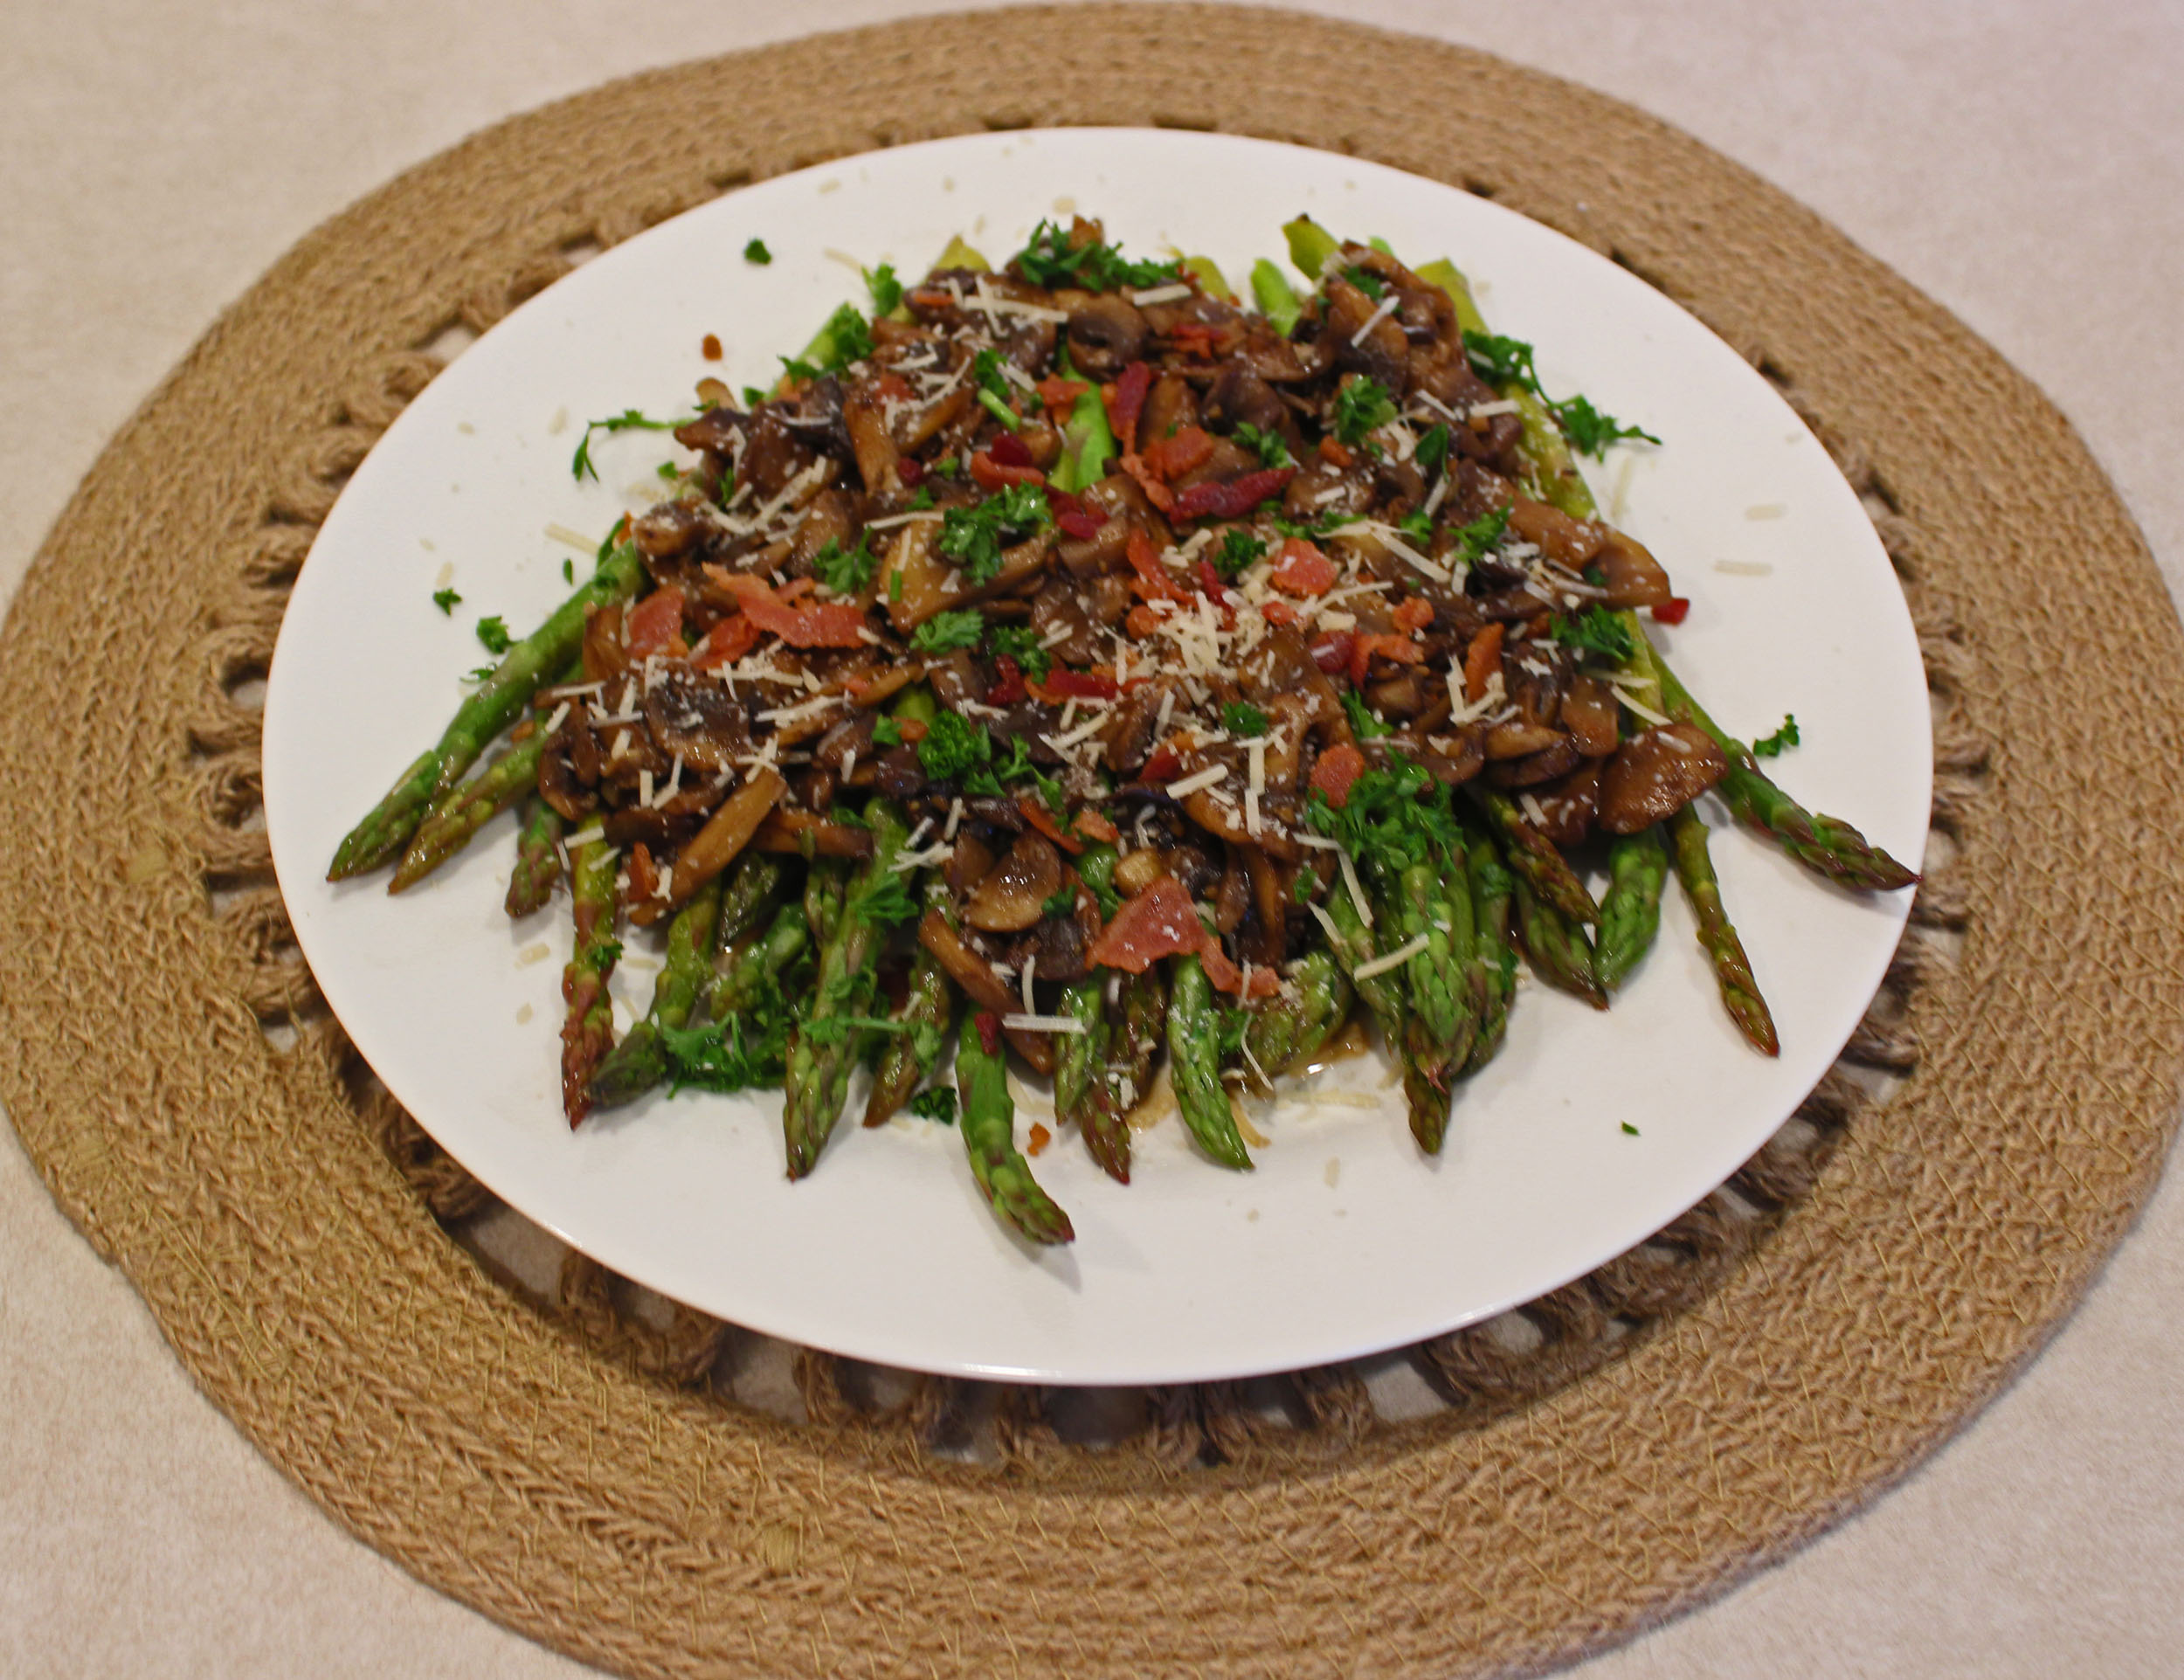
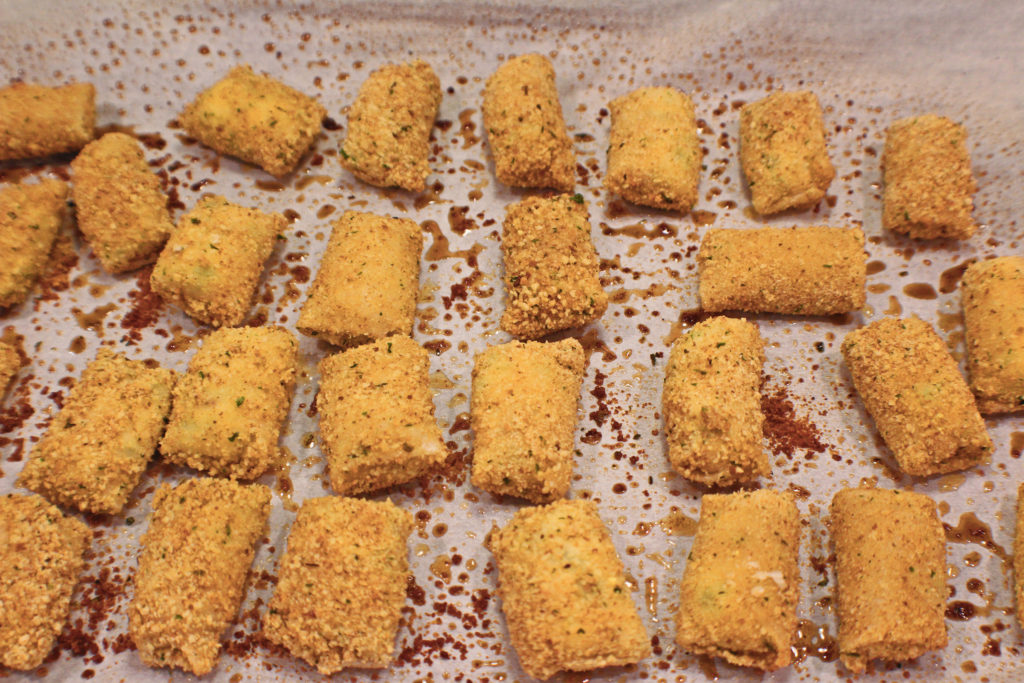
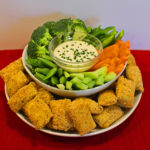
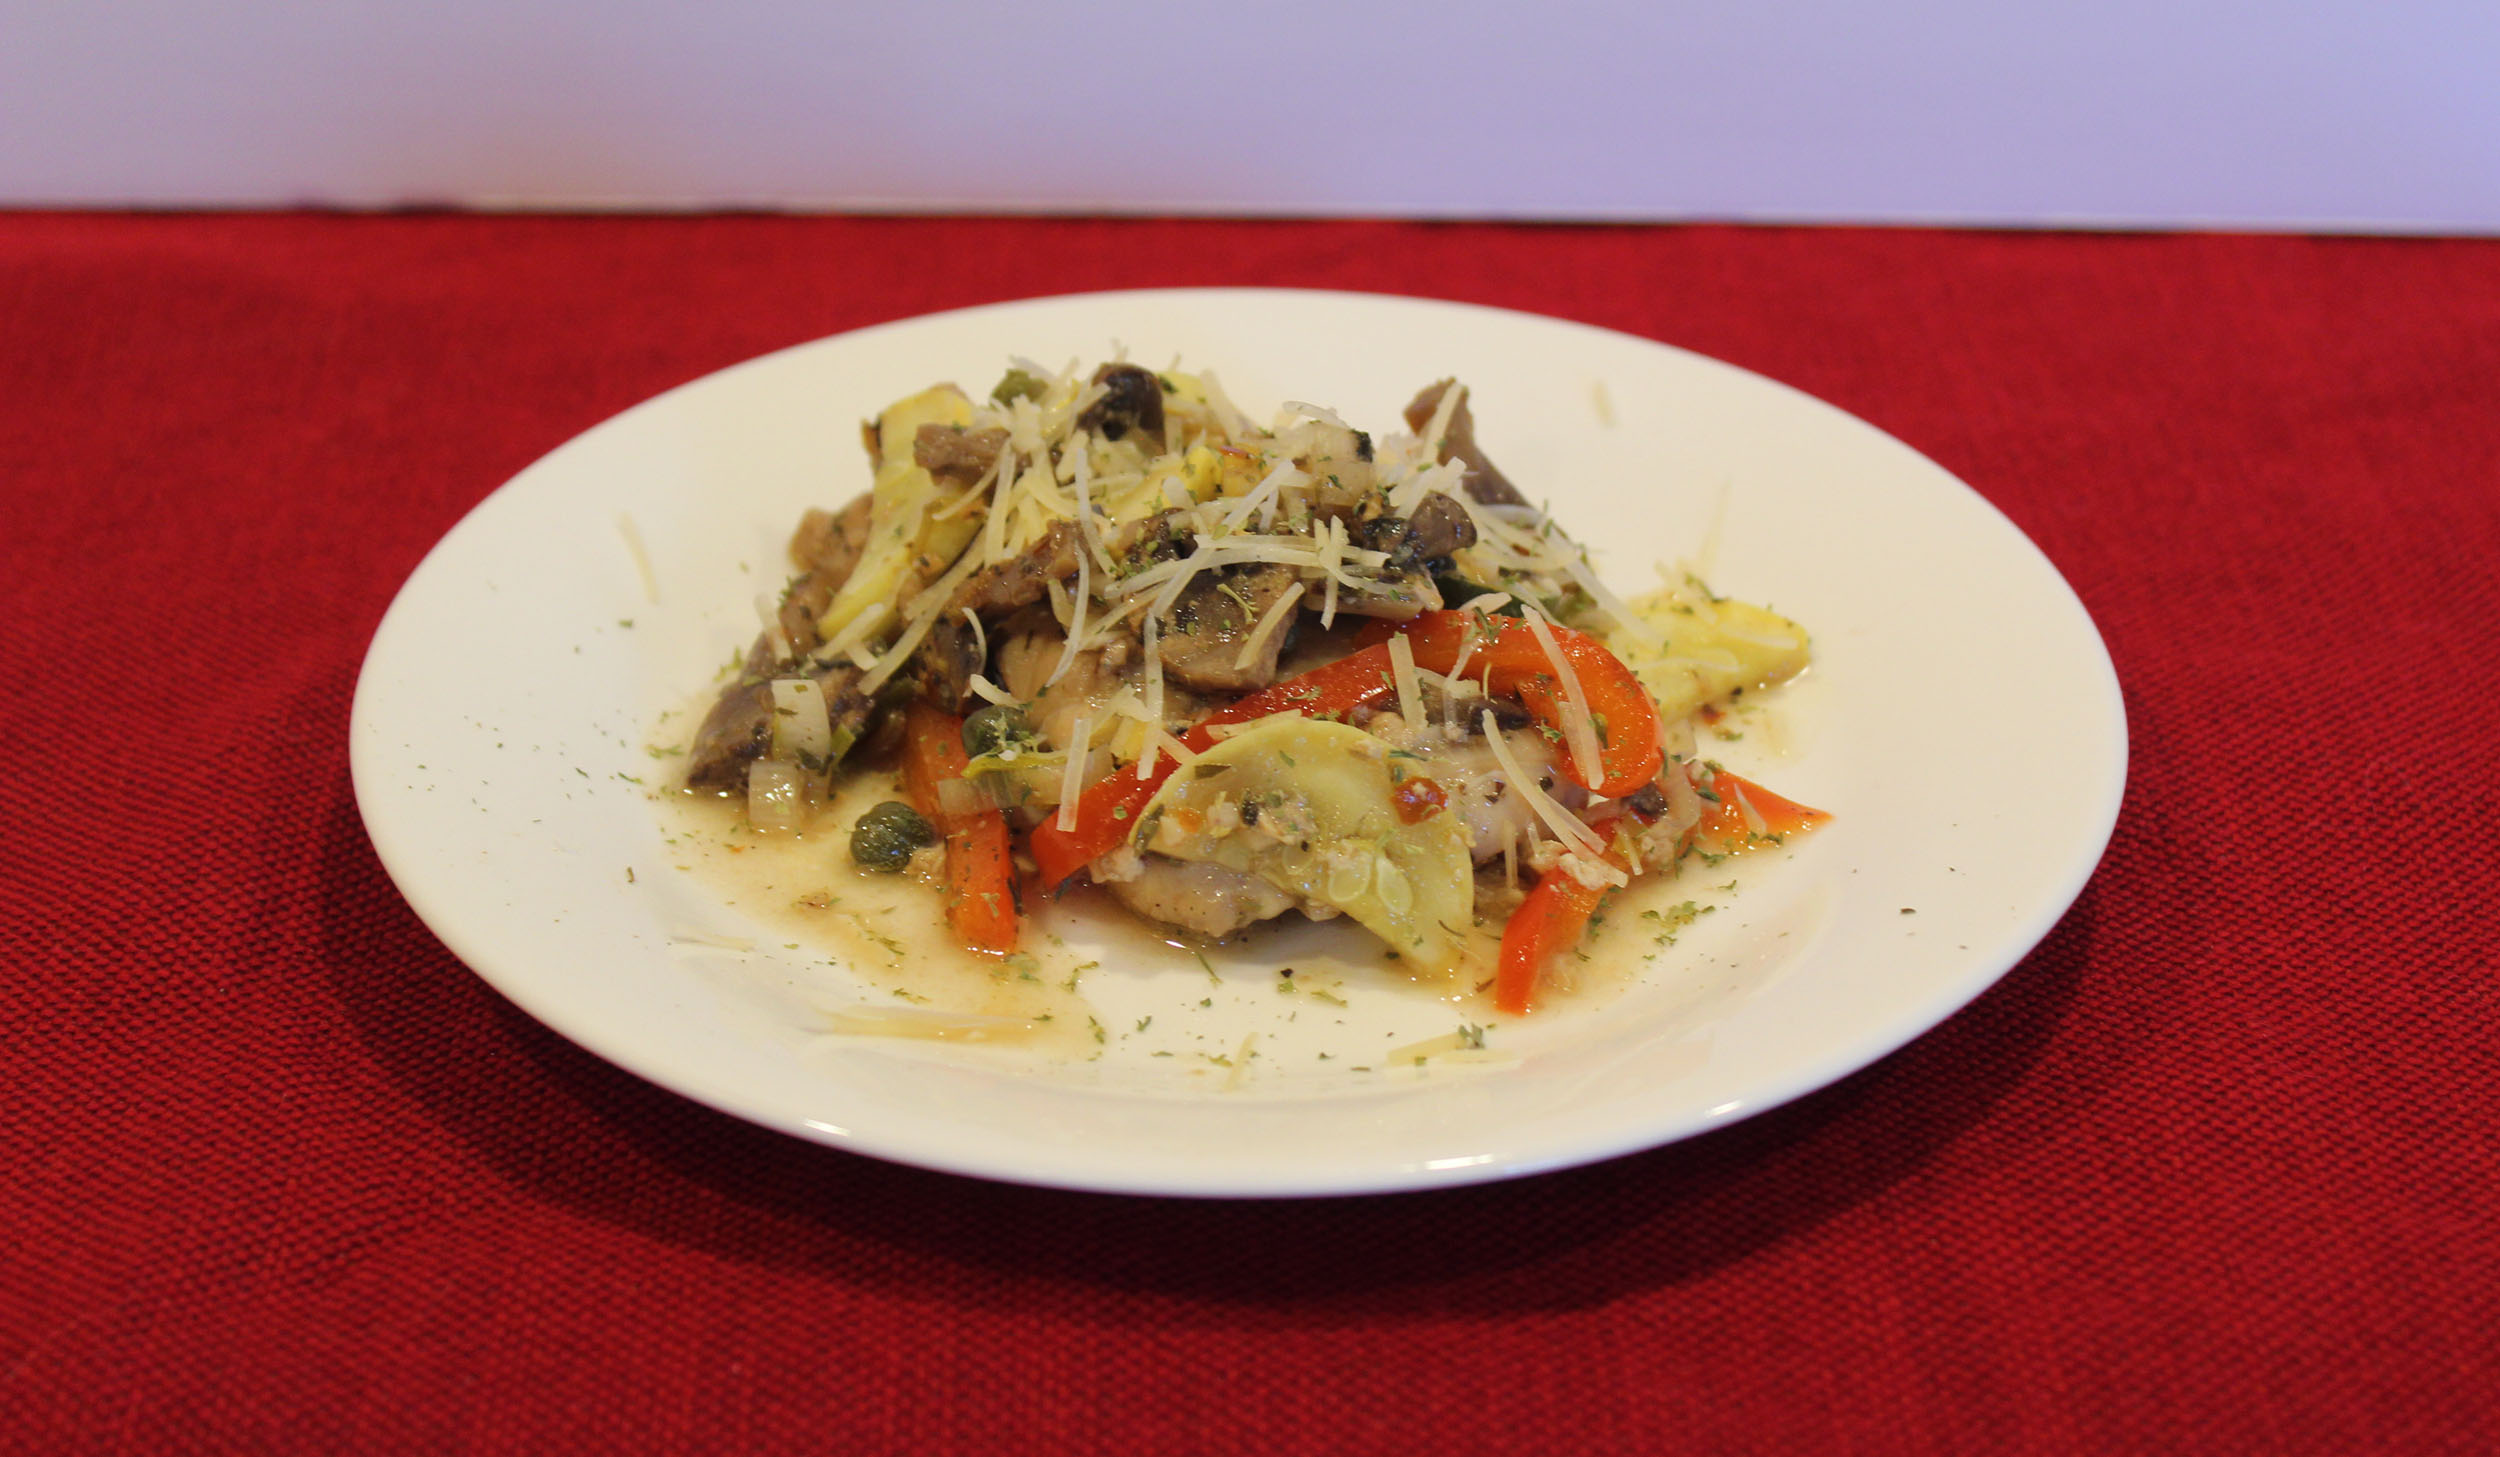
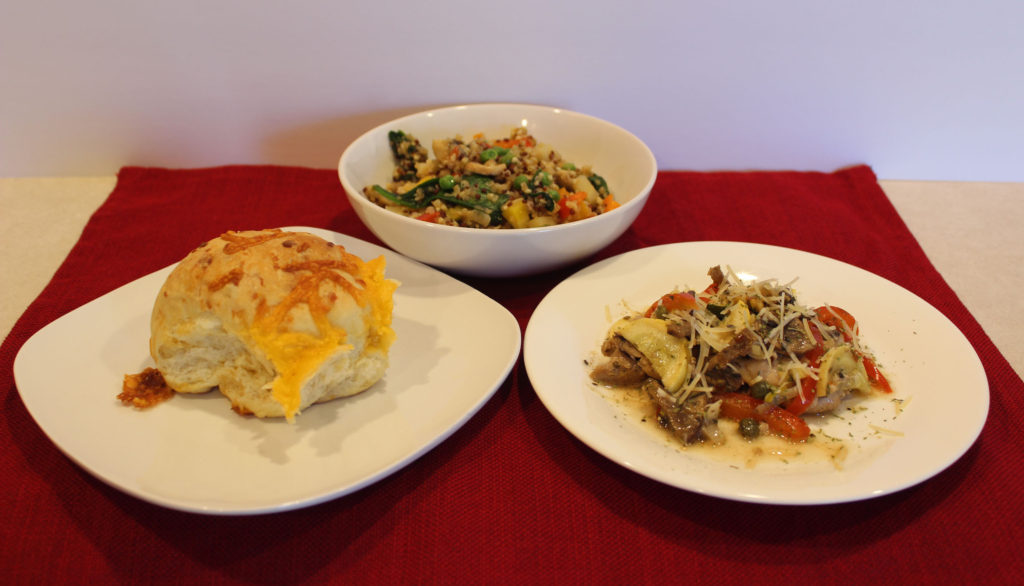
- Top steaks, Hazelnut Crusted Pork Medallions, or grilled portobello caps with gravy or demi glace. It's also very good on mashed potatoes.
- Enjoy!
Nutrition
Calories: 180kcal | Carbohydrates: 10g | Protein: 7g | Fat: 13g | Saturated Fat: 5g | Trans Fat: 1g | Cholesterol: 15mg | Sodium: 585mg | Potassium: 703mg | Fiber: 1g | Sugar: 4g | Vitamin A: 297IU | Vitamin C: 3mg | Calcium: 28mg | Iron: 1mg