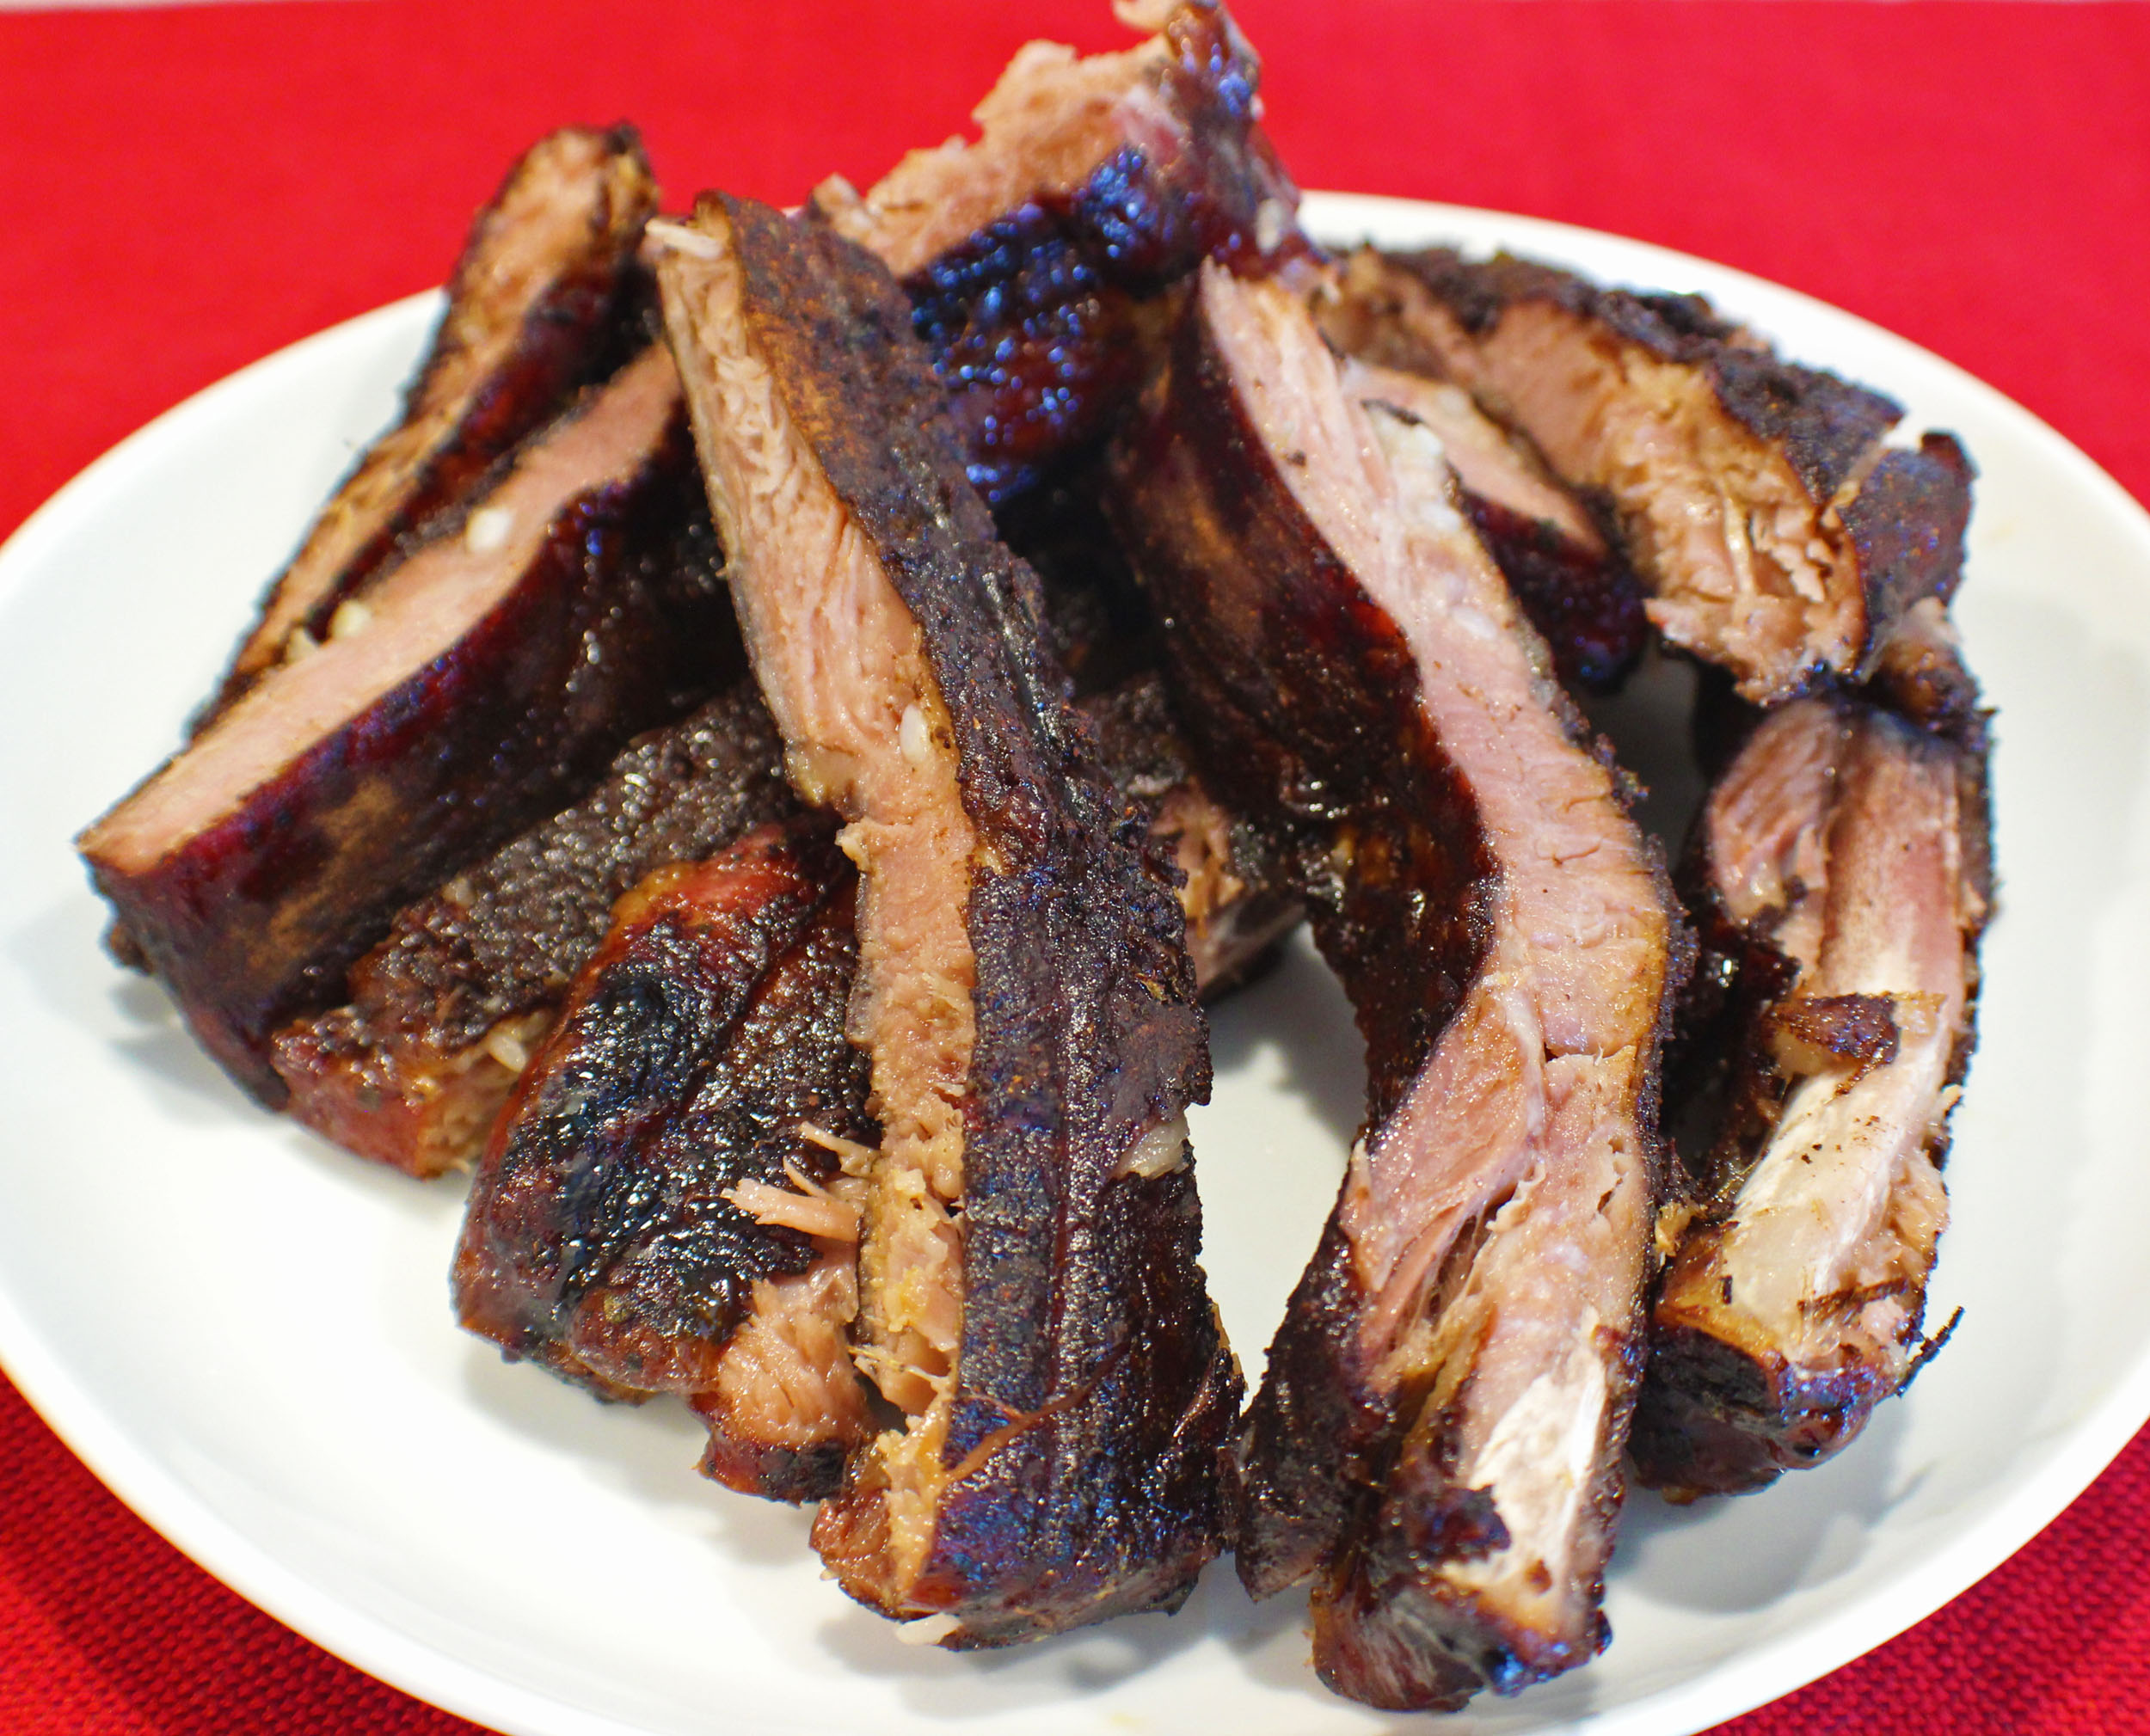
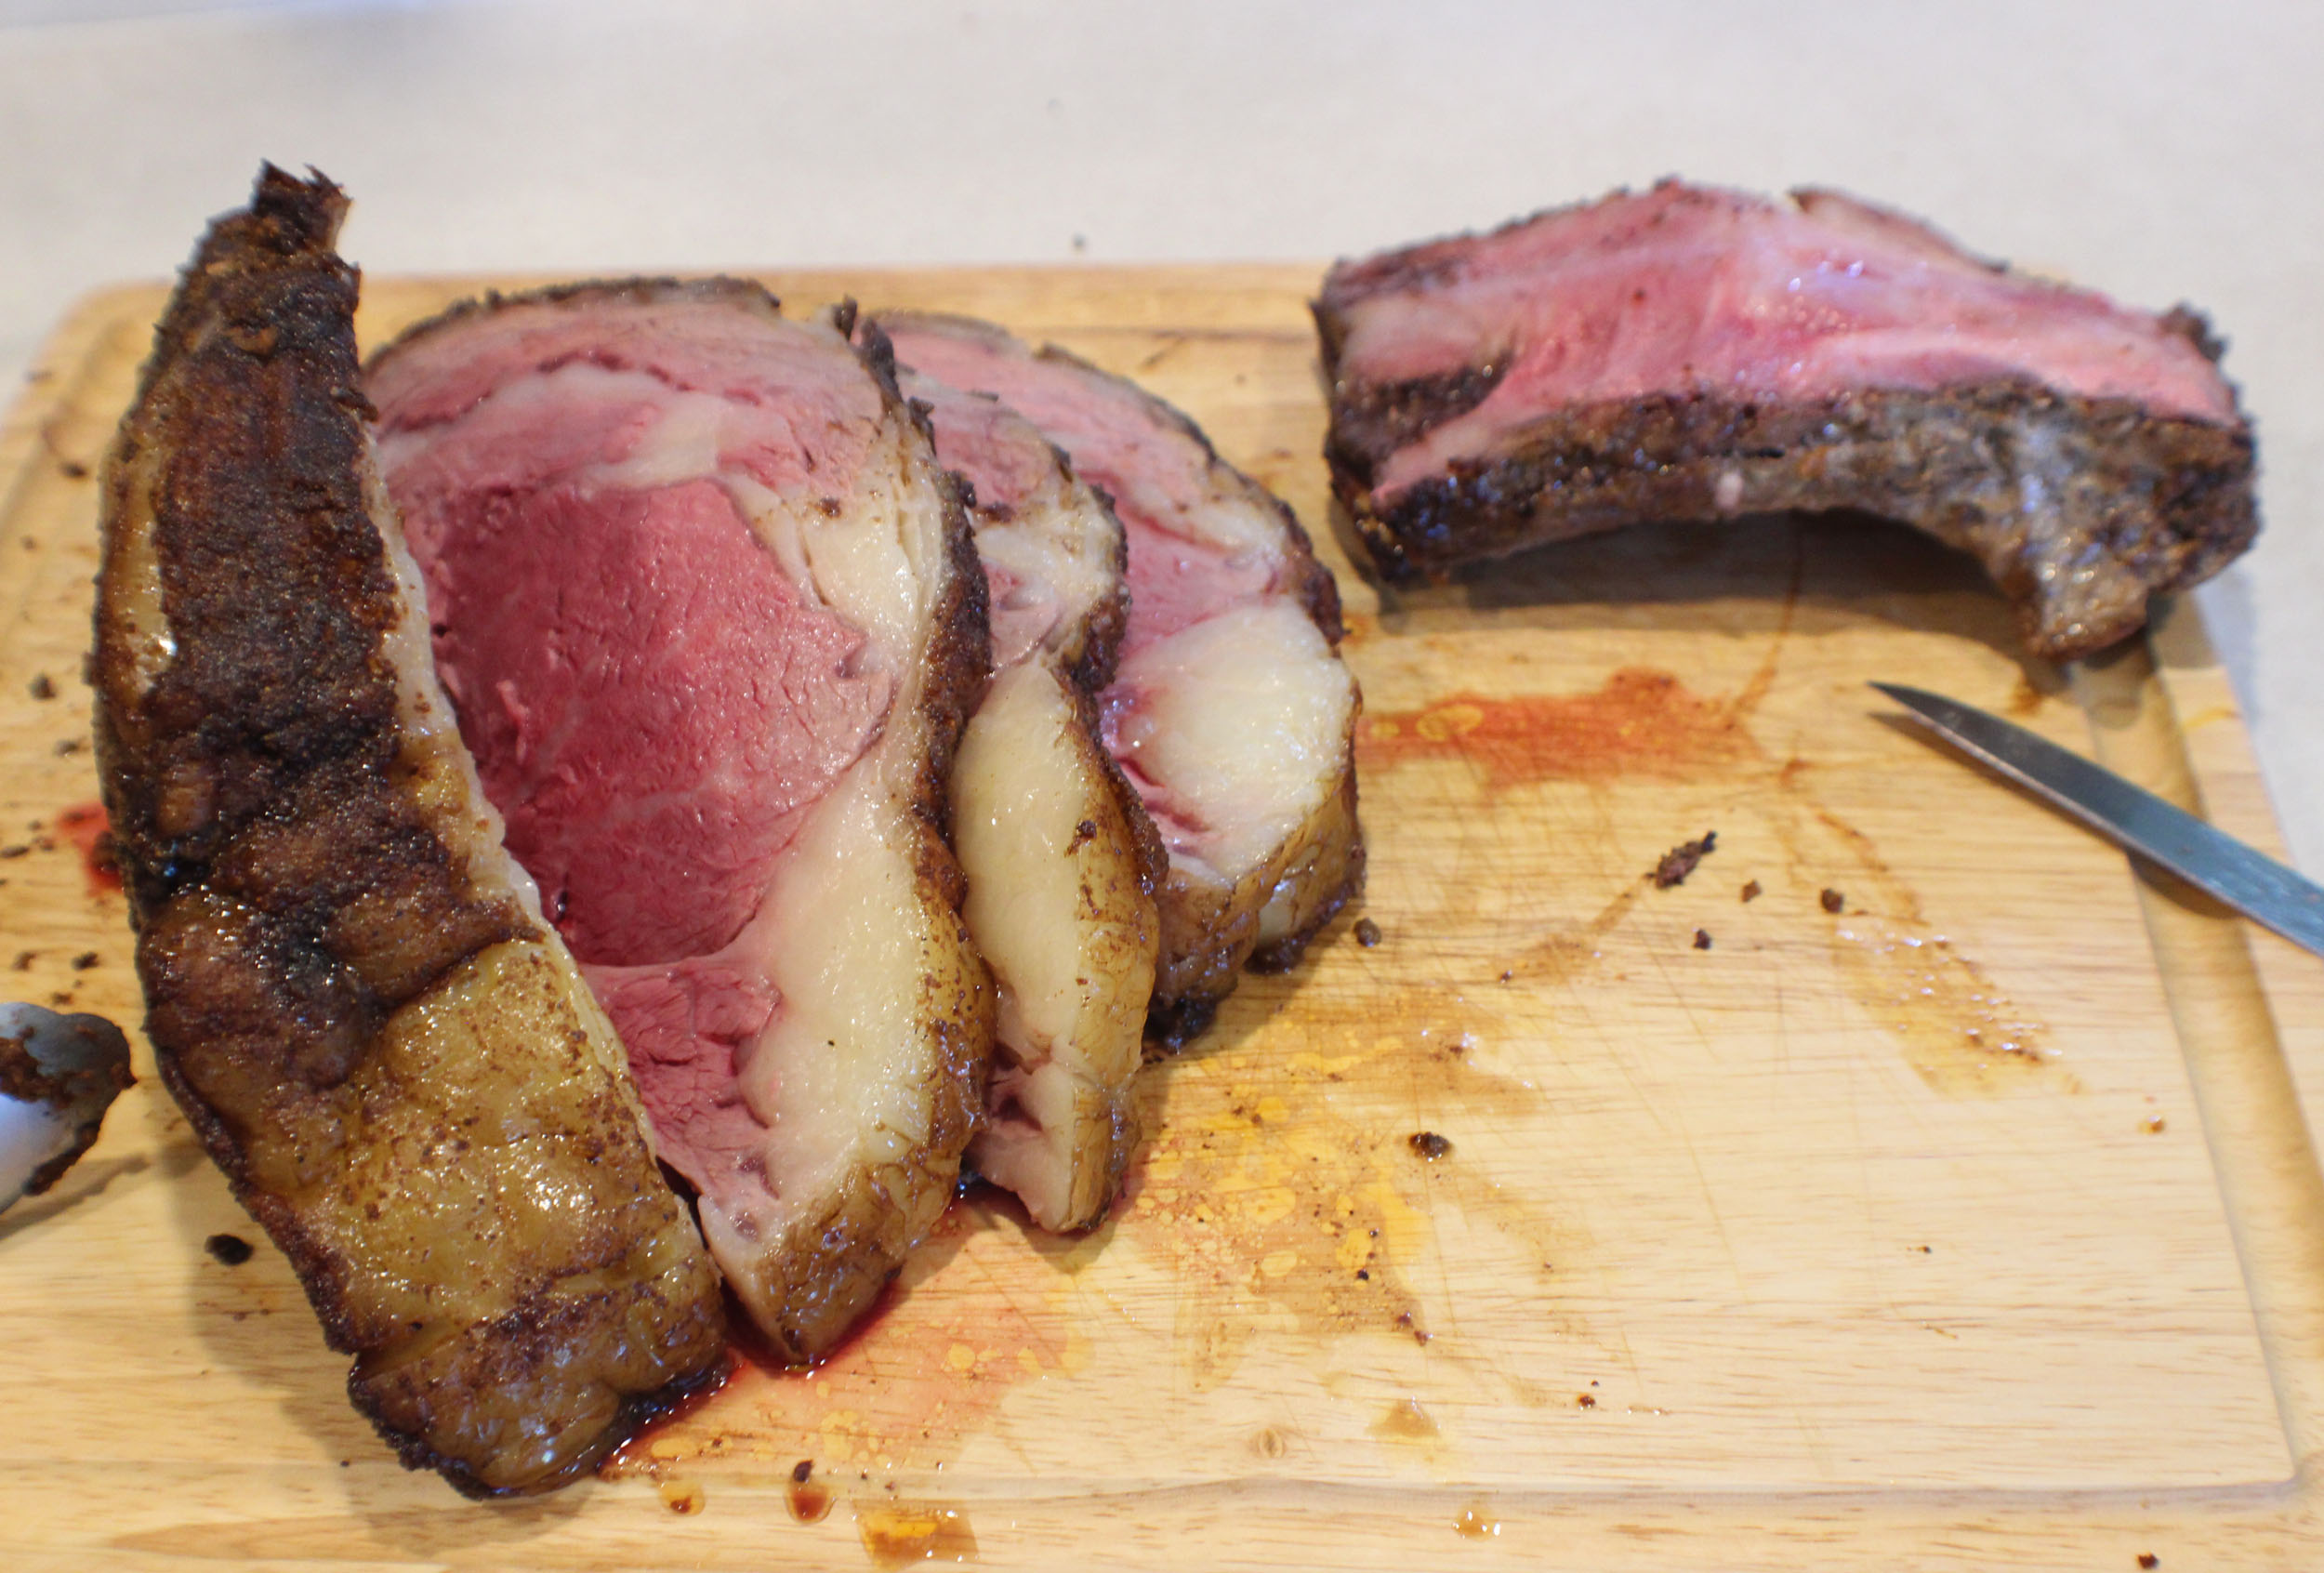
Smoked Prime Rib
Prime rib is a great cut of meat to smoke. Put the Au Jus in a foil pan in the smoker to have a delicious, smokey Jus to serve with the Prime Rib.
Servings: 6 people
Calories: 709kcal
Equipment
- Smoker
- Foil Pan
- Cutting board and knife
- Butcher Paper
- Cooler to rest Prime Rib in
- Hickory, Mesquite, or wood chips of your choice
Ingredients
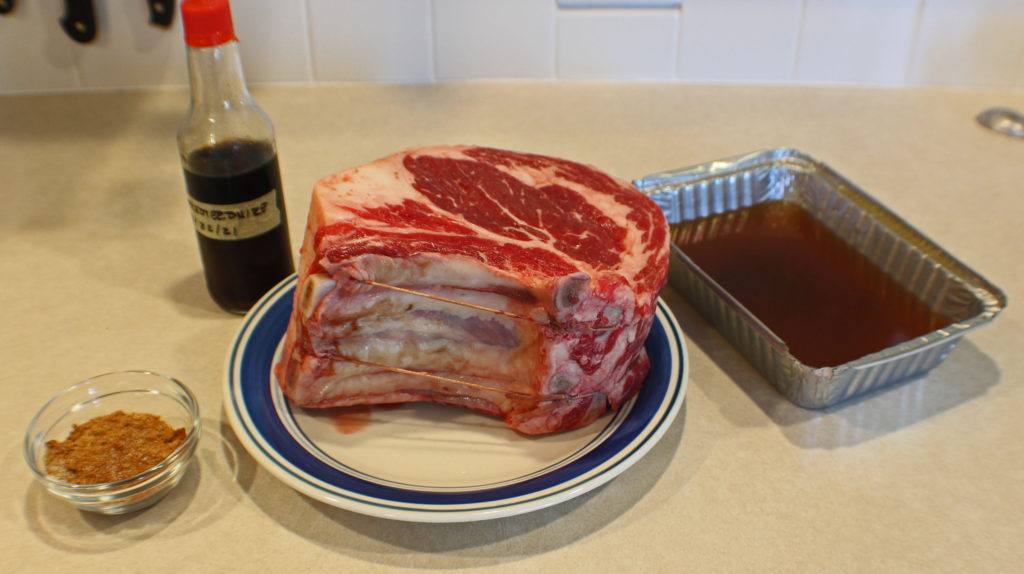
- 5 pounds prime rib with bones
- 3 tbsp Worcestershire sauce
- 2 cups beef stock
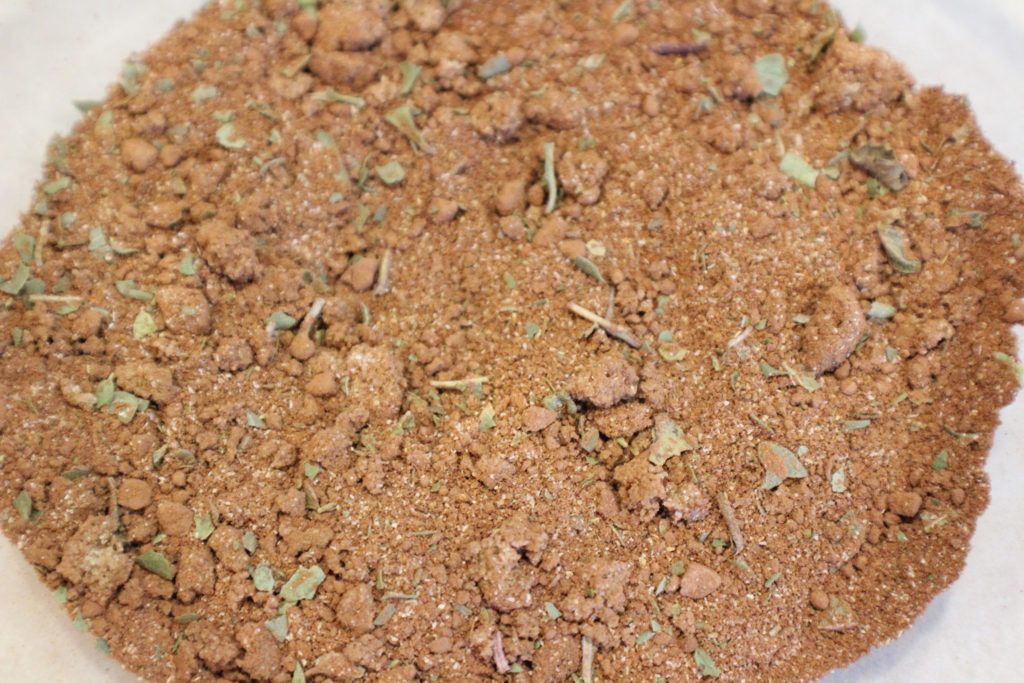
Rub Ingredients
- 1 tbsp paprika
- 2 tsp granulated garlic
- 2 tsp sea salt
- 2 tsp black pepper
- 1 tbsp brown sugar
Instructions
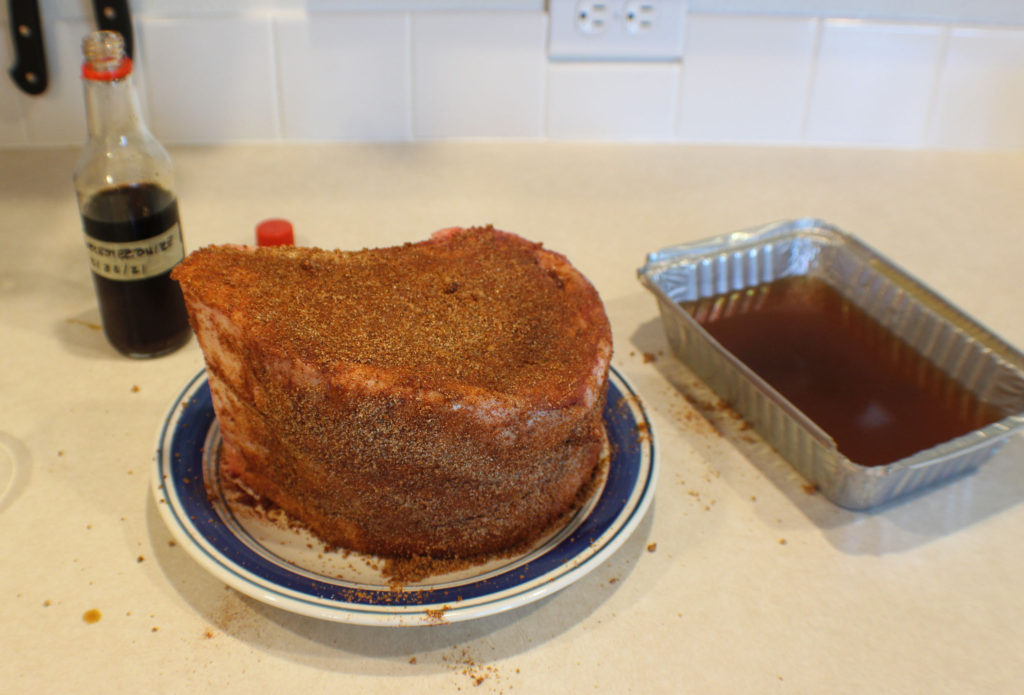
- Combine rub seasonings.
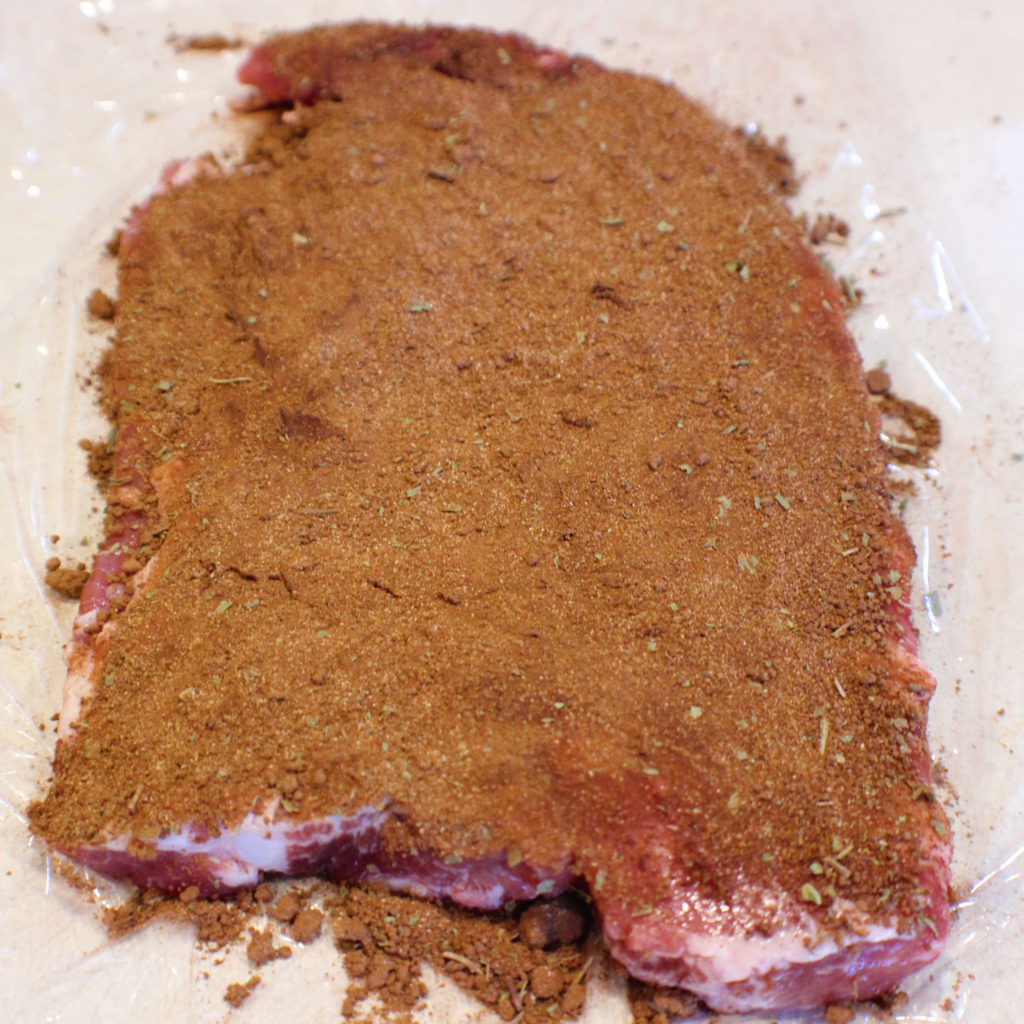
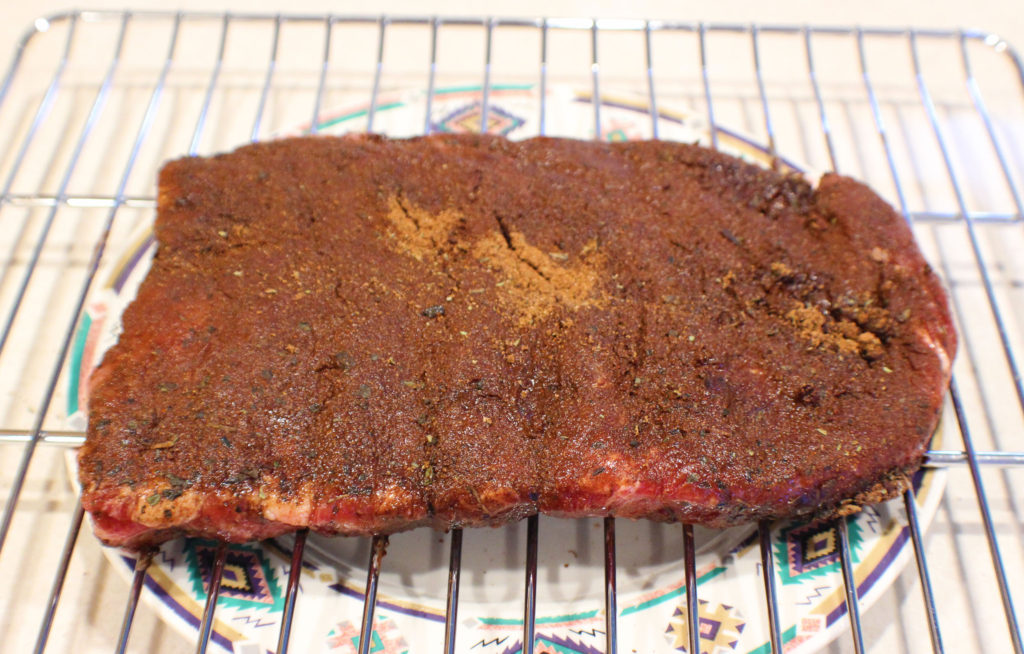
- Rub Worcestershire sauce on outside of prime rib then rub with the seasoning mixture.
- Put beef stock in a foil pan.
- Fill wood chip pan 1/3 full of hickory chips or chips of your choice.
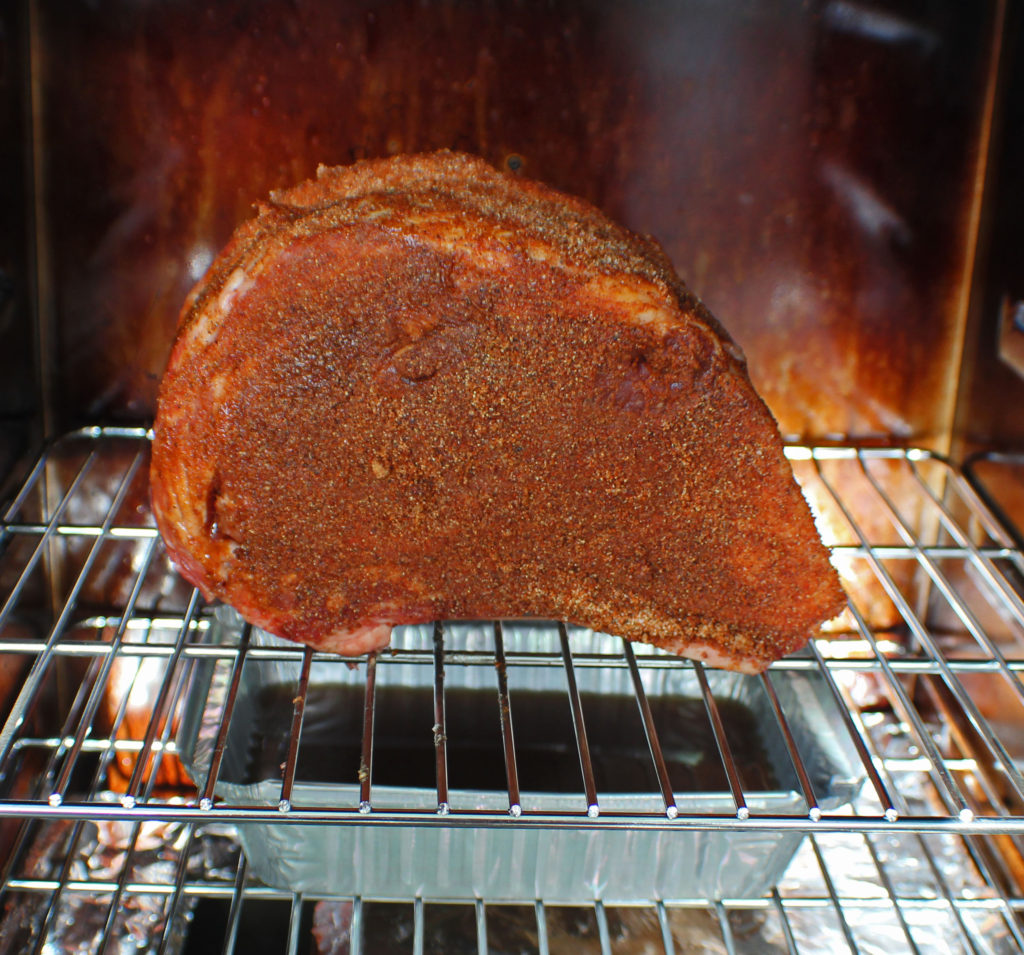
- Prepare smoker according to manufacture directions. Set cook to 225 degrees and internal food temperature to 140 degrees and do a chip burn.
- Insert meat thermometer into prime rib, then put in the smoker over the pan with the Au Jus. This will catch the drippings from the prime rib and help season the Au Jus.
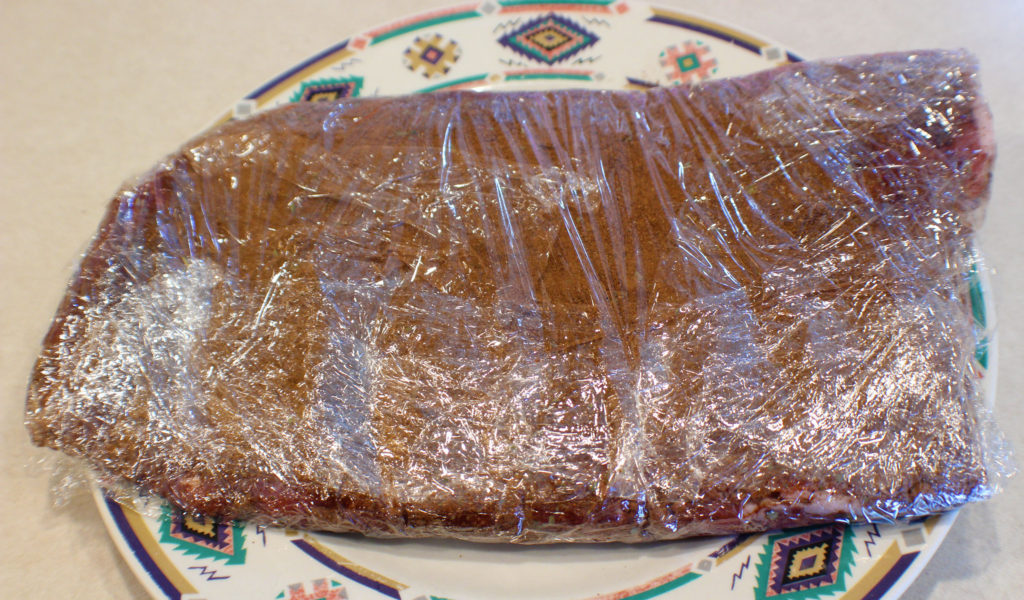
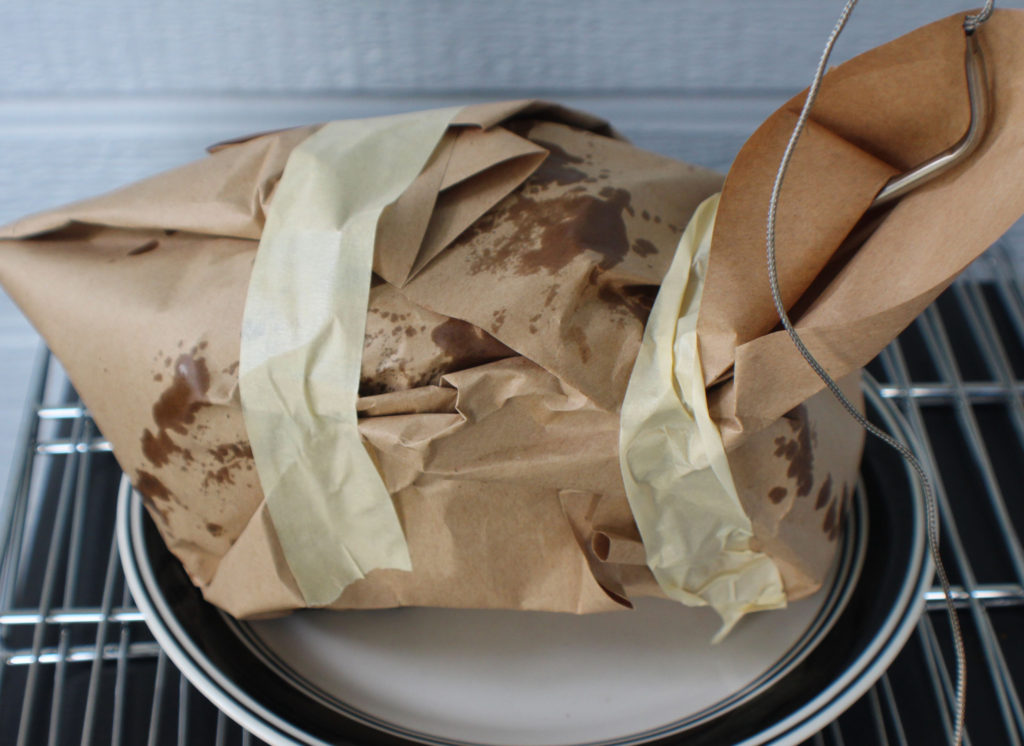
- Cook until the prime rib reaches 100 degrees. Remove and wrap with butcher paper. I use some masking tape to help keep the paper closed.
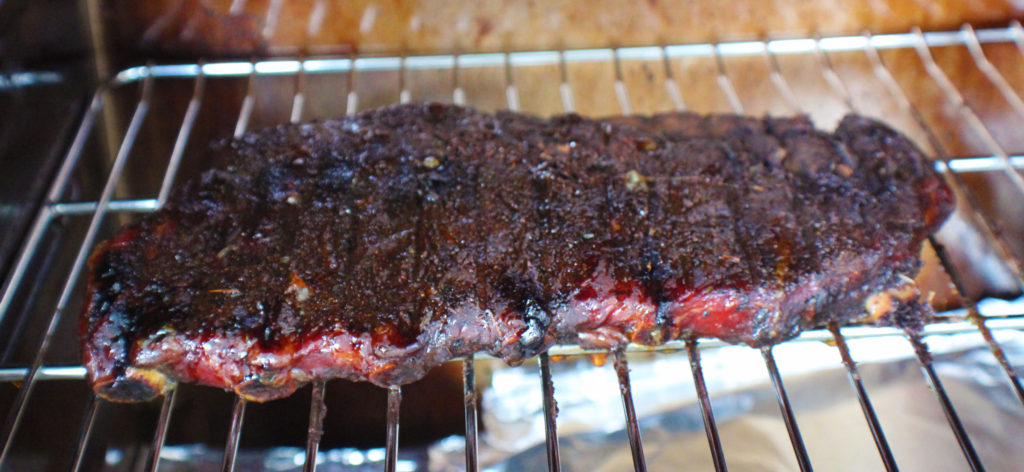
- Return to smoker and cook to 140 degrees.
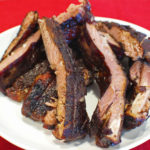
- Remove from smoker, keep it wrapped in the butcher paper, and let it rest for ½ hour before slicing.
- Enjoy!
Notes
I have a disposable cooler that I line with old towels that I rest my prime rib in to help it stay warm.
Nutrition
Calories: 709kcal | Carbohydrates: 6g | Protein: 33g | Fat: 61g | Saturated Fat: 25g | Cholesterol: 137mg | Sodium: 1120mg | Potassium: 767mg | Fiber: 1g | Sugar: 3g | Vitamin A: 585IU | Vitamin C: 1mg | Calcium: 41mg | Iron: 4mg