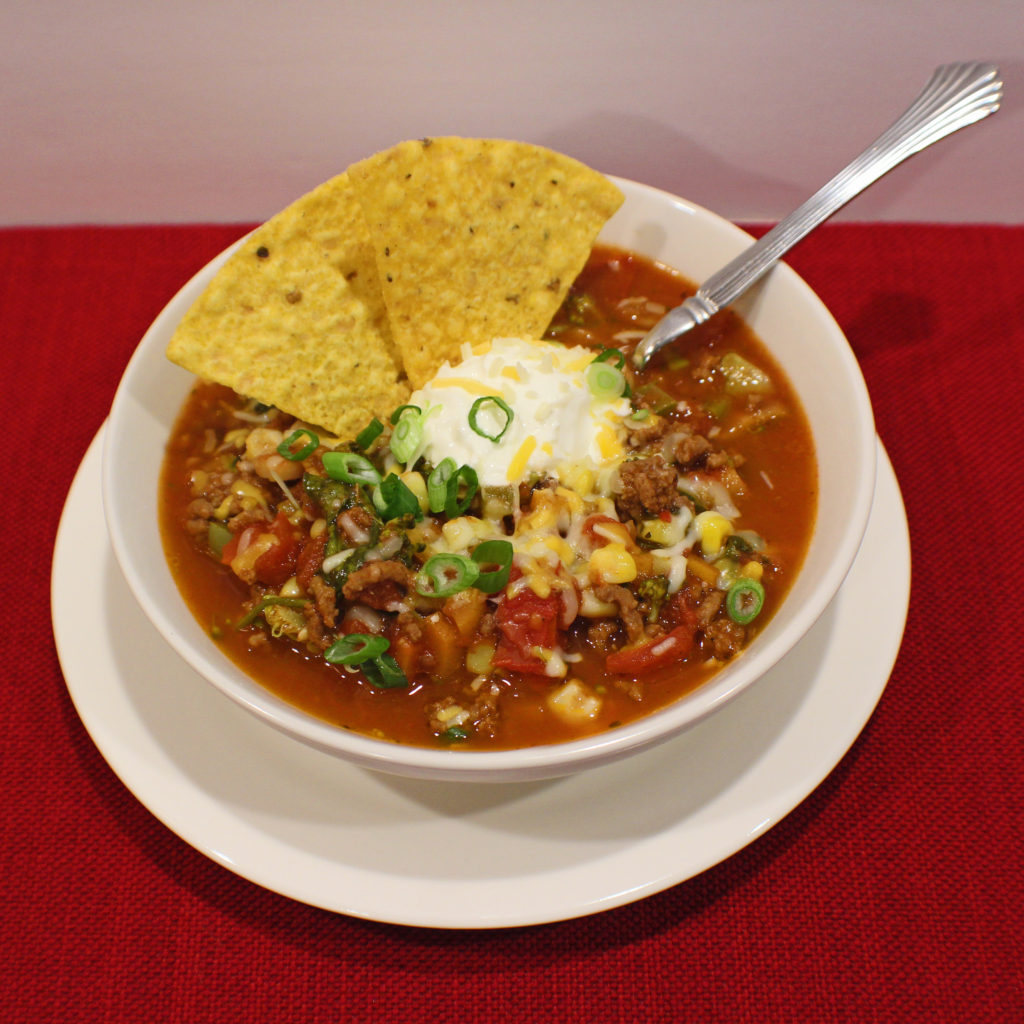
Split Pea Soup

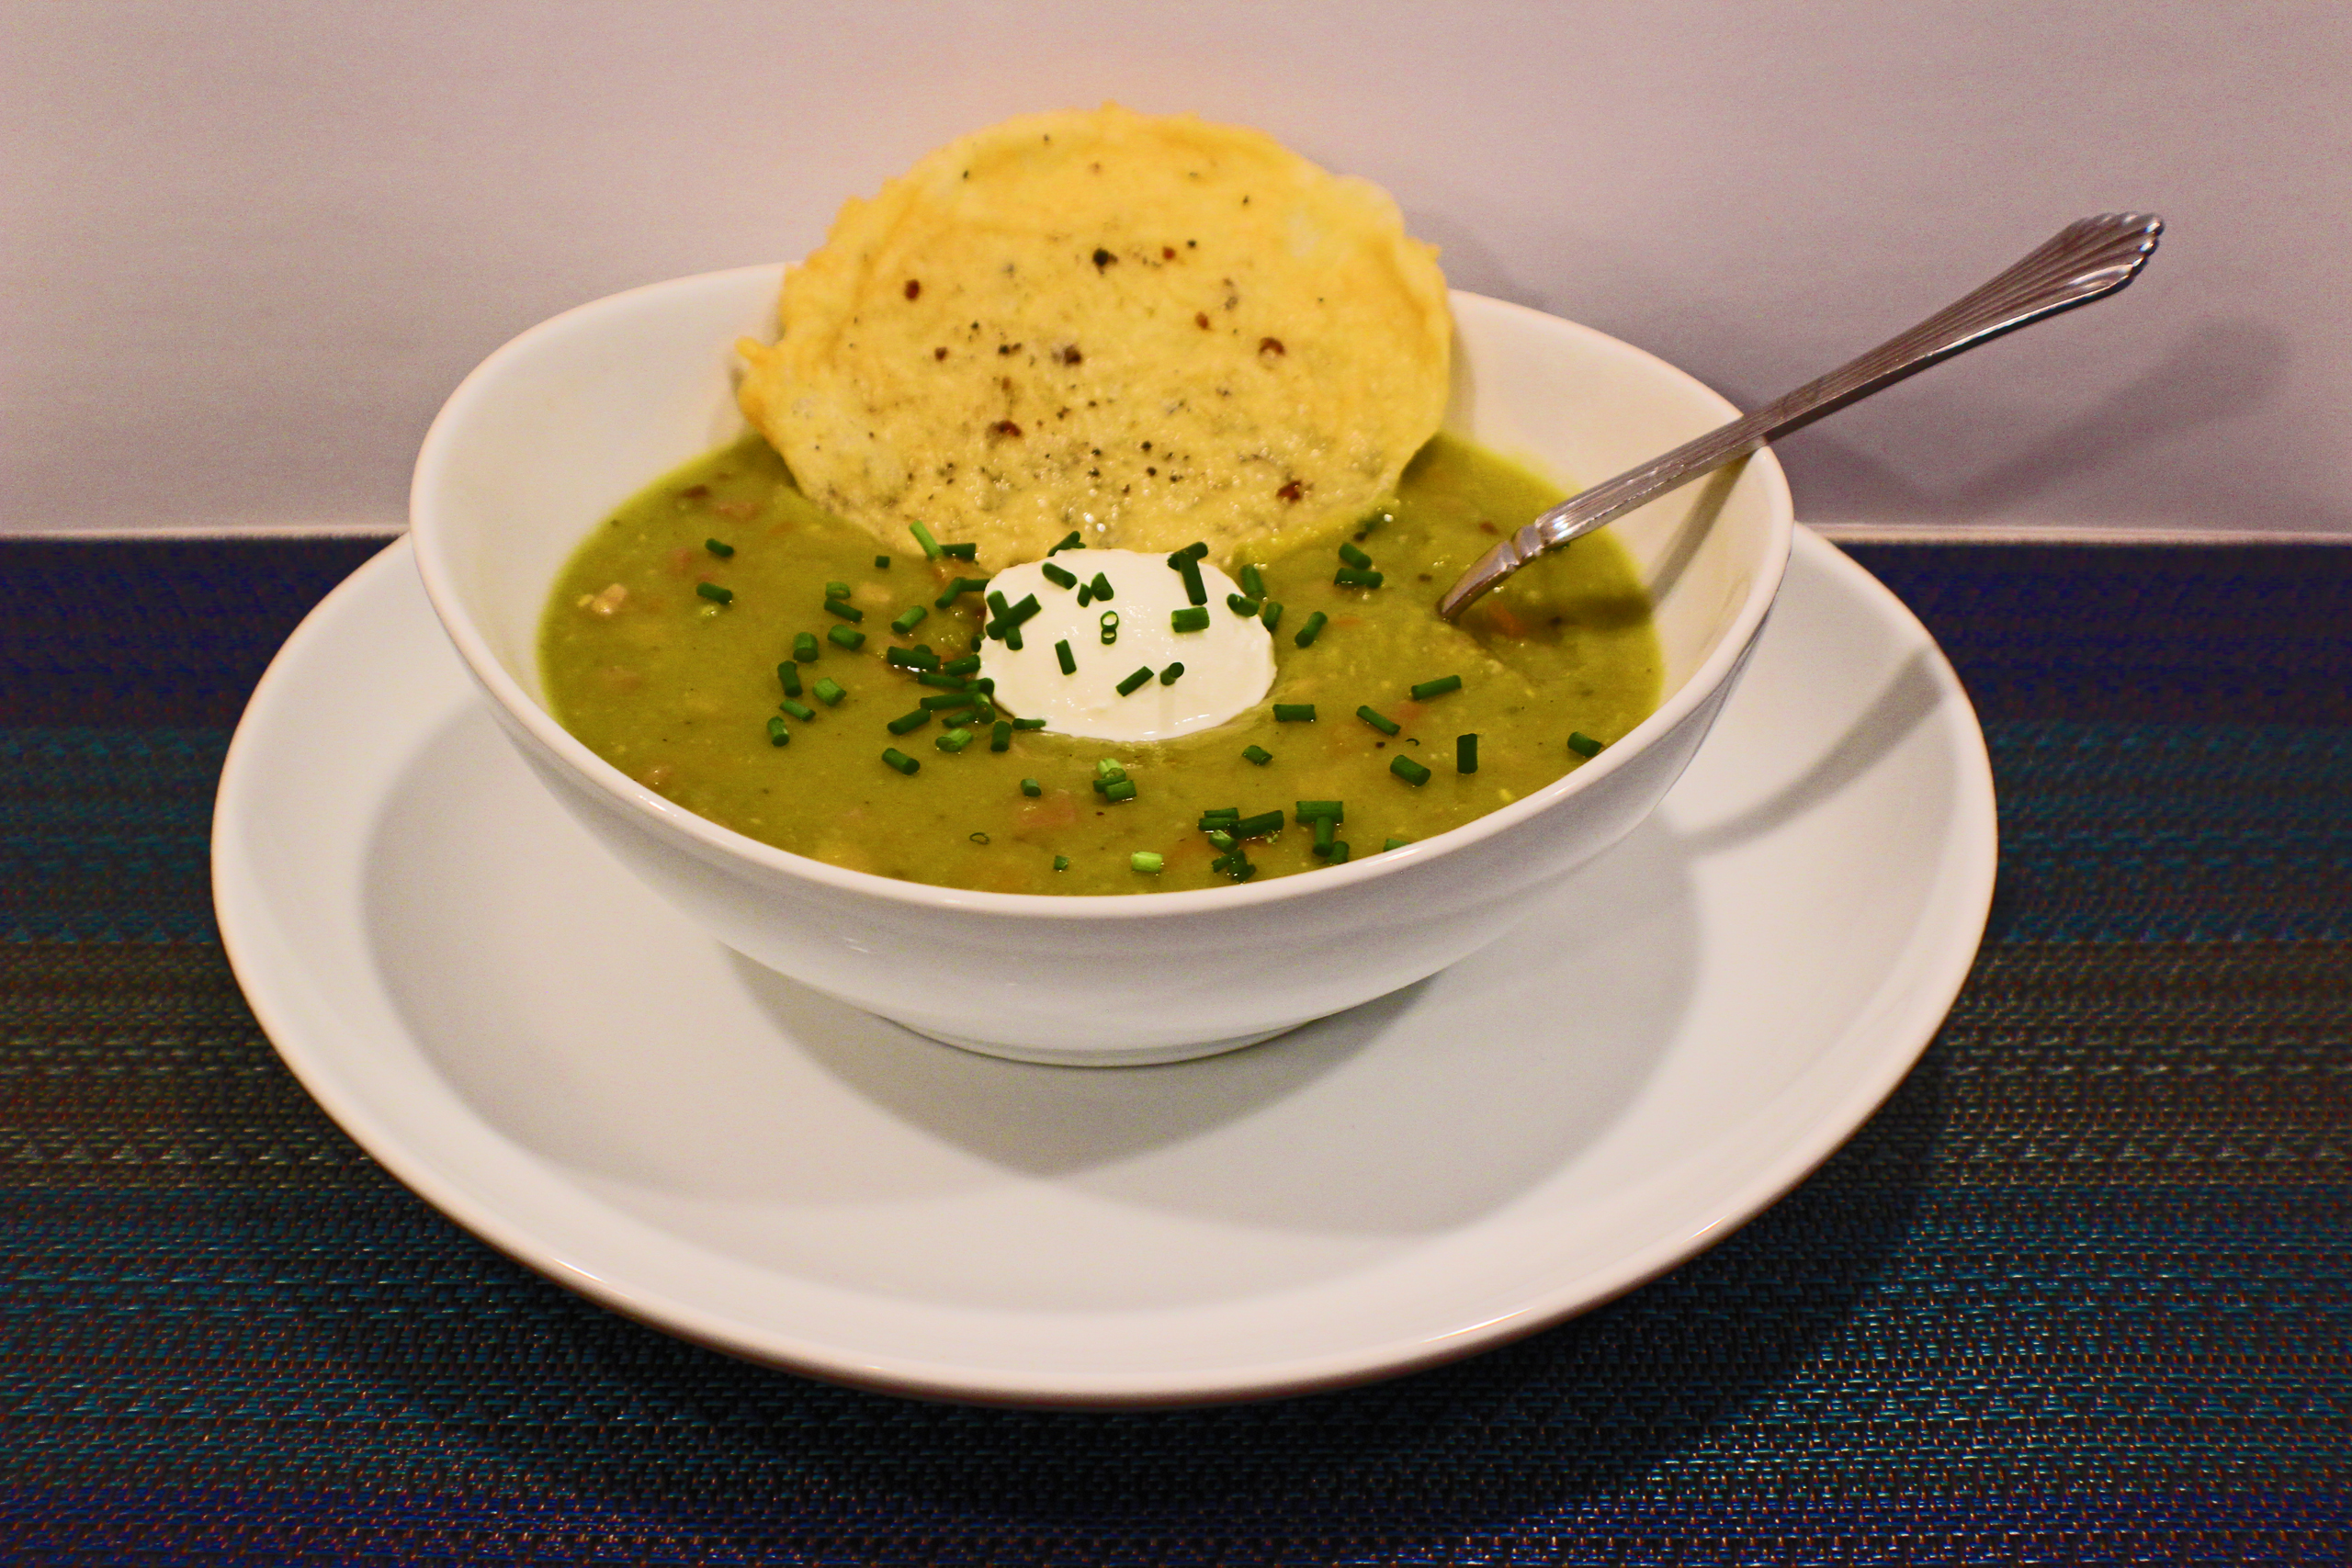
There’s something soothing about a hot bowl of split pea soup on a cool fall, winter or even spring day. Many a time I’ve come in from snow blowing and warmed up to a hot bowl of split pea soup.

One could spend the day boiling down a ham bone to make the stock but having good quality chicken or vegetable stock on hand and good ham, this soup is easy to make. It only takes about 2 hours for the split peas to be soft enough and the soup thick enough to eat.

First, prep your veggies, ham and split peas. This will only take about 15 minutes.

Chop your mirepoix (onions, carrots, and celery), garlic and ham.


Get the stock of your choice (chicken or veggie) and sort through your split peas to ensure there aren’t any dirt clods or rocks.
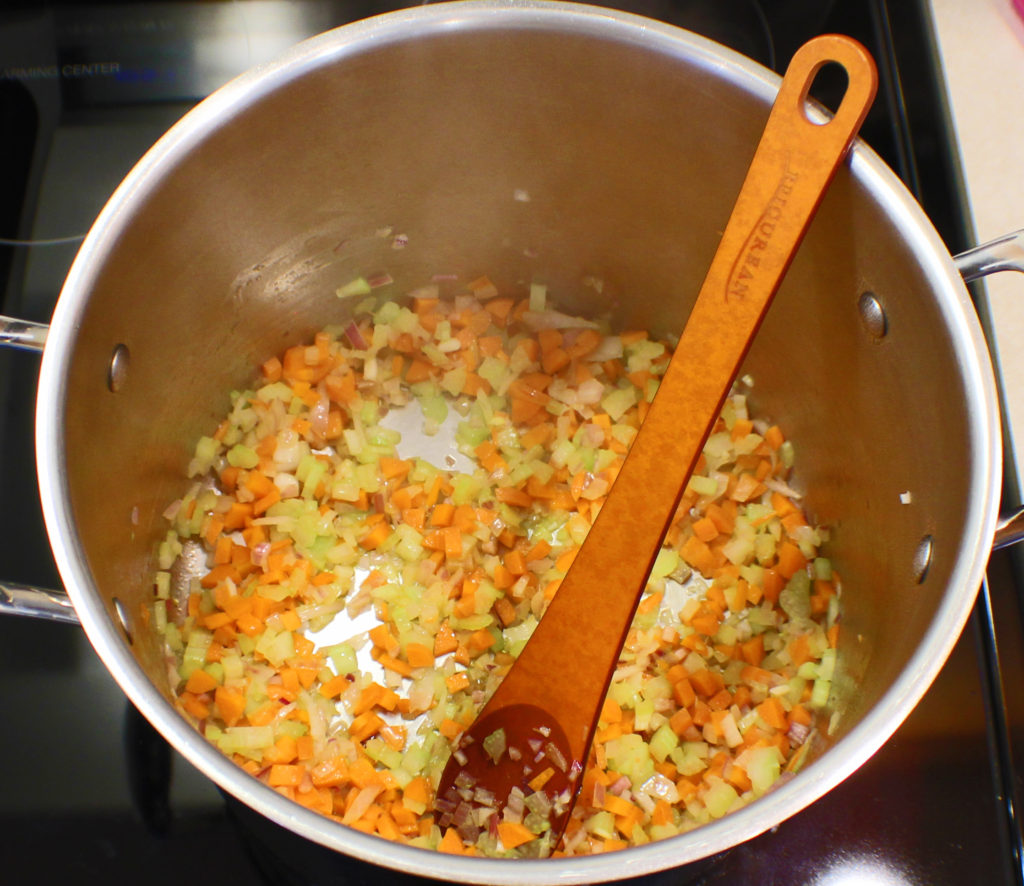
Heat a large stockpot and add olive oil, the mirepoix, and some black pepper (several turns of your pepper mill will do). Cook until the onion is translucent.
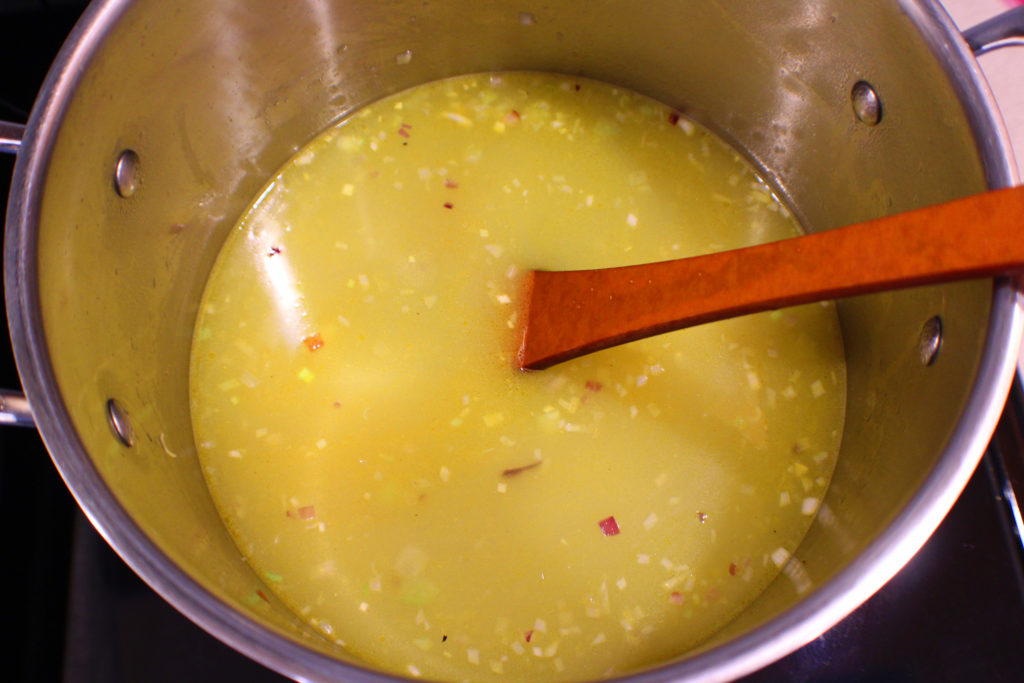
Then add the garlic, stir a few times, and add the split peas and the stock of your choice. Cover and cook for an hour stirring occasionally.

Next add the ham if you are using it. Stir it in and add more black pepper if desired. Don’t add any salt yet, the stock and ham will probably add enough salt for you. If not using ham, you will want to add some salt for flavor.

Leave pot uncovered and simmer for another 30 to 60 minutes until you reach your desired soup thickness. Stir occasionally and taste once or twice to adjust salt and pepper flavor.

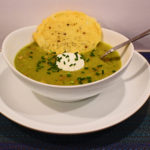
Add a Parmesan Crisps or some chives or a dollop of sour cream.

Enjoy!

Split Pea Soup

Split pea soup doesn't have to take all day by boiling down a ham bone, although it is tasty when made that way. It can be a quick process and still taste just as good. It can also be made vegetarian by omitting the ham and using vegetable stock instead of chicken stock.
Prep Time15 minutes
Cook Time2 hours
Course: Main Course, Soup
Cuisine: American
Keyword: ham, soup, split pea
Servings: 10 cups
Calories: 315kcal
Author: Eating With Deb

Equipment

  • 4 - 5 quart stock pot

Ingredients

  • 1 cup yellow onion diced
  • 1 cup celery diced
  • 1 cup carrots diced
  • 2 tbsp olive oil
  • 2 tbsp fresh garlic minced
  • 1 pound dried split peas
  • 8 cups chicken stock or veggie stock
  • 3 cups cooked ham diced,
  • Sea salt and black pepper to taste

Instructions

  • Prep vegetables and ham. Sort through split peas to ensure there are no rocks or dirt clods.
  • Add oil to a hot stockpot and add the veggies and a little black pepper. When onion is translucent, add the garlic, and stir a couple times. Add the split peas and stock of your choice.
  • Bring to a boil, reduce to a simmer. Cover and cook for an hour stirring occasionally. After an hour, stir in the ham. Taste the soup to determine if you need more pepper. I usually wait until close to the end of the cooking process to determine if it needs salt. If using ham, you probably won’t need salt.
  • Leave uncovered and simmer, stirring occasionally for another 45 minutes to an hour to reach your desired thickness. I taste it every now and then and add more pepper if needed.
  • Serve as is or top with a peppered or plain Parmesan crisp, sour cream or chives.
  • Enjoy!

Notes

At the end of the cooking process you could throw in a couple handfuls of spinach, kale or arugula for some added nutrients.
Will make about 10 to 12 cups depending on how long you cook it to thicken the soup. I like a pretty thick split pea soup so I generally get about 10 cups.
This soup holds up well in the freezer. I save sour cream containers. They work perfect for putting soup in them and freezing.

Nutrition

Serving: 1cup | Calories: 315kcal | Carbohydrates: 38g | Protein: 23g | Fat: 8g | Saturated Fat: 2g | Cholesterol: 31mg | Sodium: 691mg | Potassium: 839mg | Fiber: 12g | Sugar: 8g | Vitamin A: 2257IU | Vitamin C: 12mg | Calcium: 48mg | Iron: 3mg

Italian Chicken and Veggies

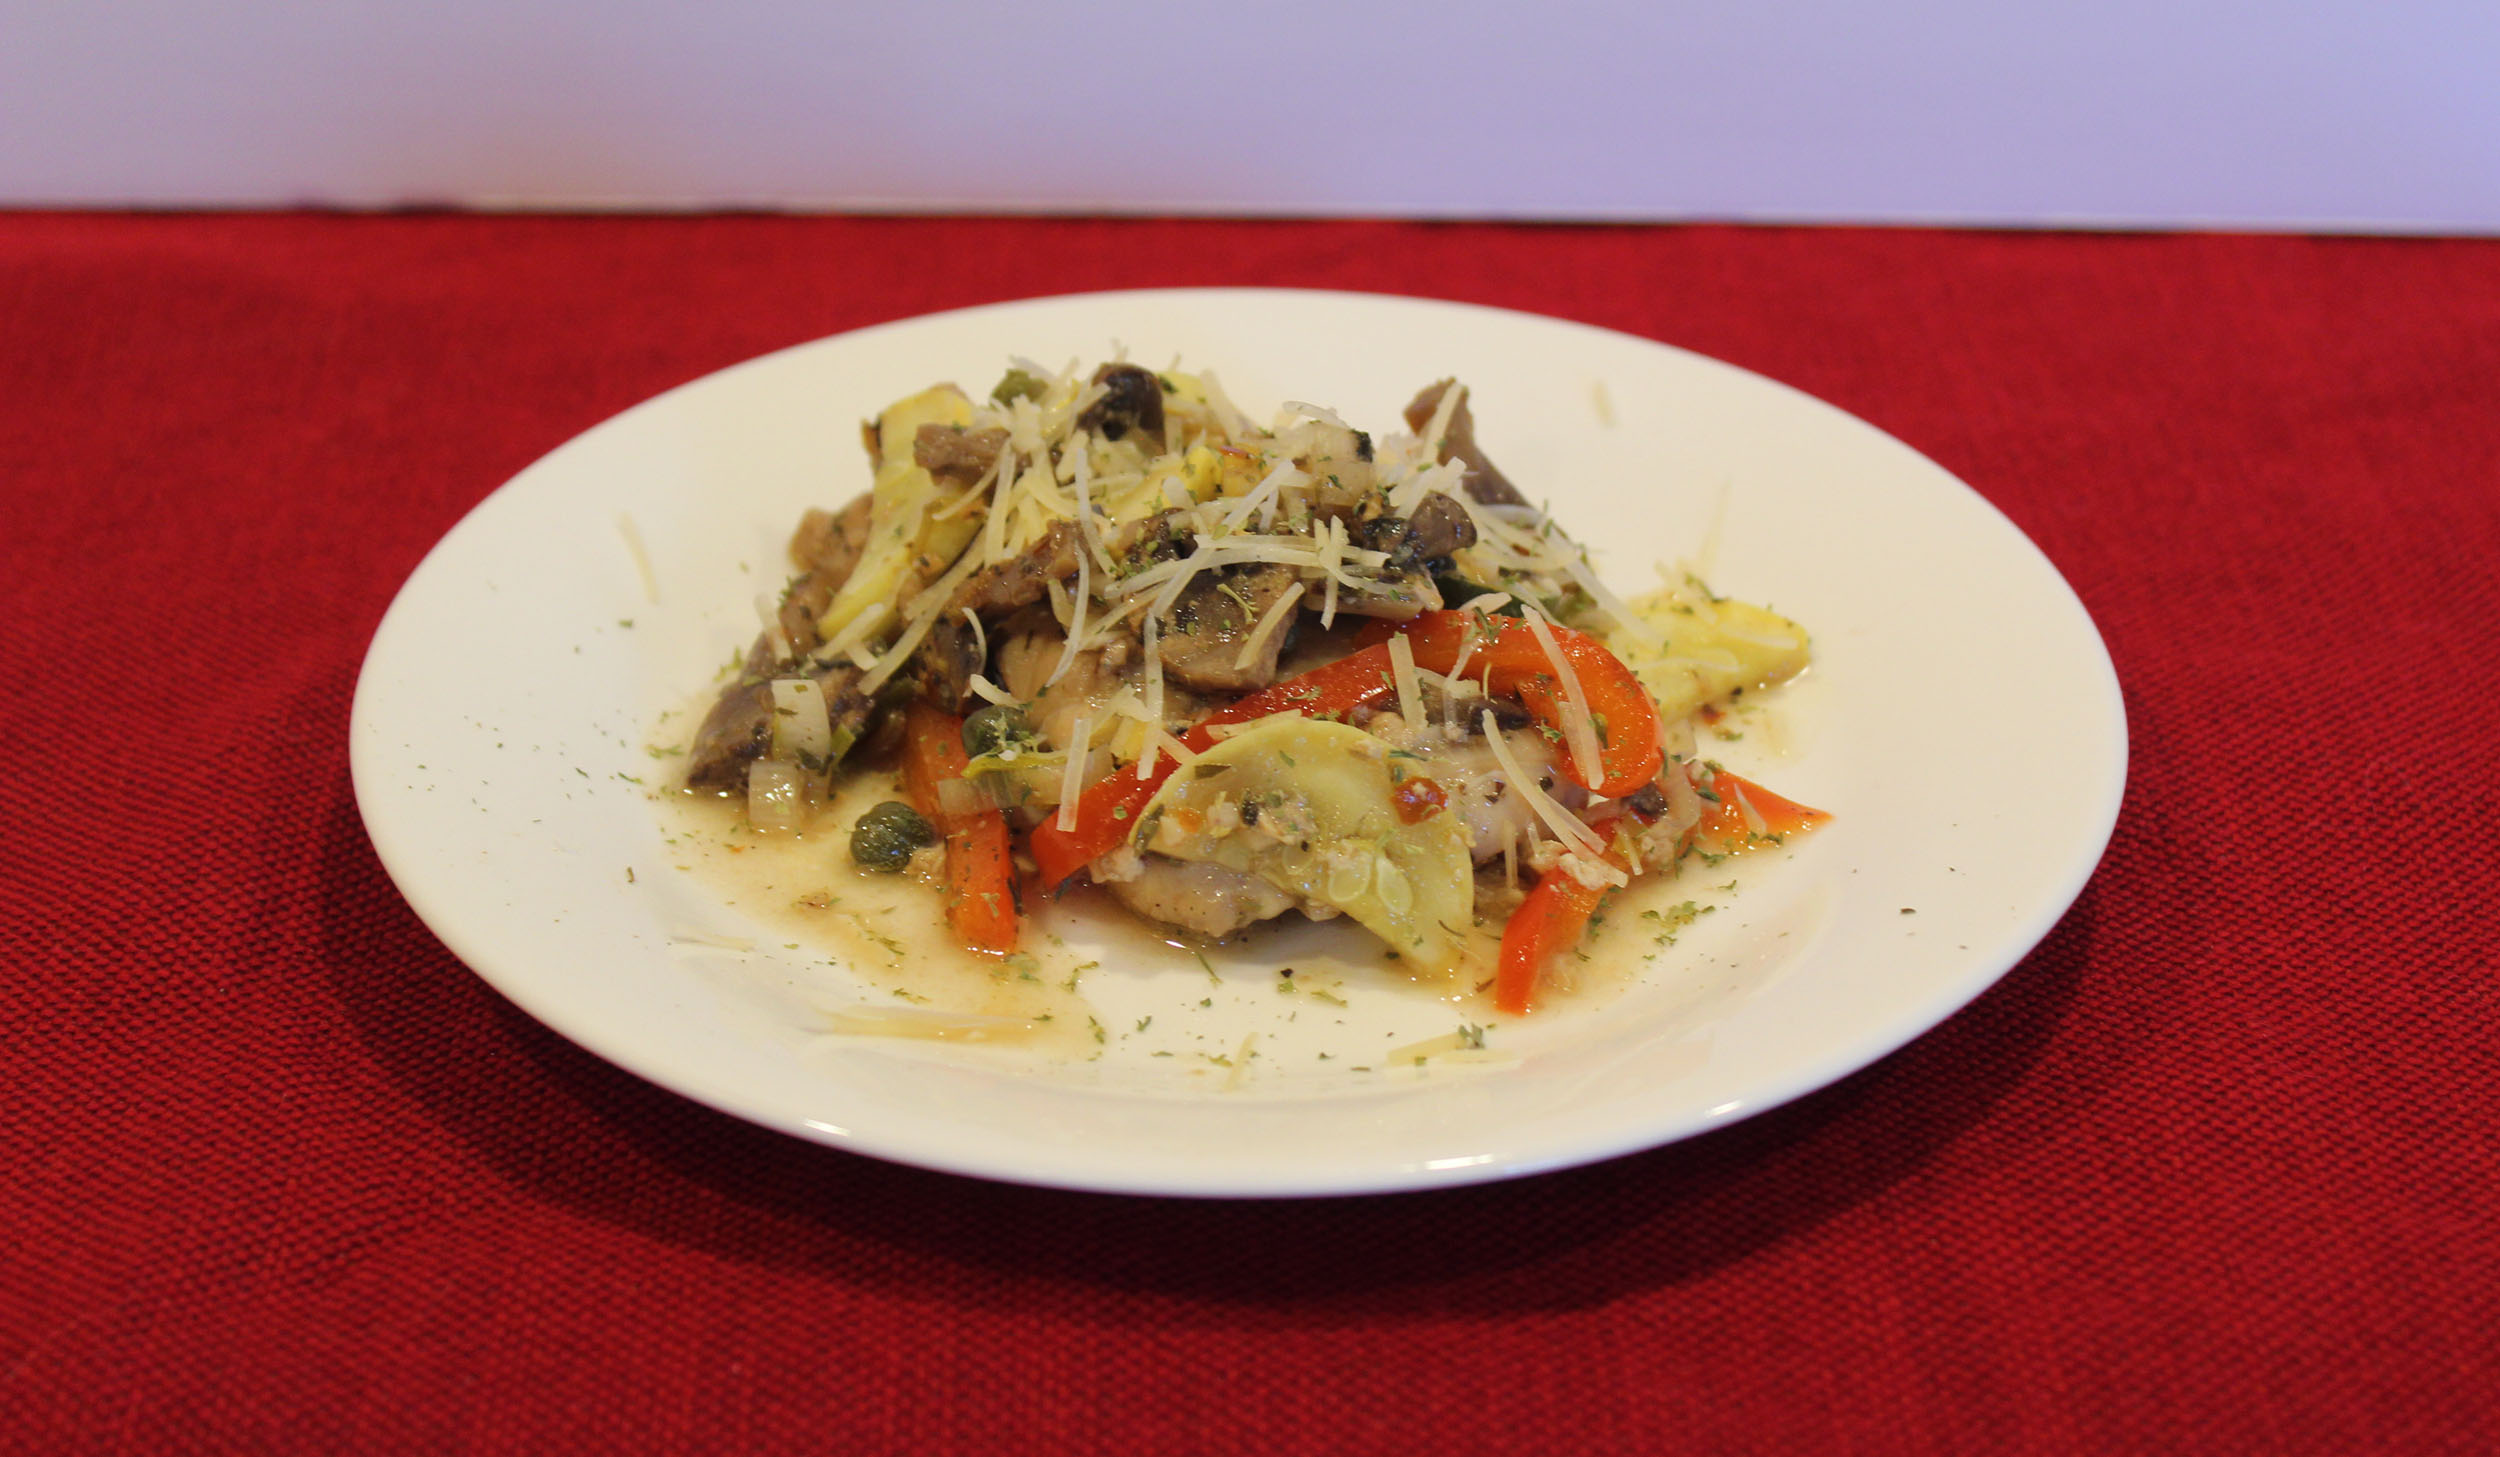
Chicken is a very versatile ingredient that can be used in a wide variety of dishes. This dish can easily be prepared in a saute pan on the stovetop, but I decided to make it even easier by putting it in my slow cooker. What’s easier than 15 minutes of prep the day before and putting it in your slow cooker for a few hours the next day?

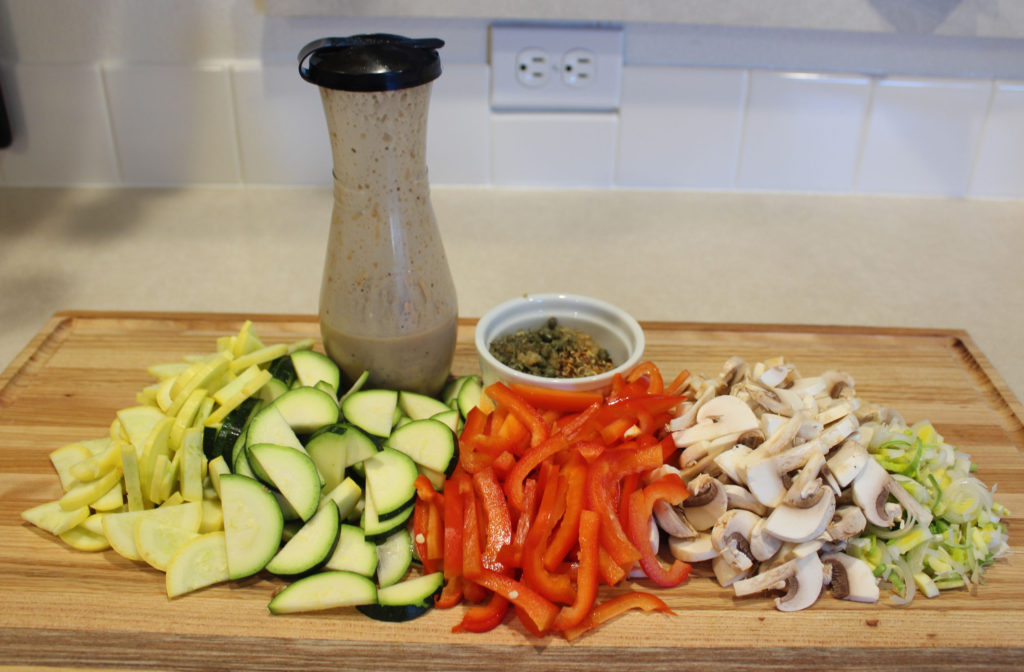
As usual, first, start by gathering and preparing your ingredients. You can use your favorite Italian dressing, I happened to have one on hand that I made using a zesty Italian seasoning packet. Otherwise, I always have Olive Garden Italian dressing in my refrigerator.

Cut and prep all your vegetables. If you don’t have zucchini or yellow squash on hand (or don’t like it) you can certainly replace it with some broccoli or another favorite vegetable. Next time I make this I’m going to add a can of drained, quartered artichoke hearts to this mix.

Then it’s as simple as putting it all in your slow cooker crock. I put the chicken on the bottom, add the vegetables, seasonings and dressing.
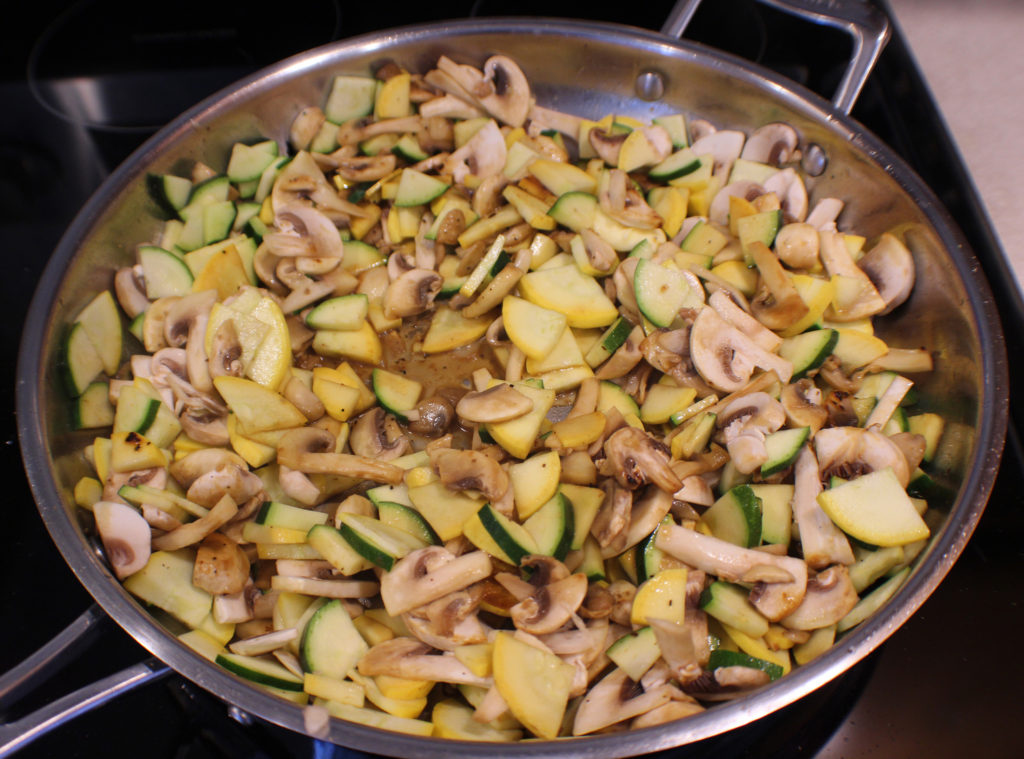
You can use whatever chicken pieces you want. If using breasts, cut them in half. You can use thighs, bone-in or boneless, or a combination of the 2. You just need 6 pieces of chicken all about the same size.

You can put it in your slow cooker now and turn it on or cover it and put it in the refrigerator overnight.

It will only take about 3 hours to cook depending on your slow cooker. Just make sure your chicken has reached an internal temperature of 165 degrees.

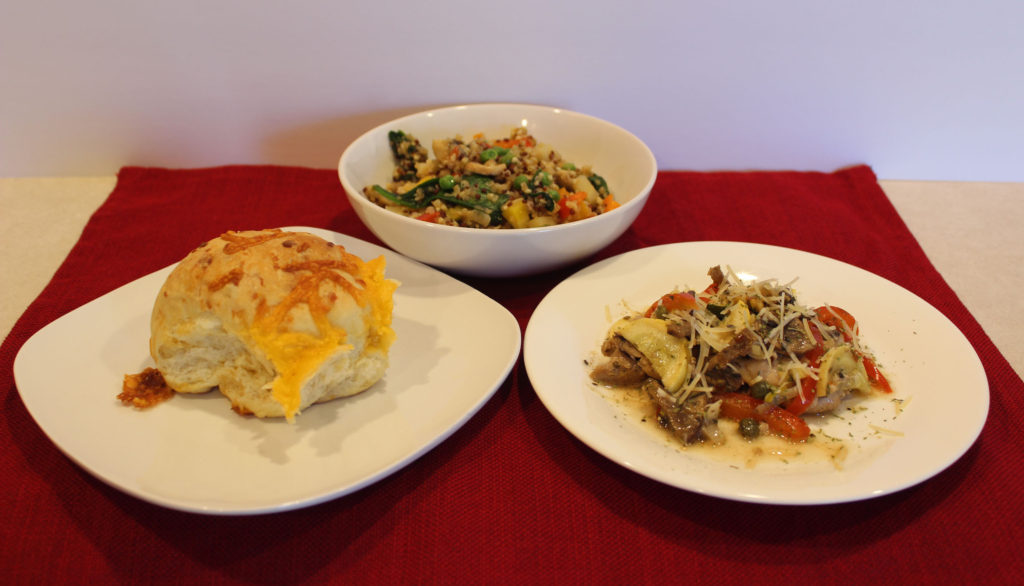
I like eating this with a dinner roll and Quinoa Pilaf.

Italian Chicken & Veggies (Slow Cooker)

A very simple, yet full of flavor chicken and vegetable dish that can be prepped the day before and put in the slow cooker the next day for a quick, no fuss dinner.
Prep Time15 minutes
Cook Time3 hours
Course: Dinner, Main Course
Cuisine: American, Italian American
Keyword: Chicken, Italian Chicken, Slow Cooker
Servings: 6 people
Calories: 63kcal
Author: Eating With Deb

Equipment

  • 4 to 6 quart slow cooker

Ingredients

  • 3 each chicken breasts cut in half
  • 1 each zucchini small, cut in half moons
  • 1 each yellow squash small, cut in half moons
  • 2 cups mushrooms sliced
  • 1 each bell pepper julienned
  • 1 each leek sliced into ½ moons
  • ½ cup Italian dressing
  • 2 tbsp garlic minced
  • 2 tbsp capers
  • 1 tbsp Italian seasoning
  • ½ tsp fennel seeds crushed
  • ½ tsp red pepper flakes crushed
  • ½ tsp black pepper

Instructions

  • Gather and prep all veggies and mince garlic.
  • Add fennel seeds and red pepper flakes to a mortar and crush with the pestle.
  • Cut chicken breasts in half. If they are thick, butterfly the thick pieces.
  • Put chicken in the bottom of a slow cooker crock. Top with the veggies, herbs and seasonings, and then the Italian dressing.
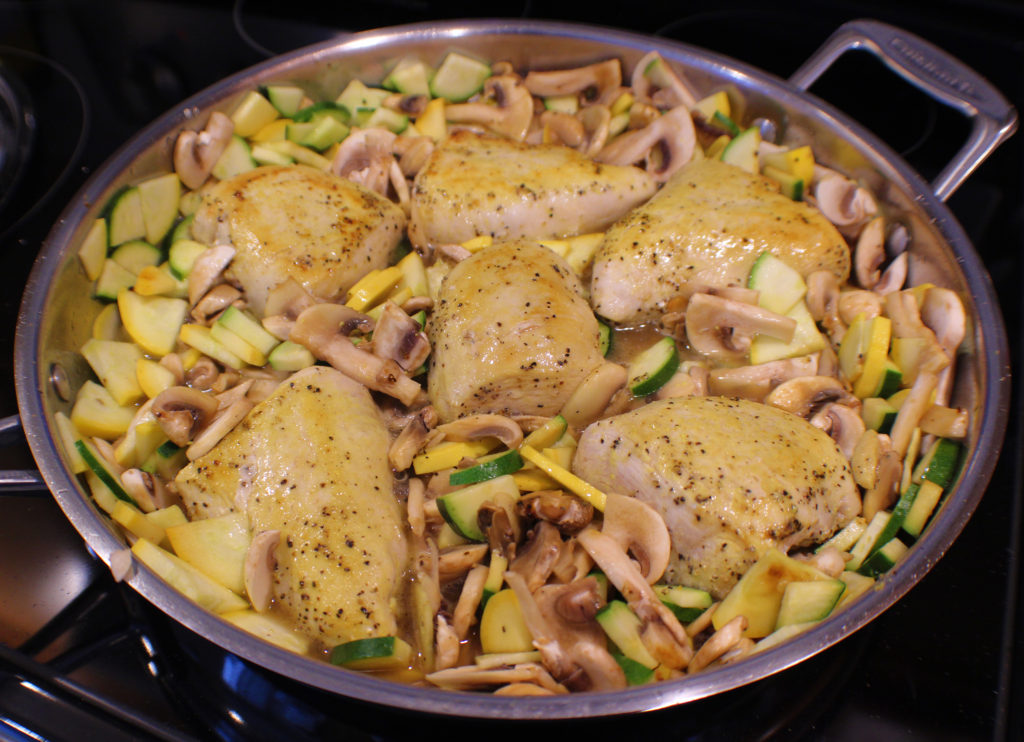
  • Put crock in slow cooker and cook on low for about 3 hours until the chicken reaches 165 degrees.
  • Dish up, top with Parmesan cheese.
  • Enjoy!

Notes

You can easily use chicken thighs or a combination of breasts and thighs. It doesn’t matter if the thighs are boneless or not. I usually use a combination so I can make everyone happy.
If preparing the night before, prepare up to putting all ingredients in the crock, cover and refrigerate overnight.
This dish freezes well.

Nutrition

Calories: 63kcal | Carbohydrates: 5g | Protein: 2g | Fat: 4g | Saturated Fat: 1g | Cholesterol: 1mg | Sodium: 280mg | Potassium: 139mg | Fiber: 1g | Sugar: 3g | Vitamin A: 64IU | Vitamin C: 2mg | Calcium: 23mg | Iron: 1mg

Deconstructed Lasagne

One of the great things about winter is comfort food. There are many wonderful comfort foods, one is lasagne – noodles layered with meat or roasted veggies, covered in saucy, cheesy goodness.

However, sometimes it’s too much work to make, so figuring out a way to get all the flavors and saucy, cheesy goodness into a dish that is much easier to make was high on my list.

First, let’s talk a little bit about the spelling, is it lasagna or lasagne? I always thought that when spelled with an “e” that was the Italian (and everyone else in Europe) way of spelling it and when ending in an “a”, it was the American way of spelling it. A quick google search gave me the answer and I was partially correct, but there is more to it.

Lasagne is plural and lasagna is singular and the name of the noodles. Americans use the word lasagna to refer to the dish in total. Basically, Americans are using the wrong word when referencing is dish – we don’t just get one noodle when we eat a serving of lasagna. However you spell it, it’s a wonderful winter comfort food.


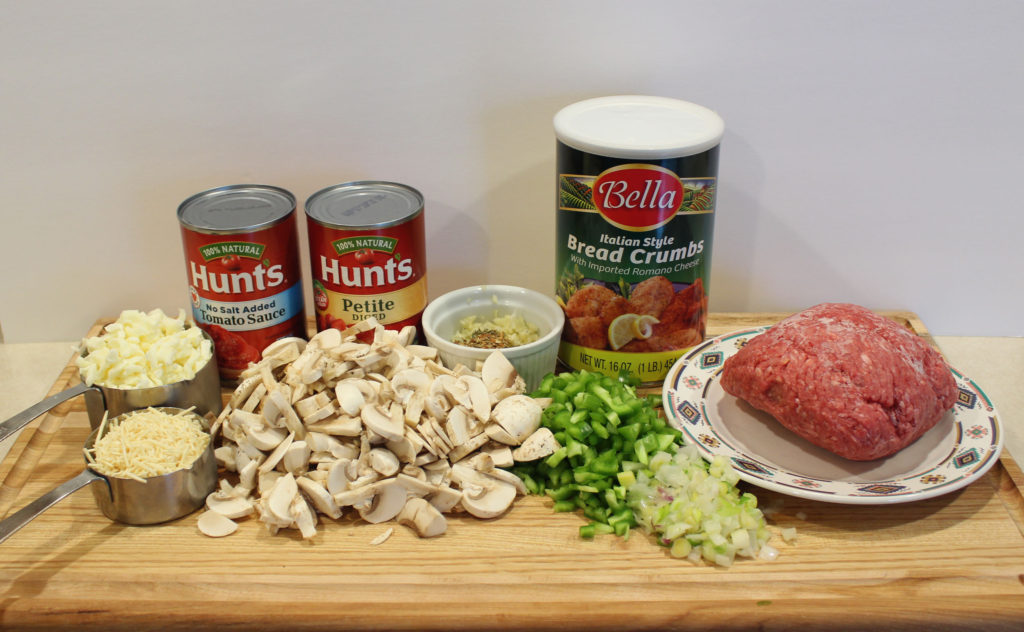
So, let’s make lasagne much simpler. You can use whatever filling you desire. If you only want meat or vegetables, use just that. I like both, but sometimes I only want vegetables. This version gives me a little of both.

Start by gathering and preparing all of your ingredients. You can replace the ground beef with ground turkey, a ground meat substitute, or Italian sausage. If you use sausage, you will want to omit the fennel and probably crushed red pepper flakes.

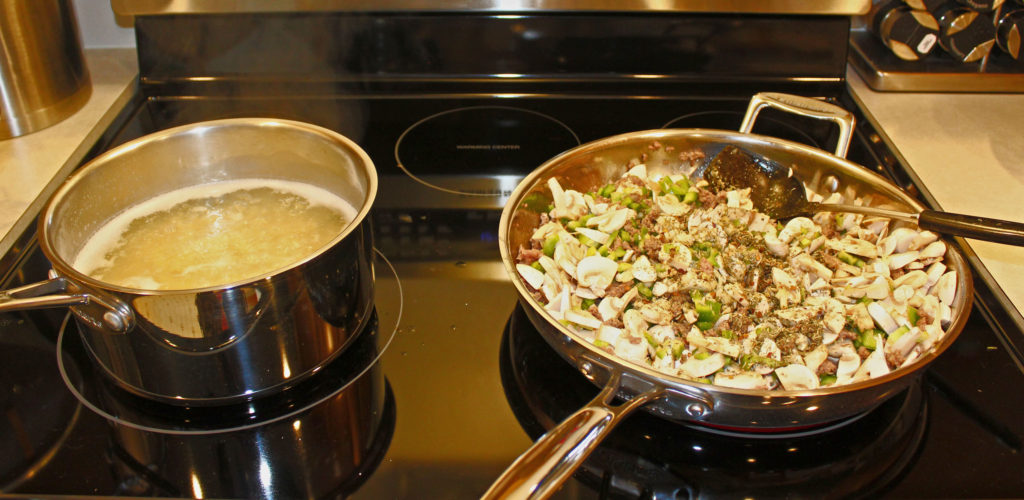
Yes, my ground beef in this picture is frozen, but that was ok, just put it in your pan, on low heat to start defrosting it, scraping off the meat around the outside as it thaws.

Once your meat is brown, add the vegetables and seasonings and saute for a couple minutes to get them mostly cooked.

While browning the meat and cooking the vegetables, boil your pasta to al dente according to the package instructions. When done, drain and set aside until needed. Do not toss pasta with oil to prevent it from sticking, all this does is prevent the sauce from sticking to and flavoring your noodles.

When cooking pasta – bring your water to a boil before adding salt to the water. Salt can pock mark pans, so if you add the salt before the water is boiling, it will sit on the bottom of the pan creating marks in your pan. Also, don’t add oil to your boiling water – again, all this does is cover your noodles and create a barrier so the sauce cannot flavor the noodles. To keep them from sticking while cooking, keep your water at a rolling boil and stir frequently.

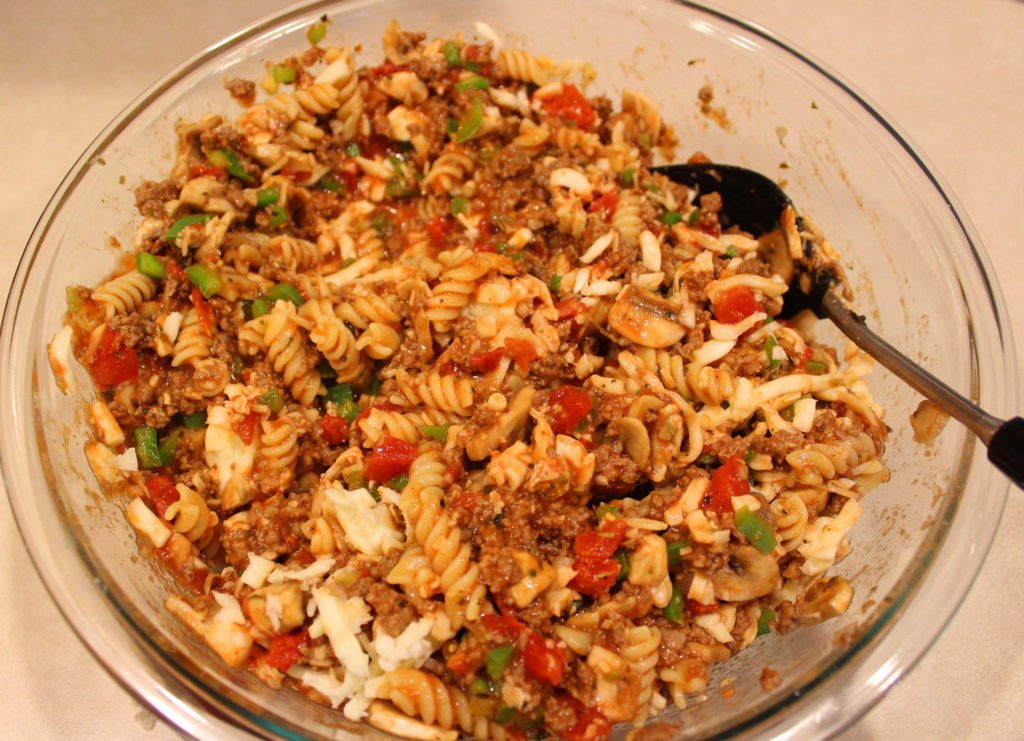
So now we are ready to put this all together. My saute pan was not big enough to mix in, so I grabbed a bowl and mixed it in that. Add your meat mixture, pasta, tomatoes and sauce, and cheese and stir to combine. If your noodles stuck while waiting to get put into the dish, don’t worry, the sauce will “unstick” them.


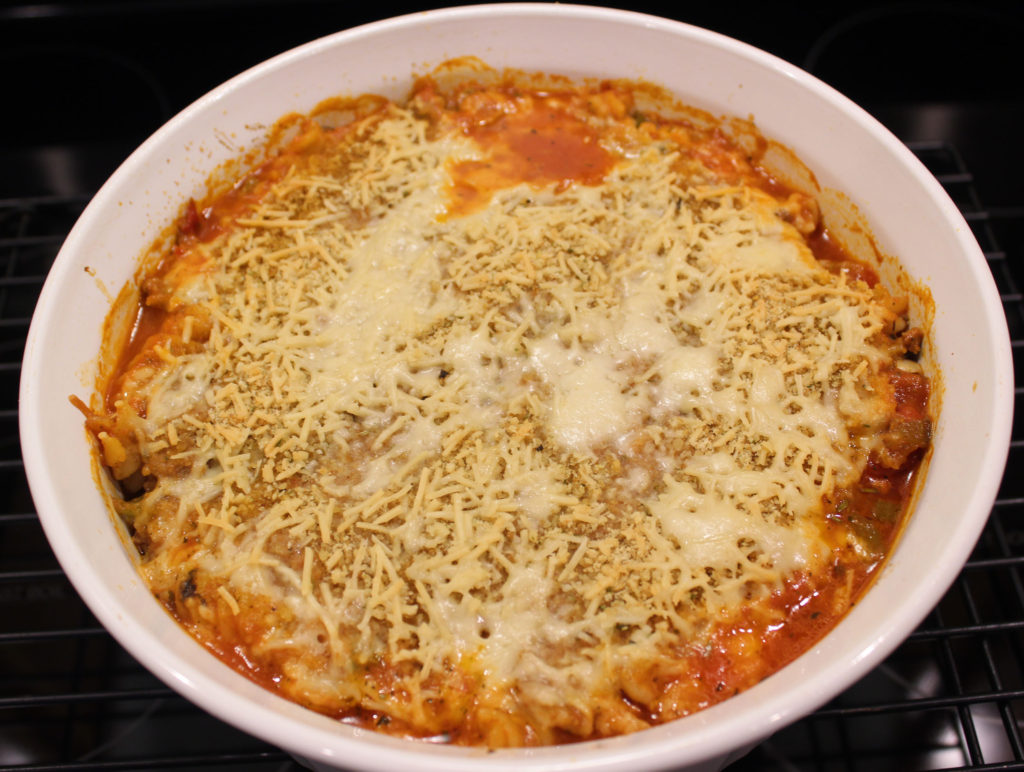
Once combined, put in a casserole dish that you sprayed with non-stick cooking spray. Top with the bread crumbs and more Parmesan cheese. Cover and put it in your preheated oven and bake for about 30 minutes until all bubbly hot.

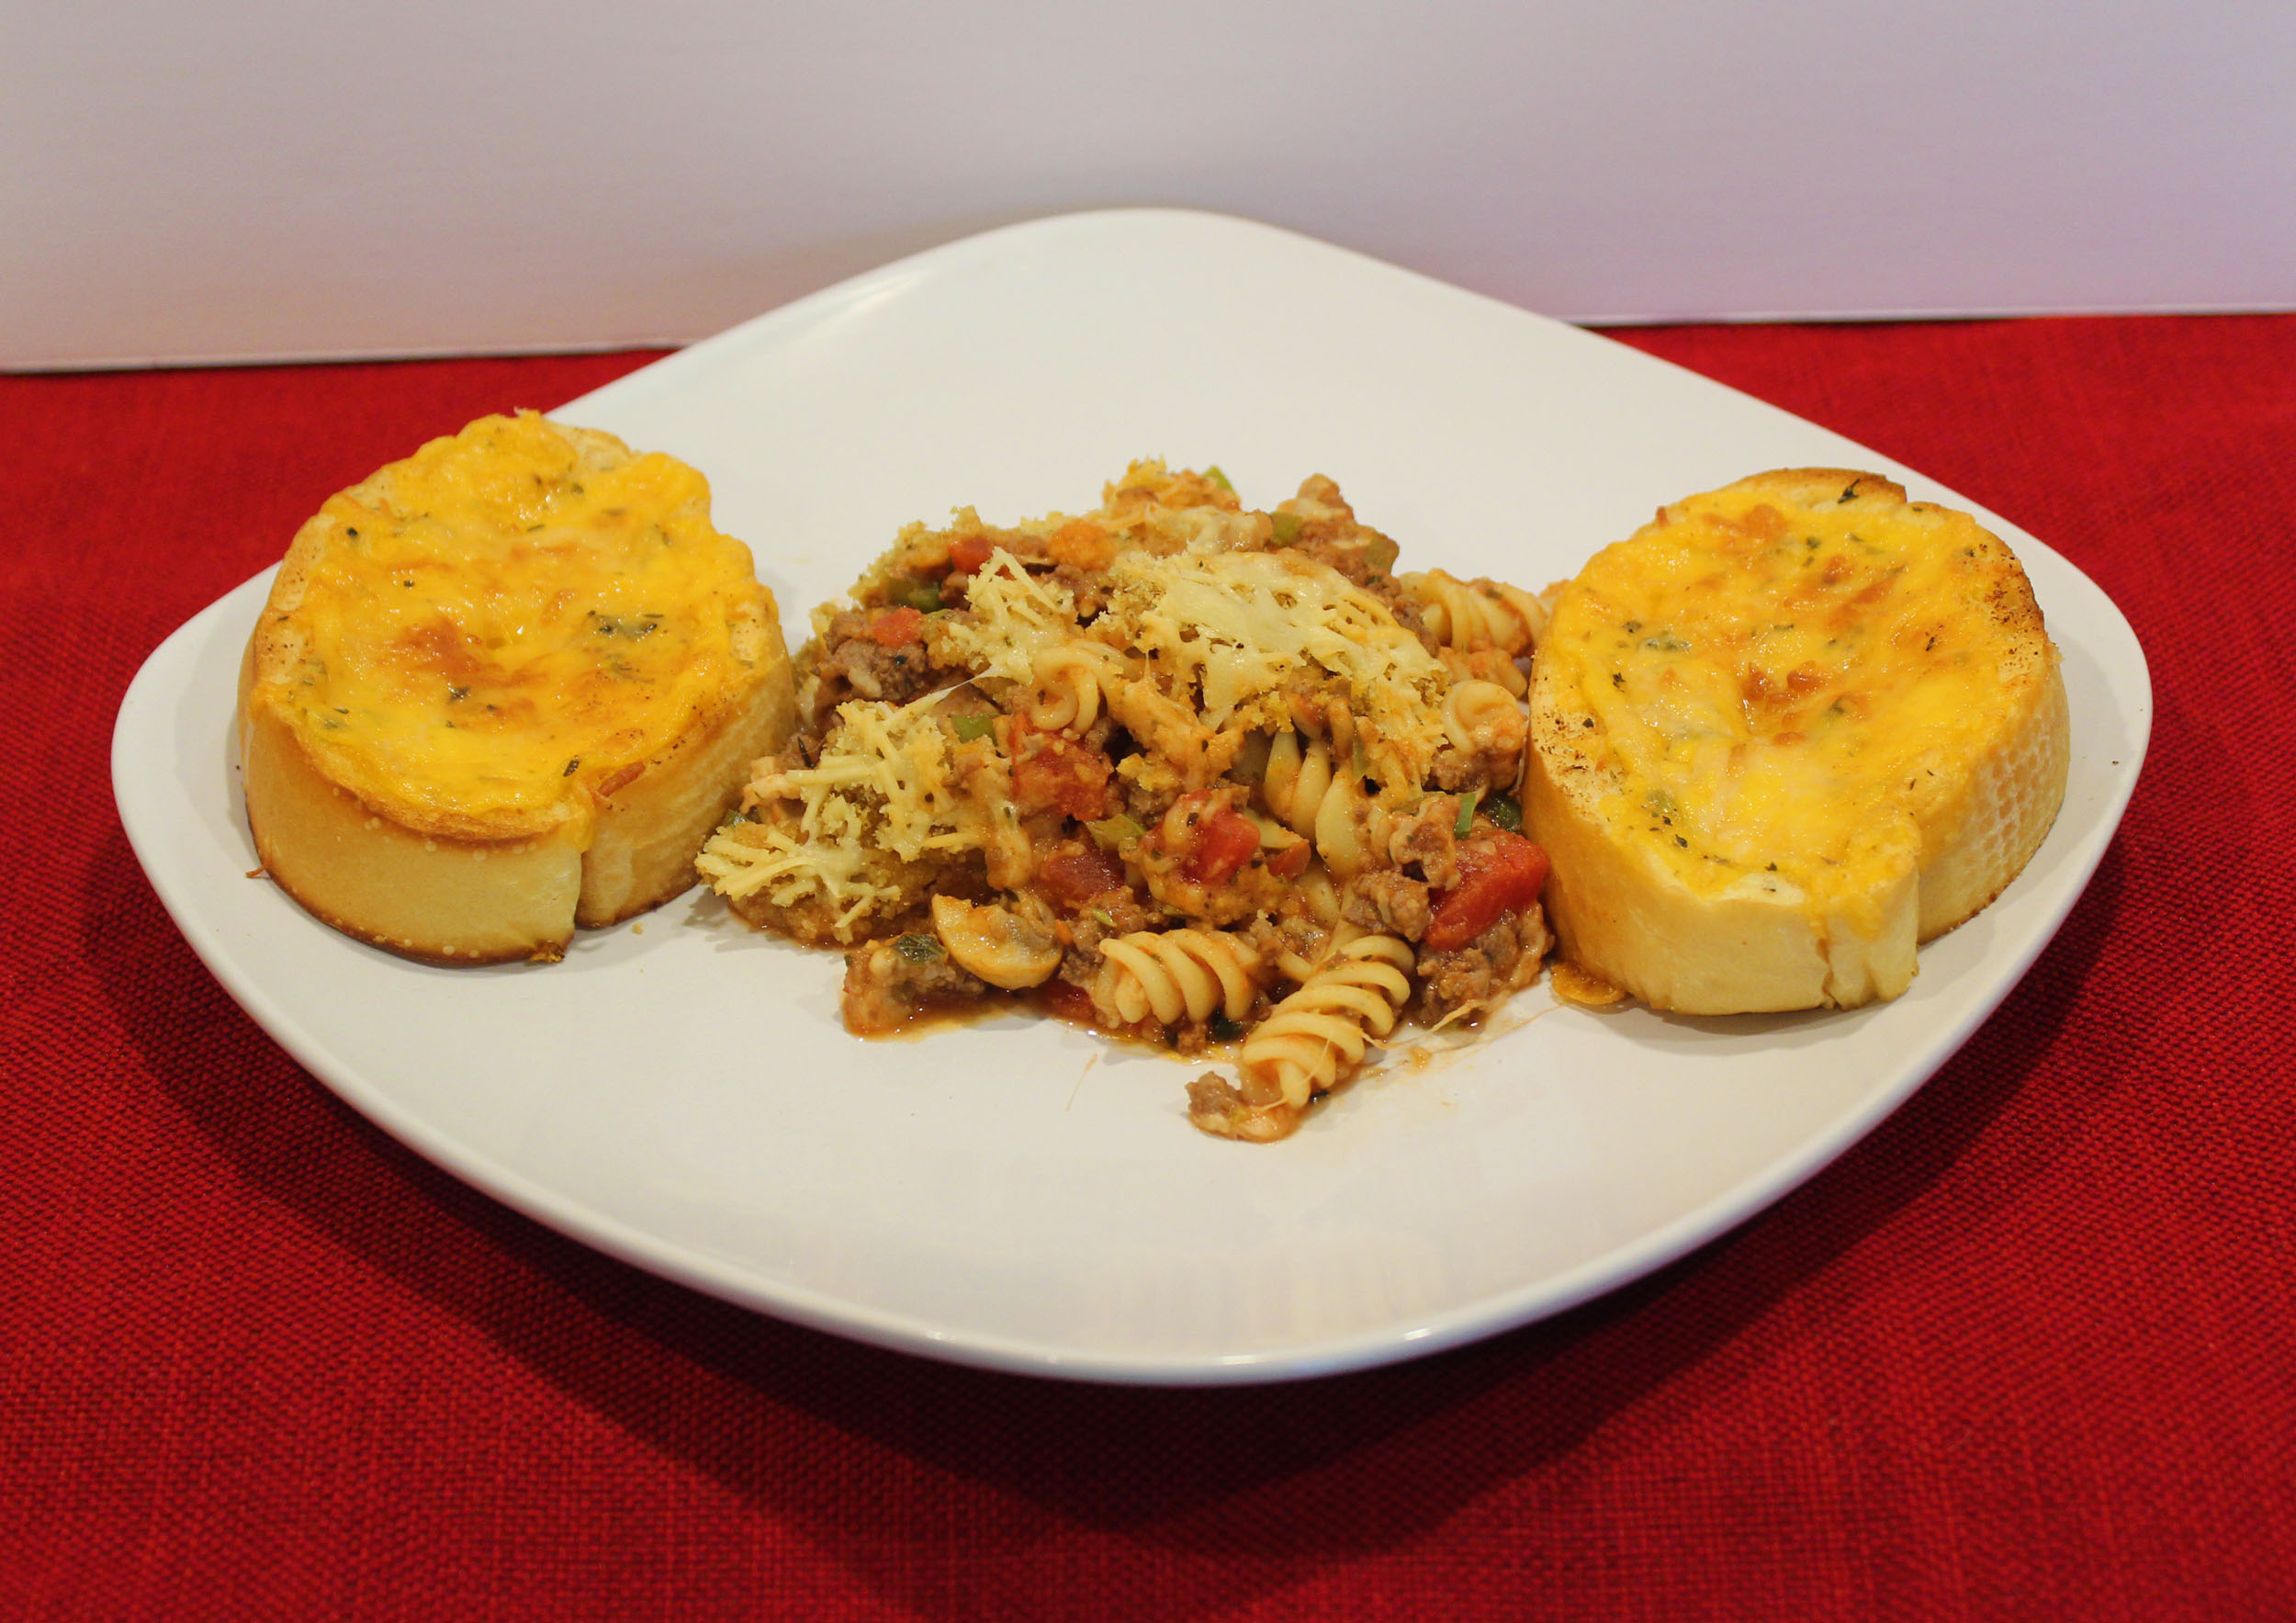
Time to sit and enjoy all the saucy, cheesy, flavorful goodnes of lasagne with a nice slice of garlicky cheese toast!

Deconstructed Lasagne

This dish has all the wonderful flavors of lasagna without all the work.
Prep Time20 minutes
Cook Time45 minutes
Course: Main Course
Cuisine: American
Keyword: Lasagna, Pasta
Servings: 12 cups
Calories: 261kcal
Author: Eating With Deb

Equipment

  • Medium Stock Pot
  • Large saute pan
  • 4-quart Casserole Dish

Ingredients

  • 1 pound ground beef extra lean
  • 4 cups mushrooms sliced
  • ½ cup yellow onions diced
  • 1 each bell peppers diced
  • 15 oz can tomato sauce
  • 15 oz can diced tomatoes
  • 2 cups rotini pasta dry
  • 1 tbsp Italian seasoning
  • 2 tsp garlic fresh, minced
  • ½ tsp crushed red pepper flakes
  • ½ tsp fennel seeds
  • 2 cups grated mozzarella cheese
  • ½ c Parmesan cheese grated
  • Topping
  • 1/3 cup Italian seasoned bread crumbs
  • ½ cup parmesan grated

Instructions

  • Gather and prep all ingredients. Crush pepper flakes and fennel seeds using a mortar and pestle.
  • Pre-heat oven to 350 degrees.
  • In a large sauté pan, start browning the ground beef. When almost done add the onions, mushrooms, bell pepper, and seasonings. Sauté for about 5 minutes.
  • While sautéing meat and veggies, cook pasta to al dente according to package directions. Drain and set aside until needed.
  • In the saute pan or a bowl, combine the meat mixture, tomato sauce and diced tomatoes, pasta, and cheese.
  • Spray a 4 (to 6)-quart casserole dish with cooking spray and add pasta mixture. Top with bread crumbs and Parmesan cheese. Cover and bake for 30 minutes until bubbly.
  • Enjoy!

Nutrition

Serving: 1cup | Calories: 261kcal | Carbohydrates: 16g | Protein: 17g | Fat: 14g | Saturated Fat: 7g | Cholesterol: 47mg | Sodium: 561mg | Potassium: 455mg | Fiber: 2g | Sugar: 4g | Vitamin A: 424IU | Vitamin C: 7mg | Calcium: 234mg | Iron: 2mg

Roasted Veggie Stew

The garden is harvested and put in storage for the winter waiting for me to start using what I was able to grow this past summer. The weather is definitely changing and that brings on my desire for warm, comfort foods.

I freeze a lot of my garden vegetables to use in soups, stews, and other dishes throughout the winter. I make large batches and freeze them in individual or larger, family size portions. One of my first go-to soups is a roasted veggie soup since I have most of the ingredients chopped up in my freezer.

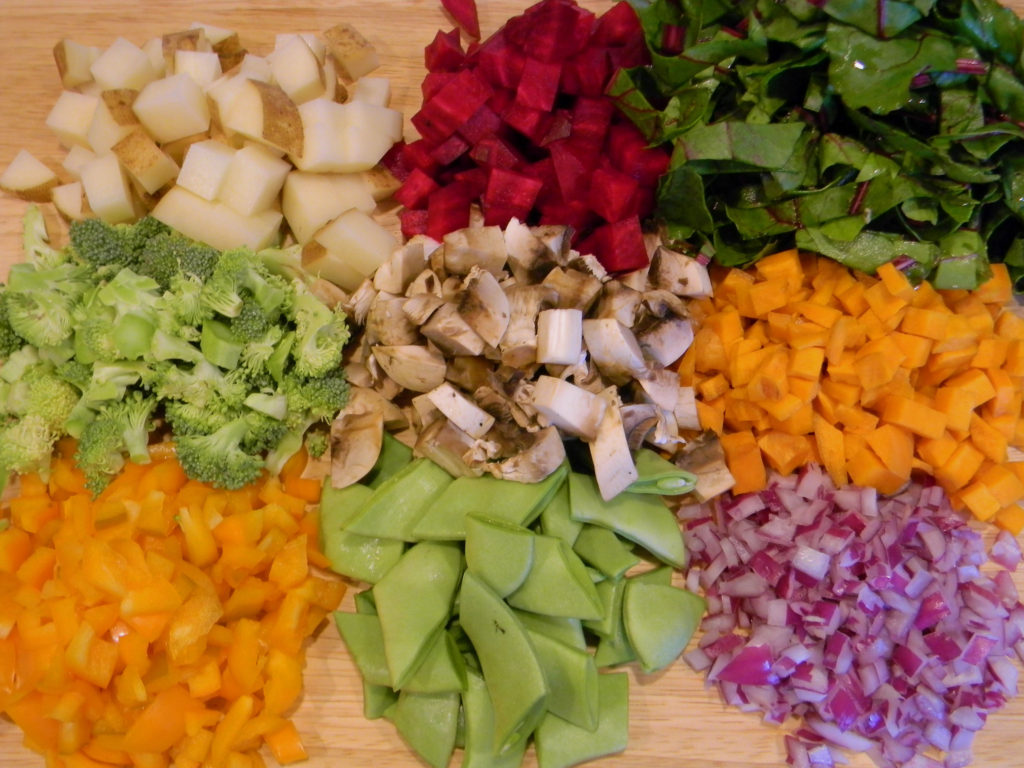
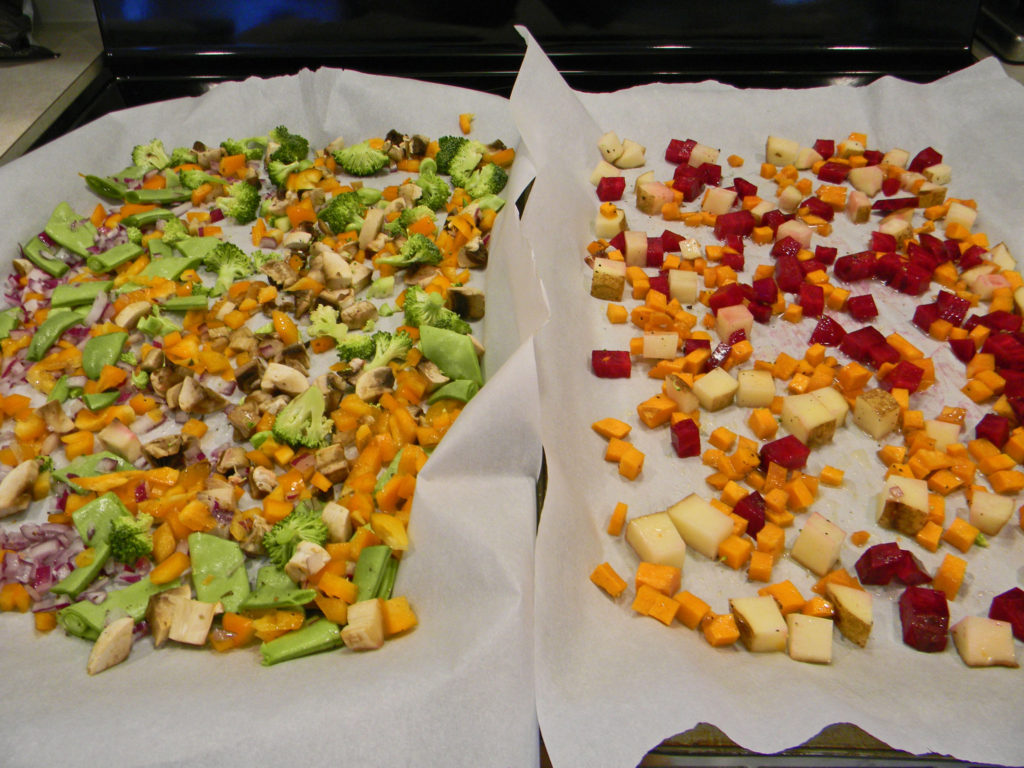
First I gather and prep all my veggies, onions, and garlic that I’m going to use. I happen to like beets a lot, but I realize I am in the minority, so switch them out with something else, say cauliflower, or squash, or another veggie you really like.  That holds true for any of the other veggies, you just need about 7 cups of chopped veggies, plus your onions. You can use purple or yellow onions, I happened to have purple ones this time around.

If your veggies were frozen, don’t worry, you can roast them in the oven that way, it just might take a little longer.

Next split your veggies onto 2 baking trays lined with parchment paper. One tray for the harder veggies that take longer to cook and the other for the rest of the veggies. Divide your garlic in half between the 2 pans, this ensures a garlicky flavor throughout and sprinkle some sea salt and black pepper on the veggies.

Bake your harder veggies in a 400 degree oven for about 30 minutes then add the other tray and bake an additional 15 minutes.

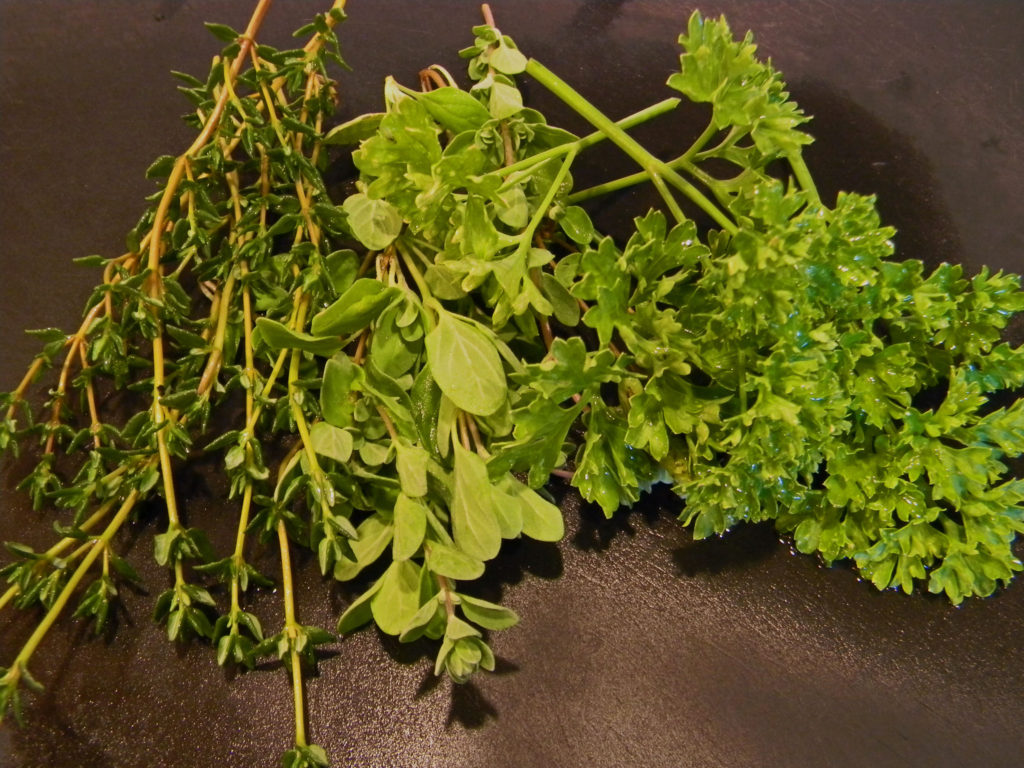
While your veggies are roasting, gather and prep your herbs. You can certainly use dried herbs, but I recommend fresh ones, the flavor is a lot better. If you need to use dry the ratio is 1 tsp dried to 1 tbsp fresh. So use a heaping 1/2 tsp each of dried herbs.

During you last 15 minutes of veggie roasting time, you can start on your rue and stock (sorry, no fancy pictures here). Melt the butter in a large stock pot and whisk in the flour, cook for a few minutes to brown the flour a little bit, this will take the pasty taste out of the flour. Slowly whisk in whatever stock you decided to use, if you are meat eaters and think you will miss having meat in your stew, use beef broth, but vegetable broth/stock works great too.

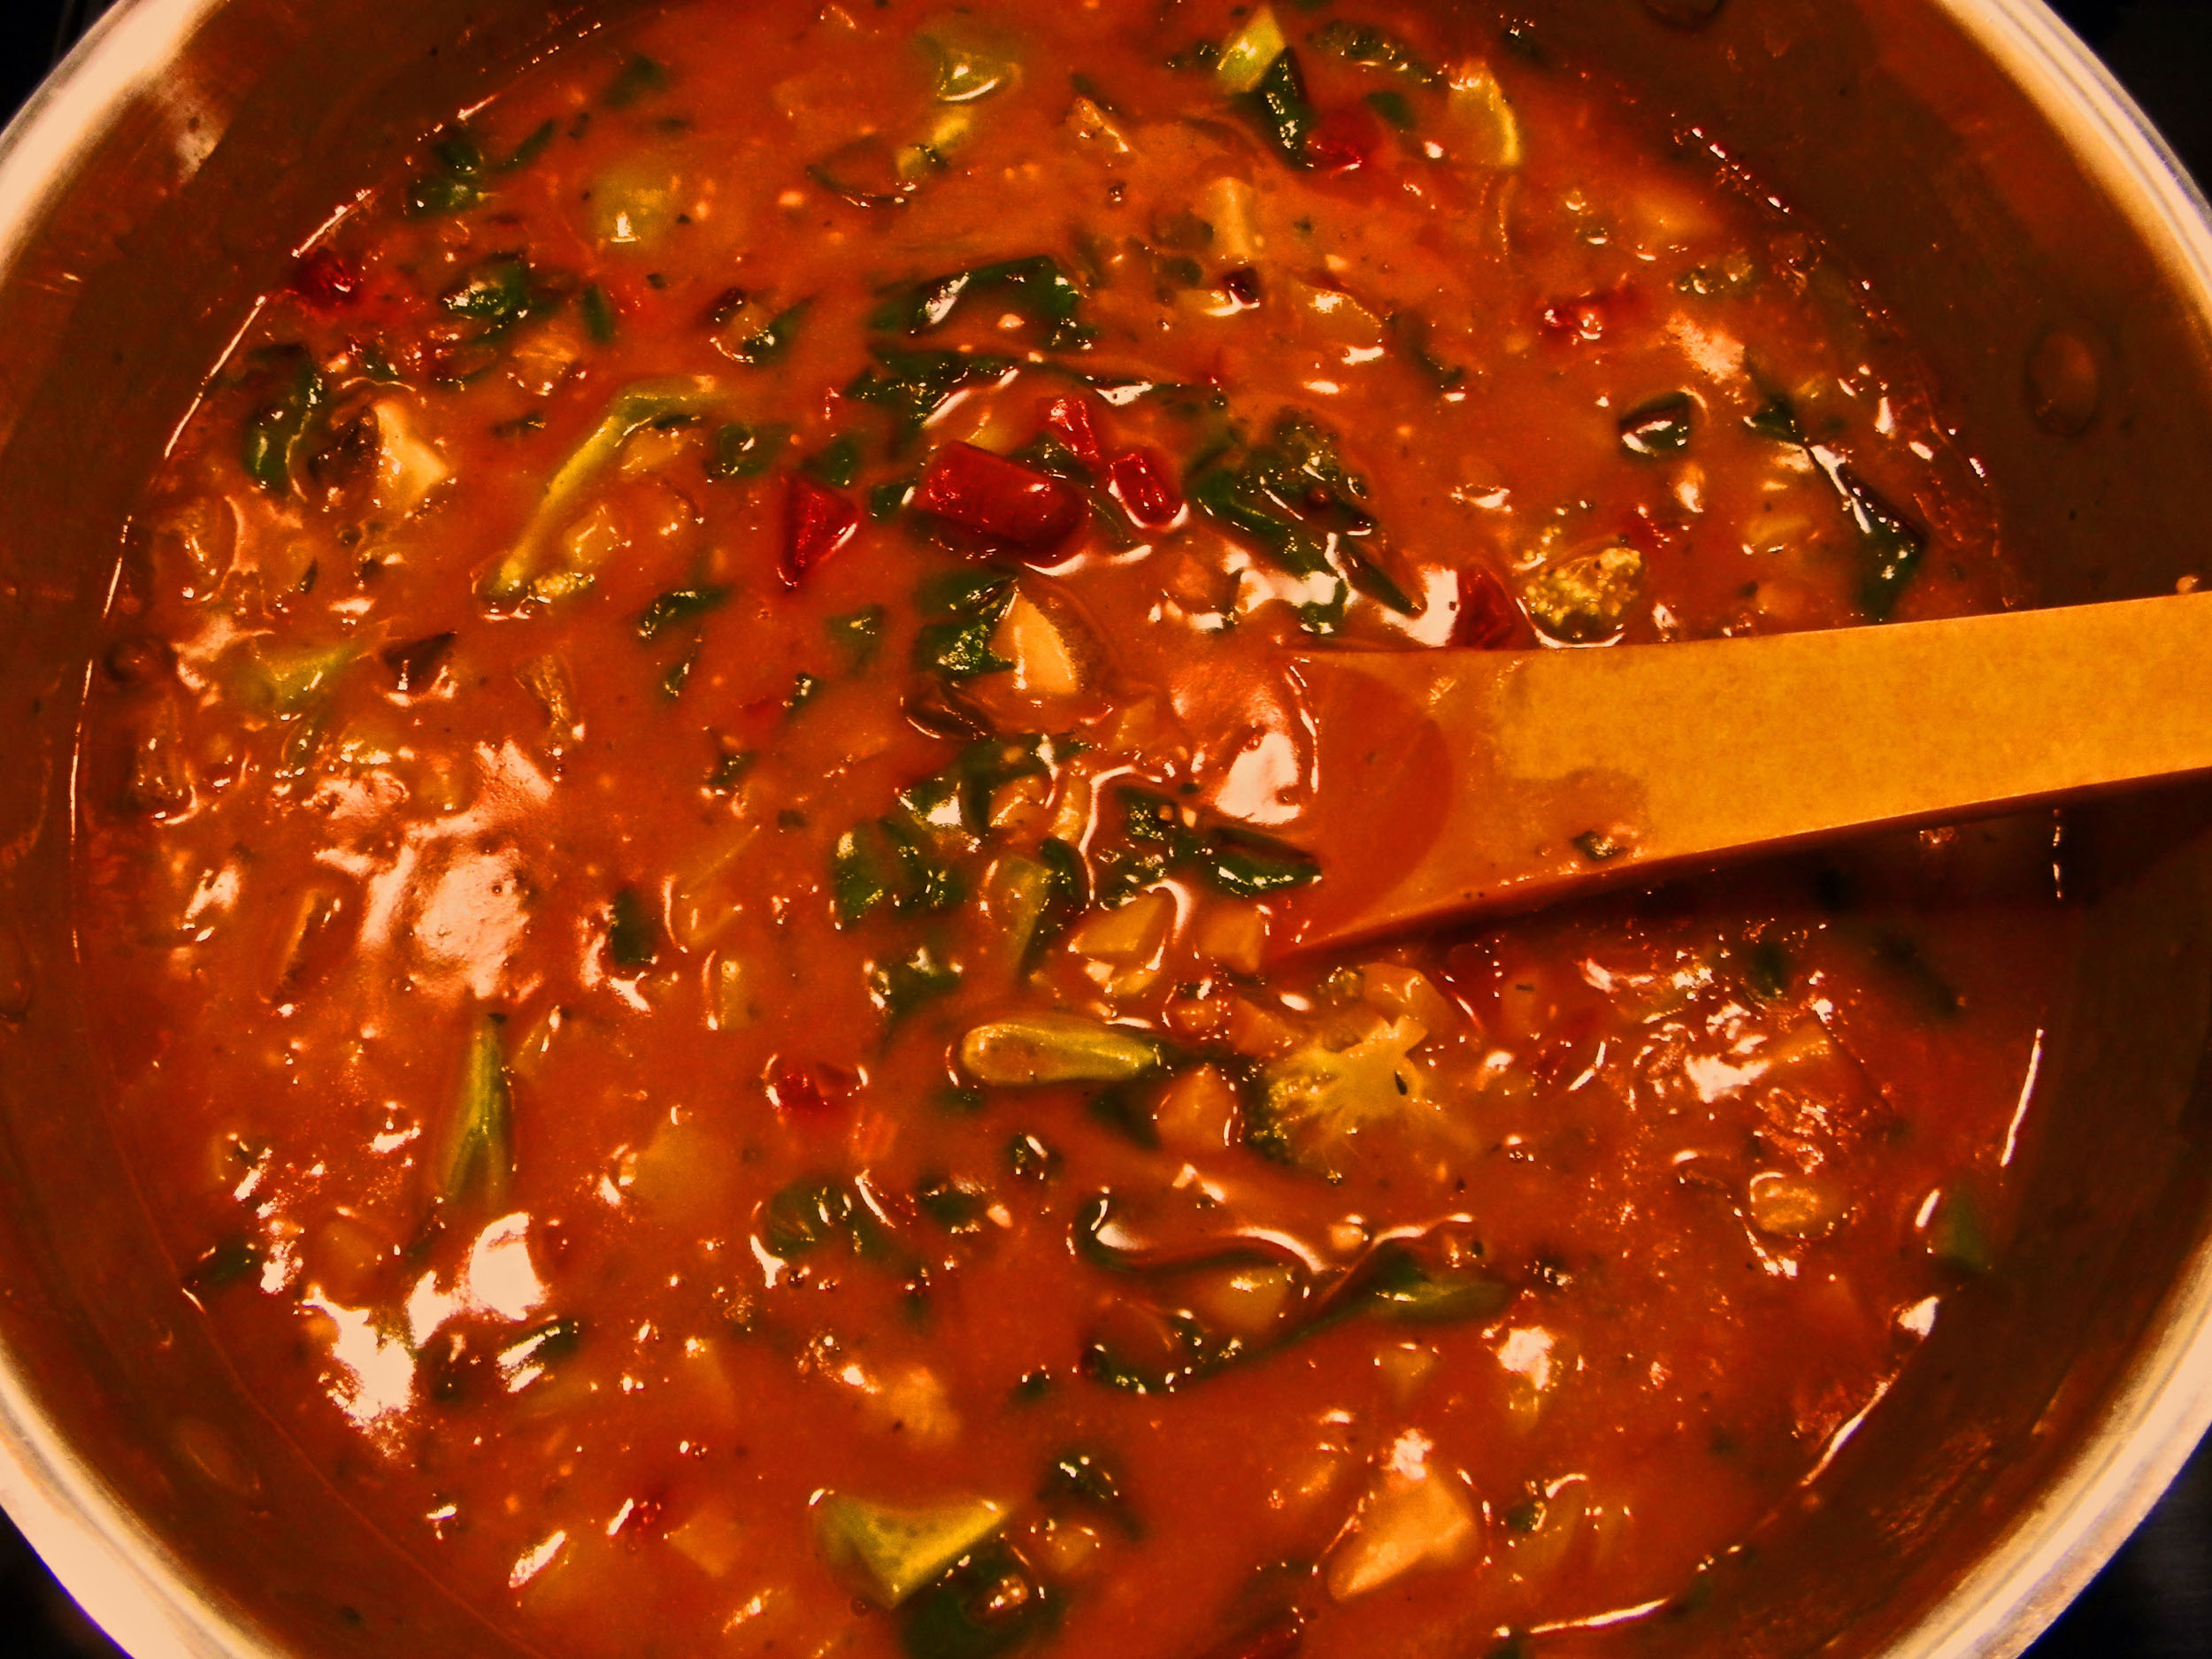
Once your vegetables are done, add them to your stock plus the fresh herbs. I generally throw in a few handfuls of fresh spinach or kale or beet greens at this point too. Mix this all together and let simmer for about 5 minutes. Now it’s time to enjoy!

Roasted Veggie Stew

A great hearty stew for both meat lovers and vegetarians.
Prep Time30 minutes
Cook Time1 hour
Course: Main Course, Soups
Cuisine: American
Keyword: soup, stew
Servings: 10 cups
Calories: 155kcal
Author: Eating With Deb

Equipment

  • Large Stock Pot
  • 2 Sheet Pans

Ingredients

  • 1 cup beets cubed
  • 1 cup potatoes cubed
  • 1 cup carrots diced
  • 1 cup broccoli florets and stems
  • 1 cup bell pepper diced
  • 1 cup mushrooms sliced
  • 1 cup beans cut into bite sizes
  • ½ cup onions diced
  • 2 tbsp garlic fresh minced
  • 2 tsp Thyme chopped
  • 2 tsp oregano chopped
  • 2 tsp parsley chopped
  • 8 tbsp butter
  • 8 tbsp flour
  • 4 cups veggie or beef broth

Instructions

  • Line 2 sheet pans with parchment paper. On 1 spread out the potatoes, beets, carrots and 1 T of garlic. On the other spread out the rest of the veggies and remaining tablespoon of garlic. Drizzle the veggies with olive (or canola) oil and sprinkle on a little sea salt and black pepper.
  • In a 400° oven, roast the pan with the potatoes for about 30 minutes (until tender and browning). Roast the remaining veggies for 15 minutes (until tender). The outcome reduces the veggies down to about 4 cups.
  • In a 4 quart (or larger) sauce pan, melt 8 T of butter then whisk in the 8 T of flour. I like a thick, hearty stew, but if you want it more soup-like, use only 6 T each of butter and flour. Whisk this mixture for a few minutes to start browning the flour and take the pasty taste out of it. While whisking, slowly add the 4 quarts of veggie or beef broth. Don’t add the broth too fast or it will result in clumps.
  • Then add the fresh herbs and your veggies. Simmer for 5 minutes.
  • Enjoy!

Notes

If desired, you can add in some of the beets greens (sliced) at the end. Or a cooked grain of some sort works well in this stew, like barley or wild rice. I would definitely make the thinner version if adding barley or rice as either one will soak up some of the liquid.
This stew freezes well and will last several months in the freezer.

Nutrition

Serving: 1cup | Calories: 155kcal | Carbohydrates: 16g | Protein: 3g | Fat: 10g | Saturated Fat: 6g | Cholesterol: 24mg | Sodium: 483mg | Potassium: 312mg | Fiber: 3g | Sugar: 4g | Vitamin A: 3241IU | Vitamin C: 36mg | Calcium: 31mg | Iron: 1mg

Chipotle Coleslaw

I will admit it, I am a coleslaw snob. I haven’t found a restaurant coleslaw that I can say I really like. There have been a few that I can tolerate. Generally they are way to creamy or way to acidic, but mostly way to sweet.

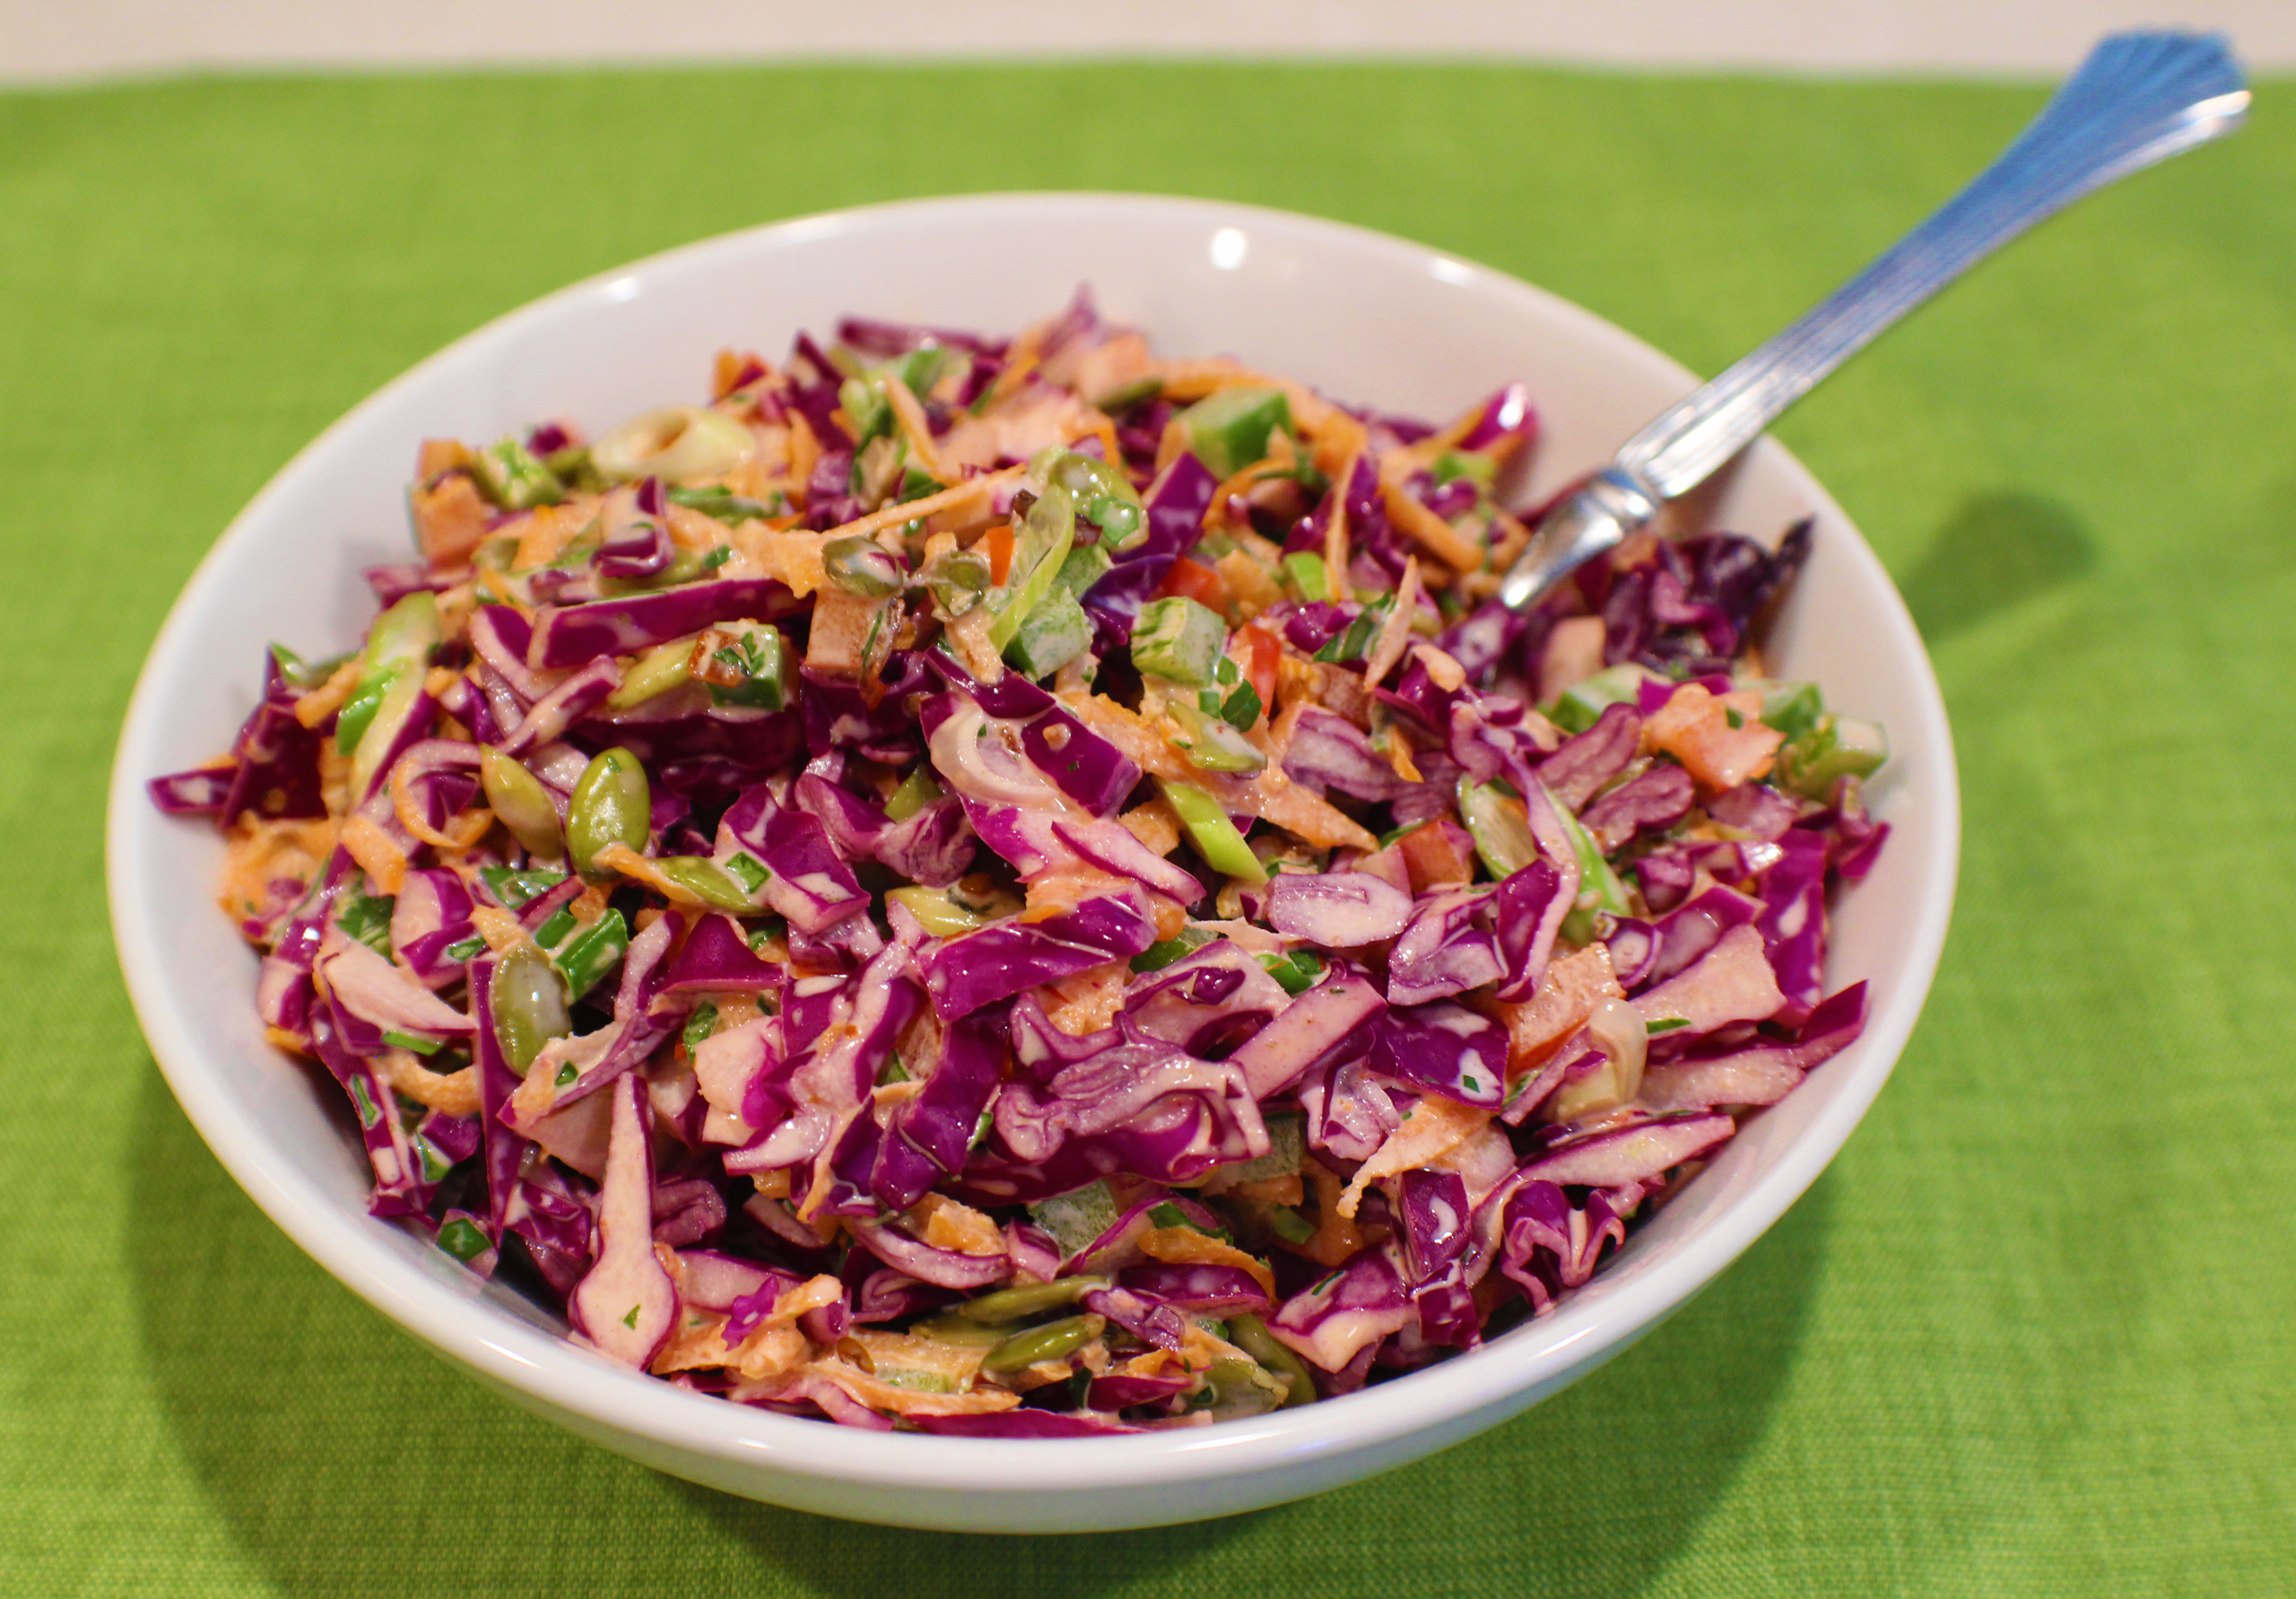
I like to use purple (I know technically it’s called red) cabbage because it holds up better to the acid that is in coleslaw. Side note – I also use purple cabbage when I make sauerkraut for the same reason – it stays more firm and crisp.

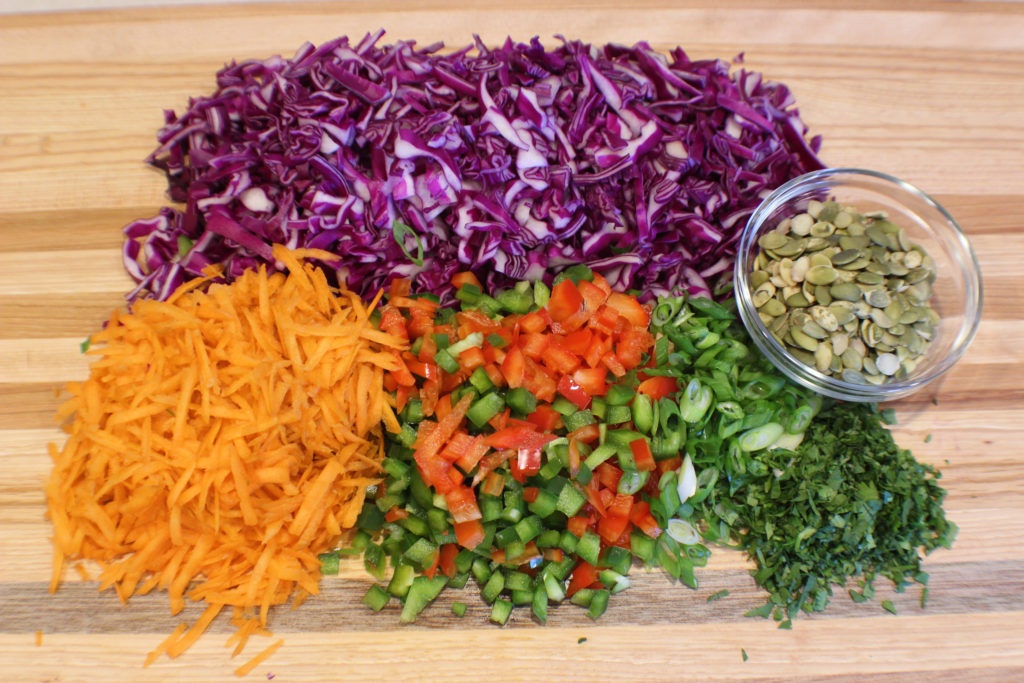
Start by gathering and prepping your veggies. Shred the cabbage, grate the carrots, chop the bell pepper (I had a half of a red and green one on hand), cilantro, and onions, get your pumpkin seeds (aka pepitas).

Technically pumpkin seeds and pepitas are different. The pumpkin seed is the whole seed (has the white husk around the green seed, and a pepita is the green, inner seed. You can find the green seed called by either name in the grocery store.

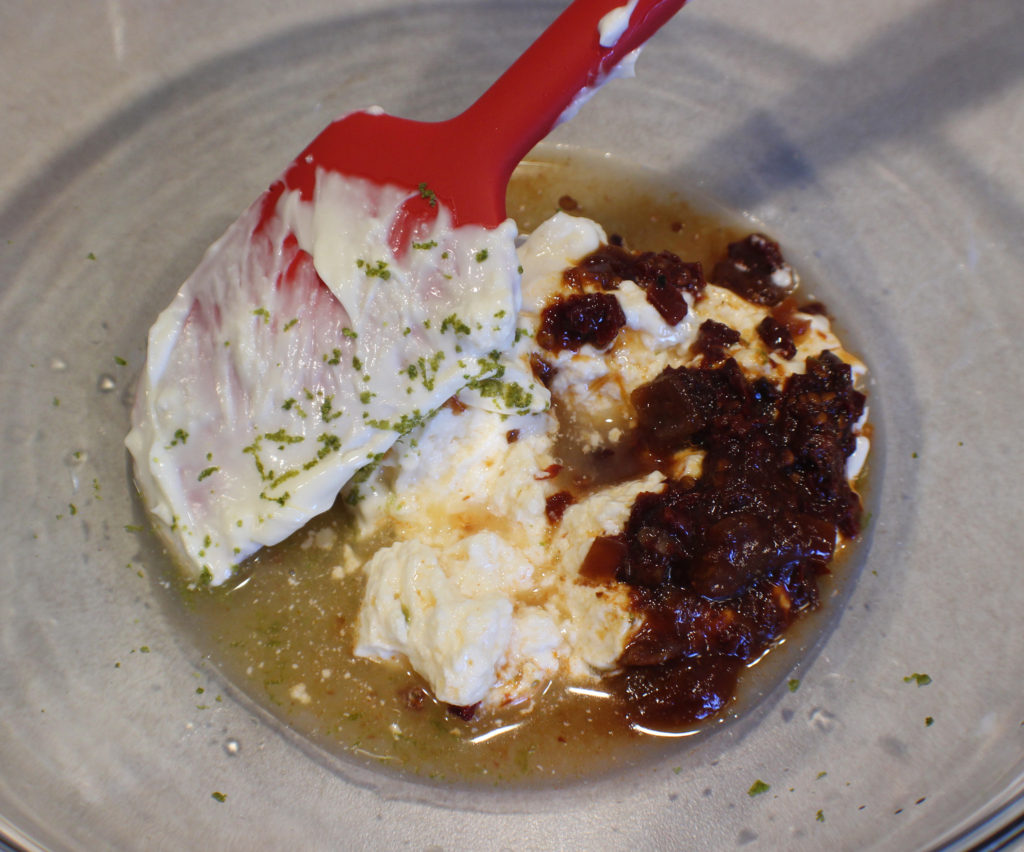
Now mix your dressing ingredients. In a large bowl, add your mayo, lime zest and juice and adobo sauce. Chop the chipotle pepper and add that to the bowl and mix it all together.

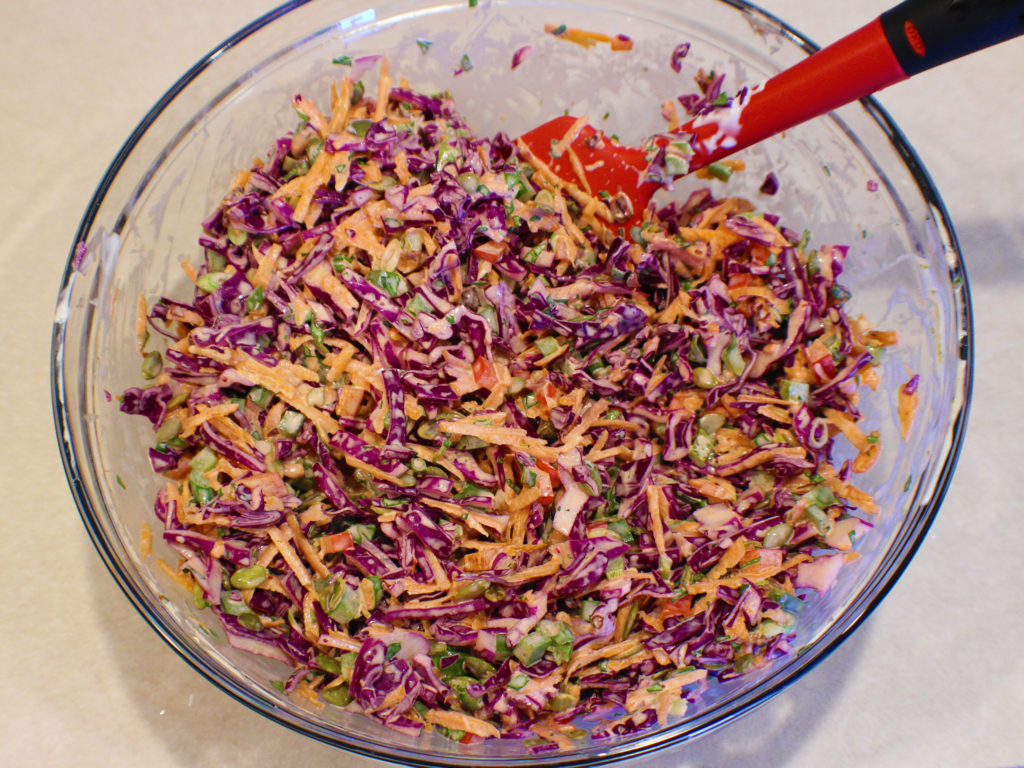
To dress just prior to serving or in advance. I know people who will only add the veggies to the dressing right before the coleslaw is ready to serve. This is one reason I like using purple cabbage – it holds up and doesn’t soften right away so you can dress your coleslaw in advance so it is ready to eat when the rest of your meal is done. In fact, it will generally last a few days before it starts softening.
Chipotle Slaw

A slightly spicy and crispy slaw that pairs well with any Tex-Mex meal.
Prep Time15 minutes
Cook Time0 minutes
0 minutes
Course: Side Dish
Cuisine: American, Tex-Mex
Keyword: Coleslaw, Salad
Servings: 6 cups
Calories: 177kcal
Author: Eating With Deb

Ingredients

  • 4 cups purple cabbage shredded
  • 2 medium sized carrots shredded
  • 1 each bell pepper chopped
  • 2 tbsp fresh cilantro chopped
  • 3 each green onions sliced
  • 1/3 cup raw pumpkin seeds
  • 1/2 cup mayonnaise
  • 1 each lime juice and zest
  • 1 each chipotle pepper in adobo sauce minced
  • 1 tsp adobo sauce

Instructions

  • Shred cabbage.
  • Grate carrots.
  • Chop bell pepper, cilantro and onions.
  • In a large bowl, combine dressing ingredients (mayo, lime juice and zest, and chipotle pepper and adobo sauce.
  • Add veggies and pumpkin seeds and mix well.
  • Enjoy!

Notes

I like to use purple cabbage instead of green because I like the flavor better and it holds up in a slaw longer. This slaw will hold up for 3-4 days in the refrigerator (if it lasts that long).
If you don’t have chipotle peppers in adobo sauce (see my tip on what to do with the rest of the can of chipotle peppers in adobo sauce) you can replace it with 1 chopped jalapeno, ribs and seeds removed, and ¼ teaspoon chipotle powder.

Nutrition

Calories: 177kcal | Carbohydrates: 7g | Protein: 2g | Fat: 16g | Saturated Fat: 3g | Cholesterol: 8mg | Sodium: 292mg | Potassium: 238mg | Fiber: 2g | Sugar: 4g | Vitamin A: 4080IU | Vitamin C: 35mg | Calcium: 33mg | Iron: 1mg

Quinoa Pilaf

I like to use quinoa (KEEN-wah) to replace rice and other grains. It is packed with nutrients and contains all nine essential amino acids, meaning it is a complete protein. It is low in carbohydrates and gluten-free. While technically not a grain, it is used as a grain replacement in many dishes.

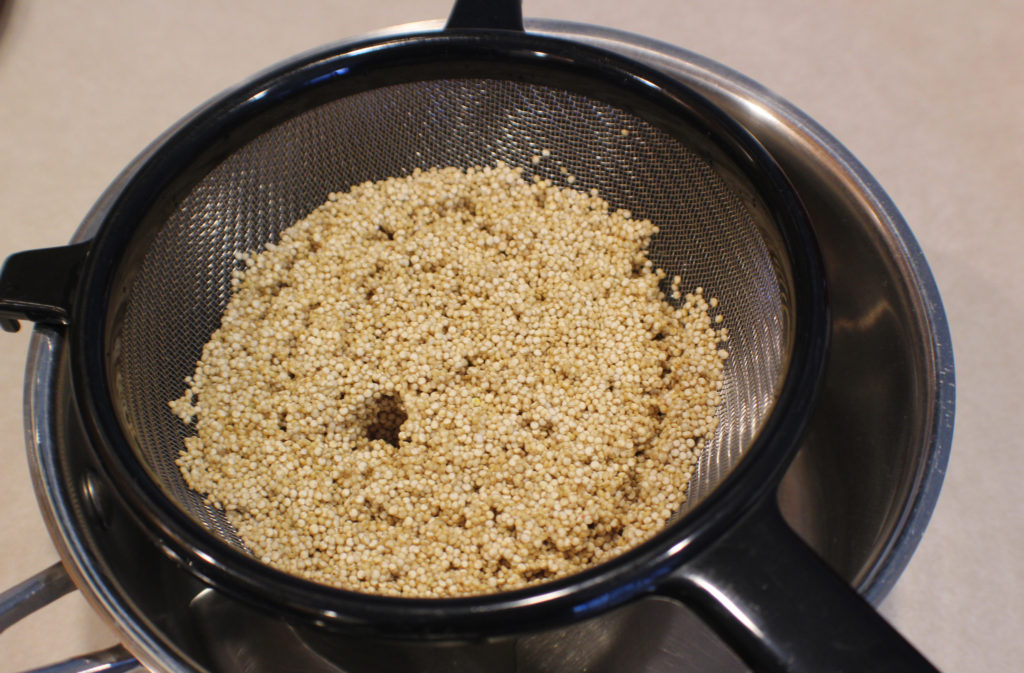
First things first. It is important to rinse quinoa before you cook it. For some people, quinoa can taste “soapy” so rinsing will help remove this not so tasty flavor.

Just put it in a fine mesh sieve and run under cold water for a minute or two. Then drain well.

Next we cook the quinoa. I always use a stock, generally chicken or veggie stock, instead of plain water. It adds flavor to the cooked quinoa.

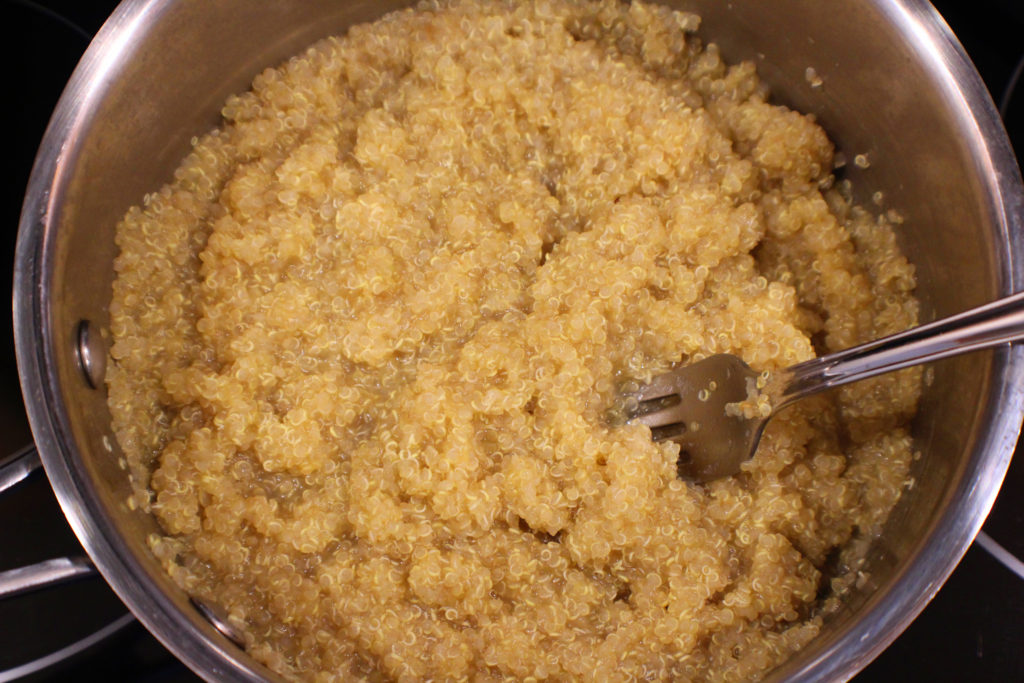
Put the quinoa and stock in a sauce pot and bring to a simmer. Reduce heat, cover and simmer for 15 minutes. Remove from heat and let rest for 5 minutes. Remove lid and fluff with a fork.

If there is still some liquid left, don’t worry. we can add it to the pilaf when we put this all together.

While the quinoa is cooking and resting, you can prep your veggies.

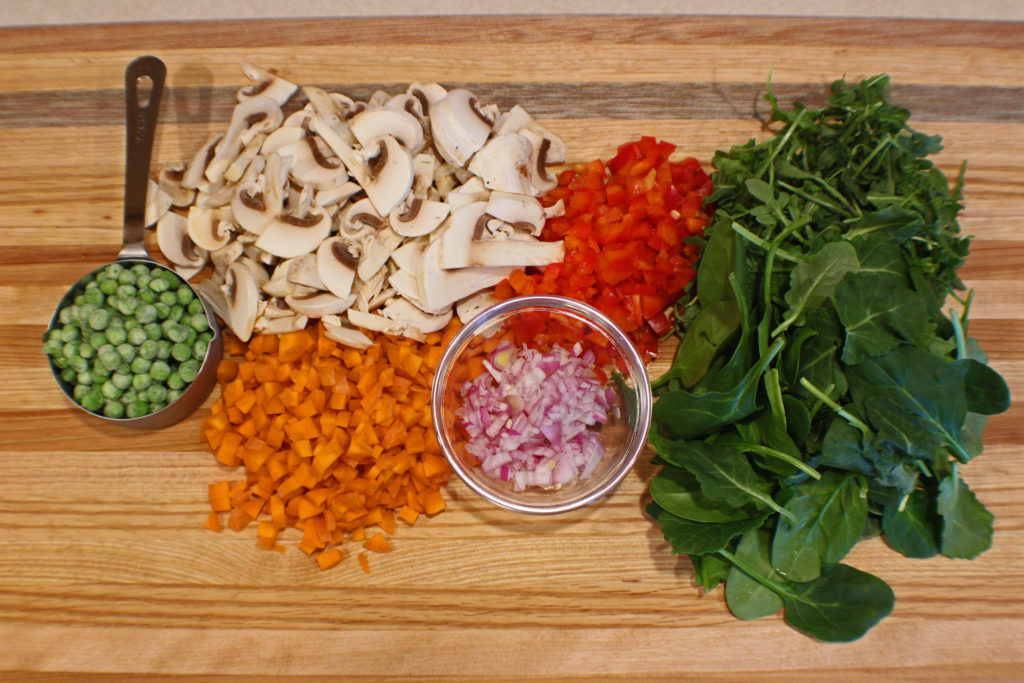
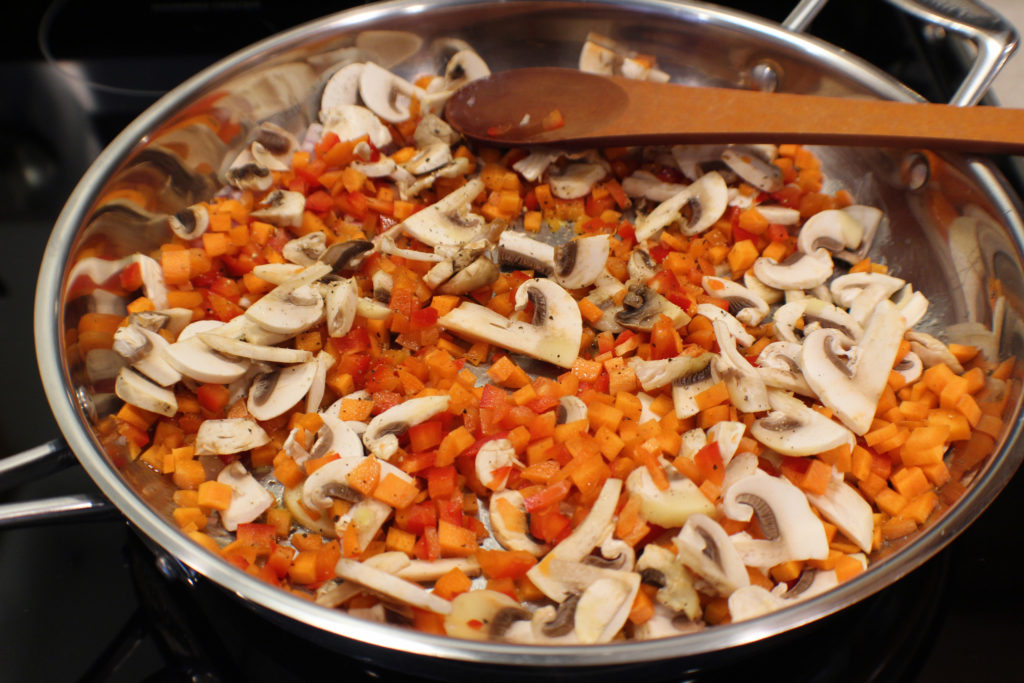
Slice the mushrooms, dice the carrots, bell pepper, and onion. Get a couple handfuls of greens out – I like spinach, kale, and/or arugula – and some frozen peas.

Of course the greens are optional, but I use any chance I get to add some extra nutrients to my food.

Now it’s time to put it all together.

Heat a large saute pan and add the olive oil and butter. Need it to be dairy-free, use a butter substitute or a little more olive oil.

Add the onions, peppers, mushrooms, and carrots and saute until the carrots are tender, about 5 minutes.

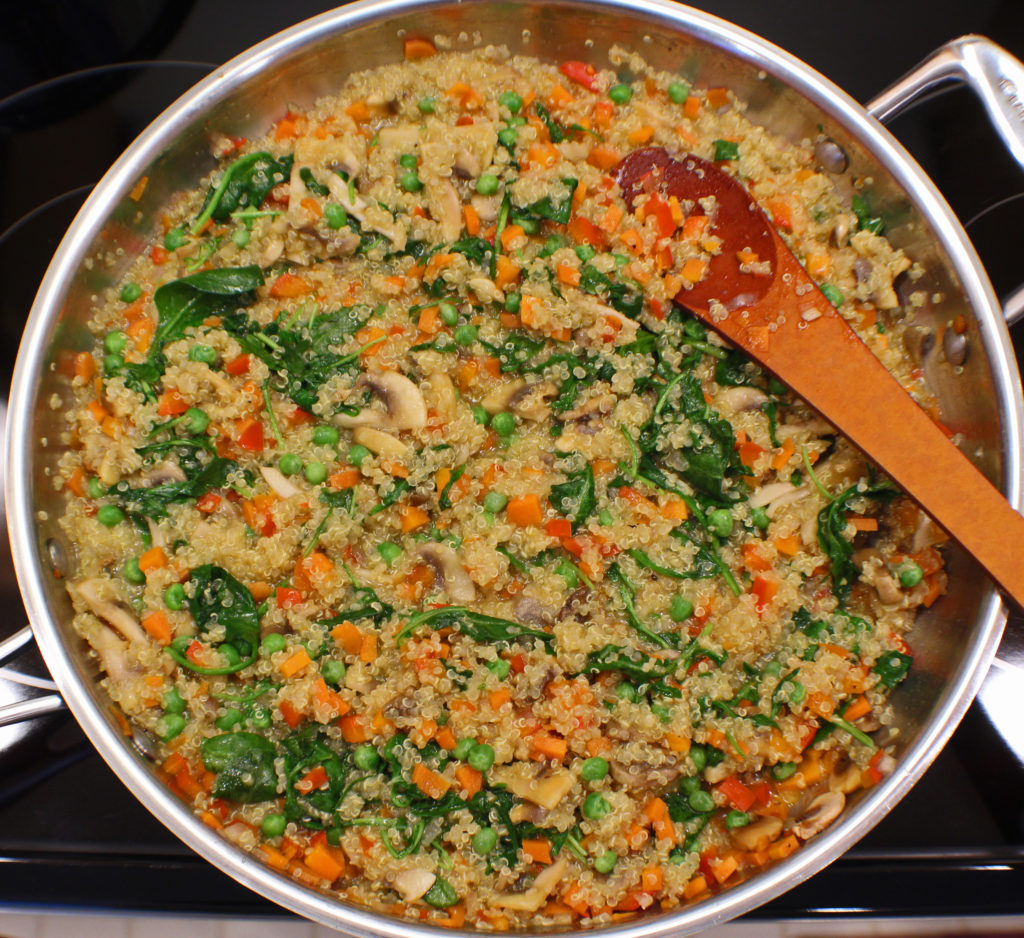
Now add the cooked quinoa, greens, peas, and 1/2 cup chicken or veggie stock.

Stir until combined and the greens have wilted.

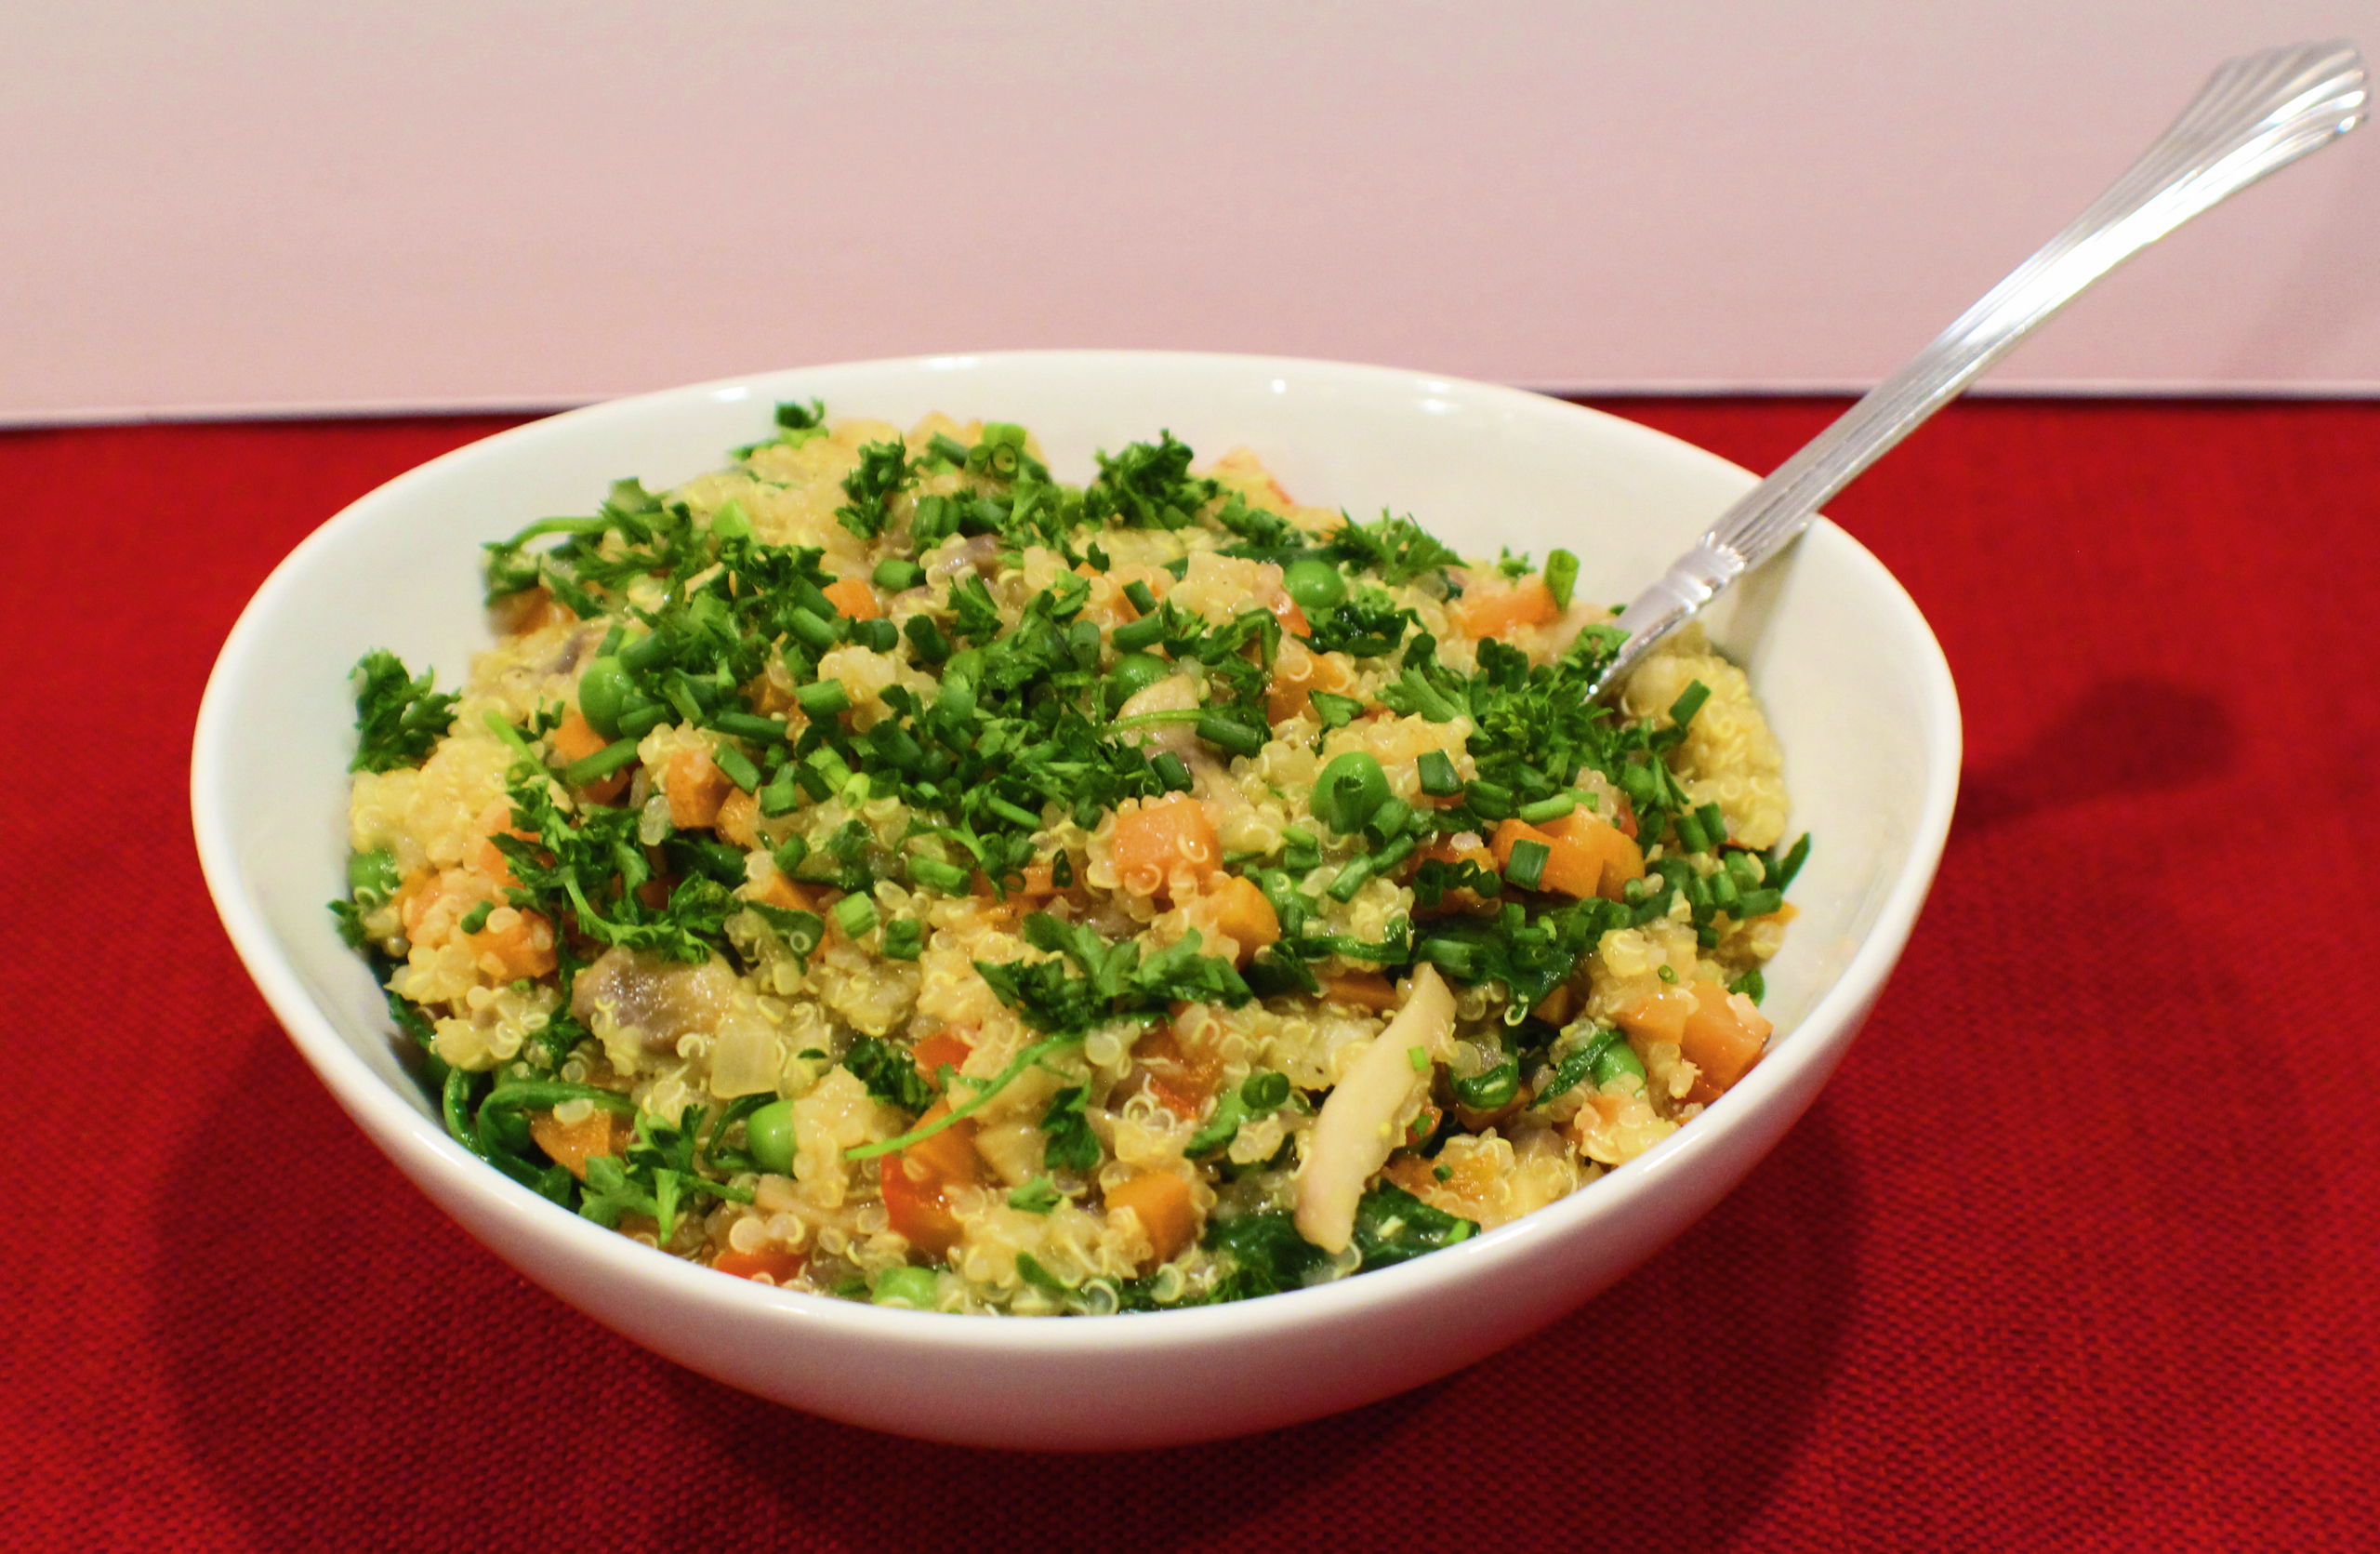
Taste and add some sea salt and/or black pepper to your liking. Top with some fresh, chopped parsley and chives.

Enjoy!

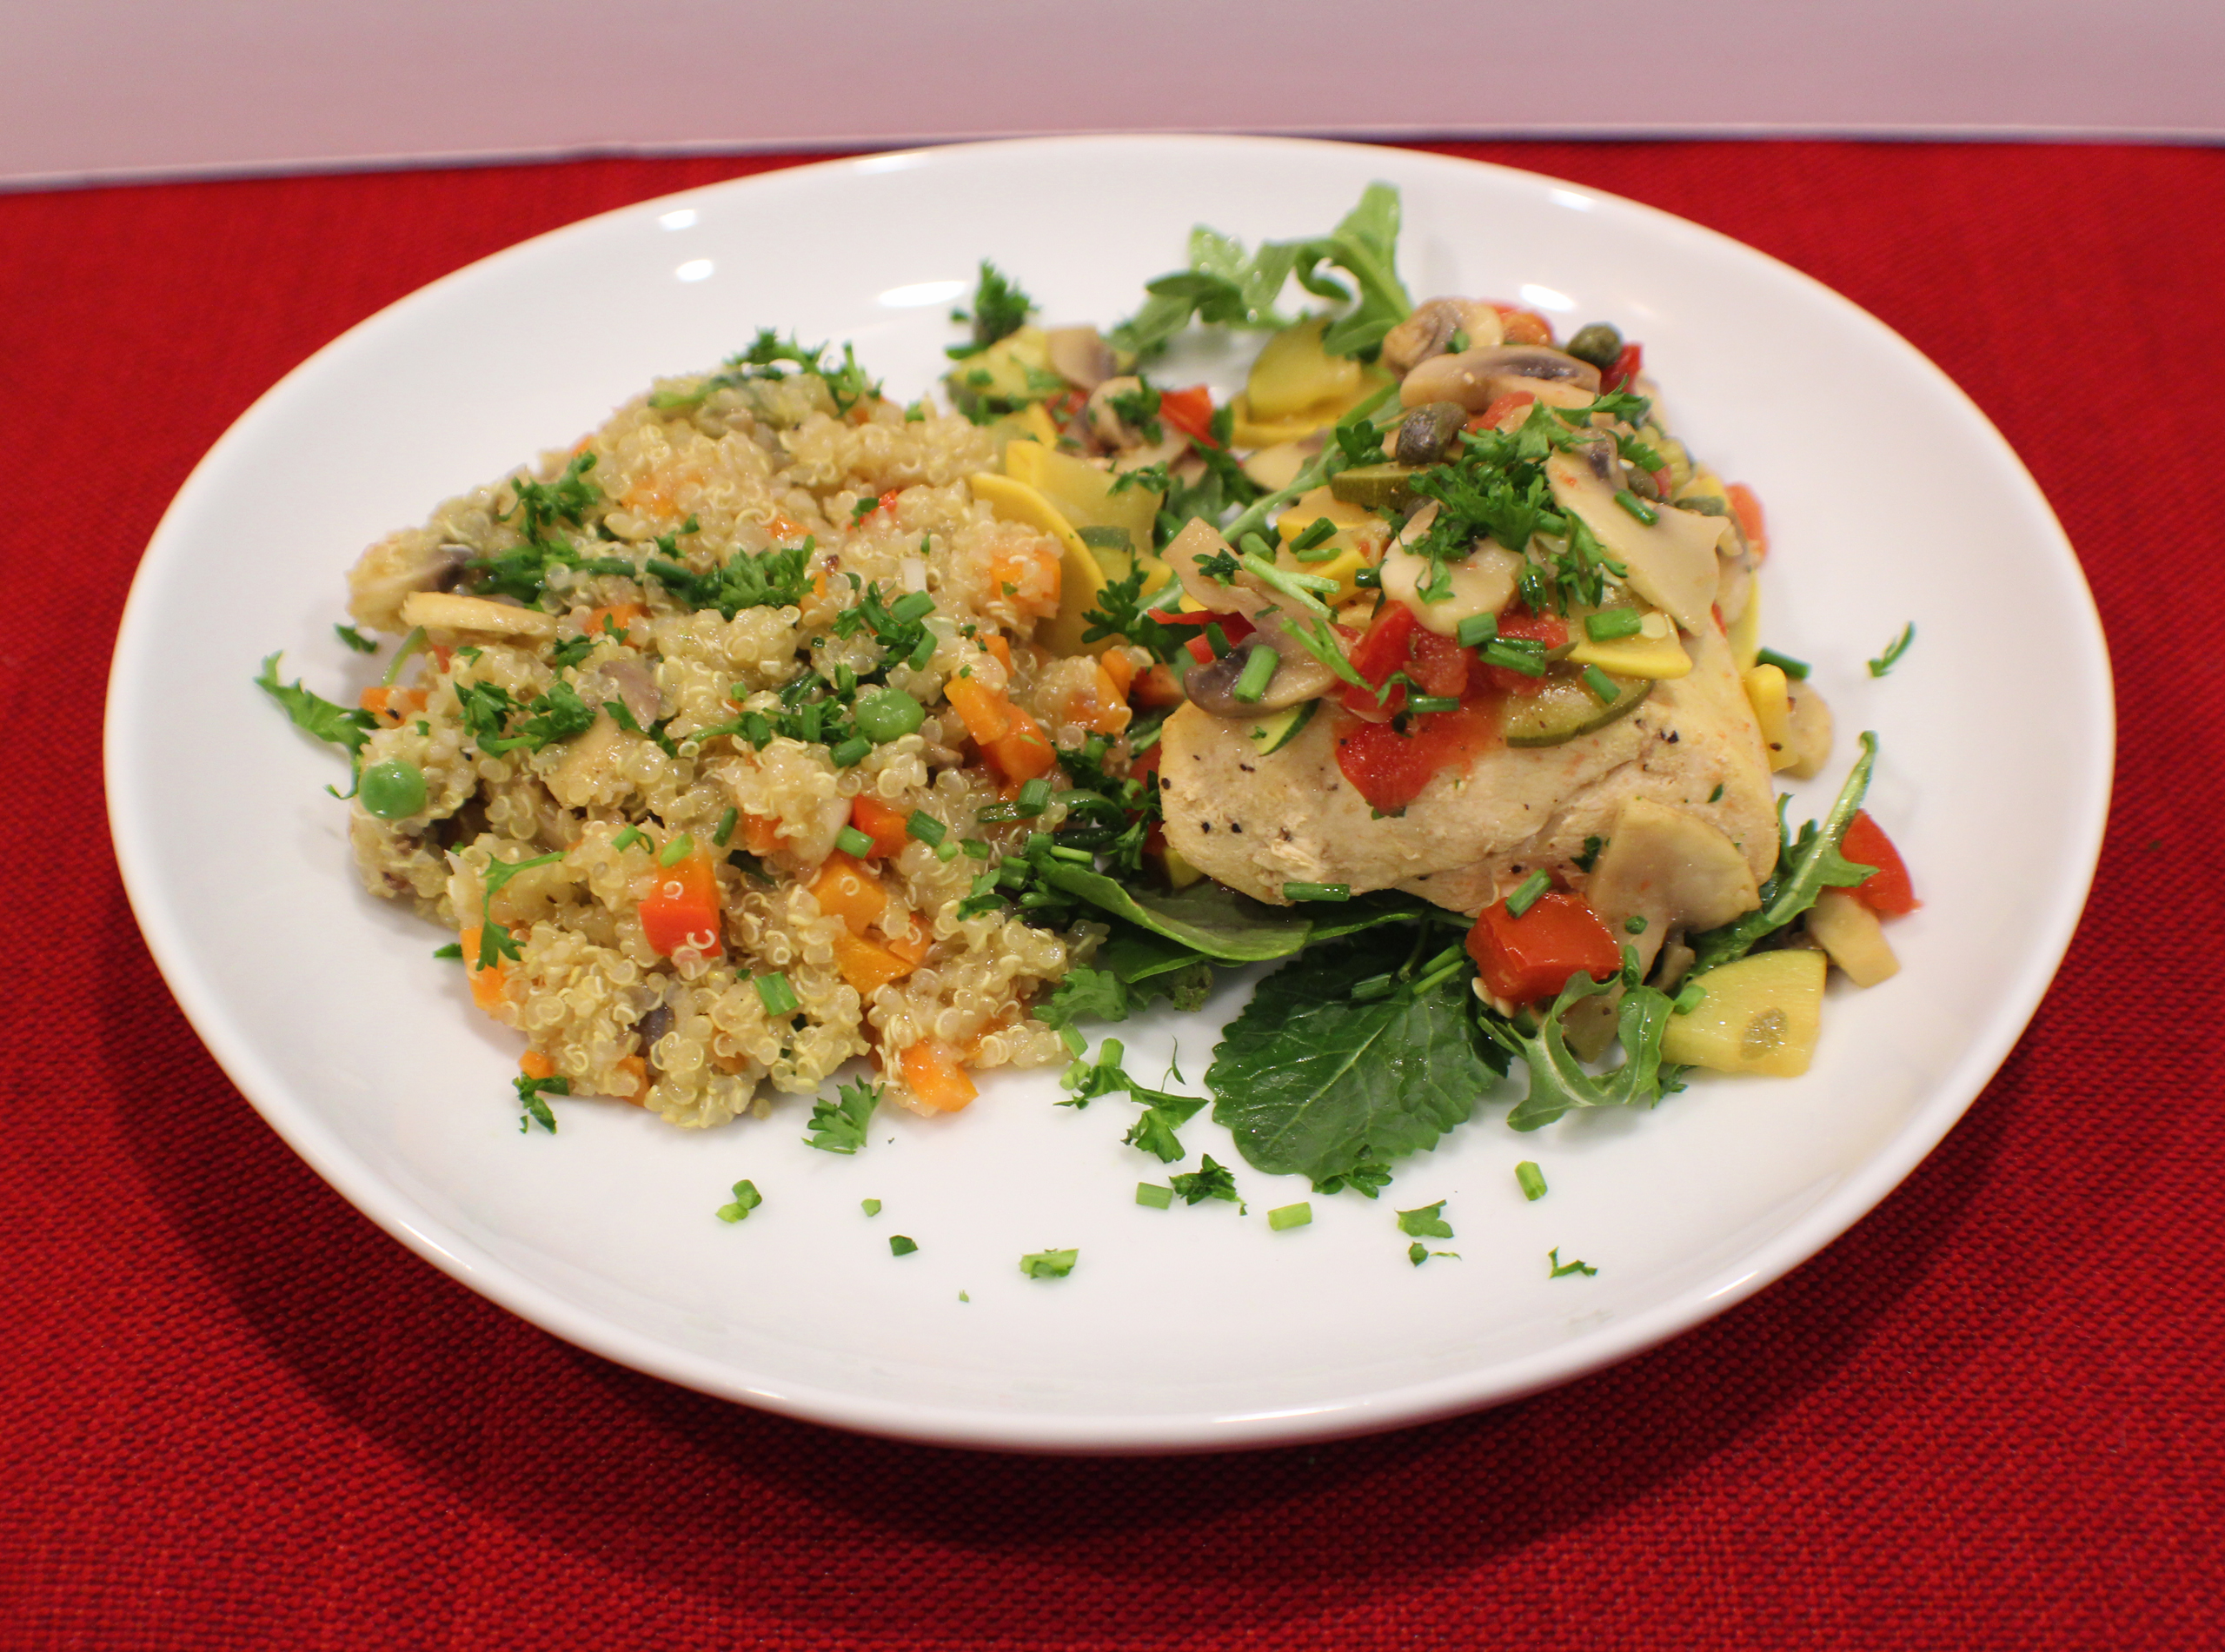
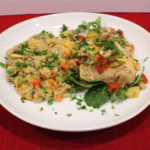
Try this with Lemon Pepper Chicken and Veggies.

Quinoa Pilaf

I like using quinoa in place of rice. Quinoa is a very healthy alternative to grains, has more protein and fiber, and is higher in iron and potassium than rice. And it's gluten-free so it can be used in place of other gluten containing grains.
Prep Time15 minutes
Cook Time20 minutes
Course: Side Dish
Cuisine: American
Keyword: Glutenfree, Pilaf, Quinoa
Servings: 5 cups
Calories: 198kcal
Author: Eating With Deb

Ingredients

  • 1 cup quinoa uncooked
  • 2 ½ cups vegetable stock or chicken stock
  • 2 tbsp shallots or red onion minced (or about ¼ c sliced leeks)
  • ½ each red bell pepper fine diced
  • 1 cup sliced mushrooms
  • 2 each carrots fine diced
  • ½ c frozen peas
  • 3 handfuls fresh greens spinach, kale, arugula…
  • 1 tbsp olive oil
  • 1 tbsp butter or butter substitute
  • Sea salt and black pepper to taste

Instructions

  • To cook quinoa: Put quinoa in a fine, mesh sieve, rinse and drain well. Transfer to a sauce pan and add 2 cups stock. Bring to a simmer, cover and simmer for about 15 minutes until broth is mostly absorbed. Remove from heat and let sit for 5 minutes. Remove lid and fluff with a fork.
  • While the quinoa is cooking and resting, prep your vegetables. Slice the mushrooms, chop the peppers, onion, and carrots. Gather your greens and peas.
  • Heat a sauté pan and add oil and butter. Add onions, peppers, mushrooms and carrots. Sauté until tender – about 5 minutes. Add the cooked quinoa, peas, greens, and ½ cup stock. Stir until combined and greens are wilted throughout pilaf.
  • Taste and add sea salt and black pepper to your taste.
  • Top with some fresh chopped parsley and chives.
  • Enjoy!

Nutrition

Calories: 198kcal | Carbohydrates: 27g | Protein: 7g | Fat: 7g | Saturated Fat: 2g | Cholesterol: 6mg | Sodium: 508mg | Potassium: 388mg | Fiber: 4g | Sugar: 2g | Vitamin A: 2187IU | Vitamin C: 12mg | Calcium: 37mg | Iron: 2mg

Lemon Pepper Chicken & Veggies

This slightly tangy, light and refreshing dish tastes great no matter what time of year. Getting a little tired of the heavy meals we all tend to eat during the cold winter months, try this one.

For those who have never tried capers, this is a good dish to try out. Paired with fresh lemon juice, they add just the right amount of tang.

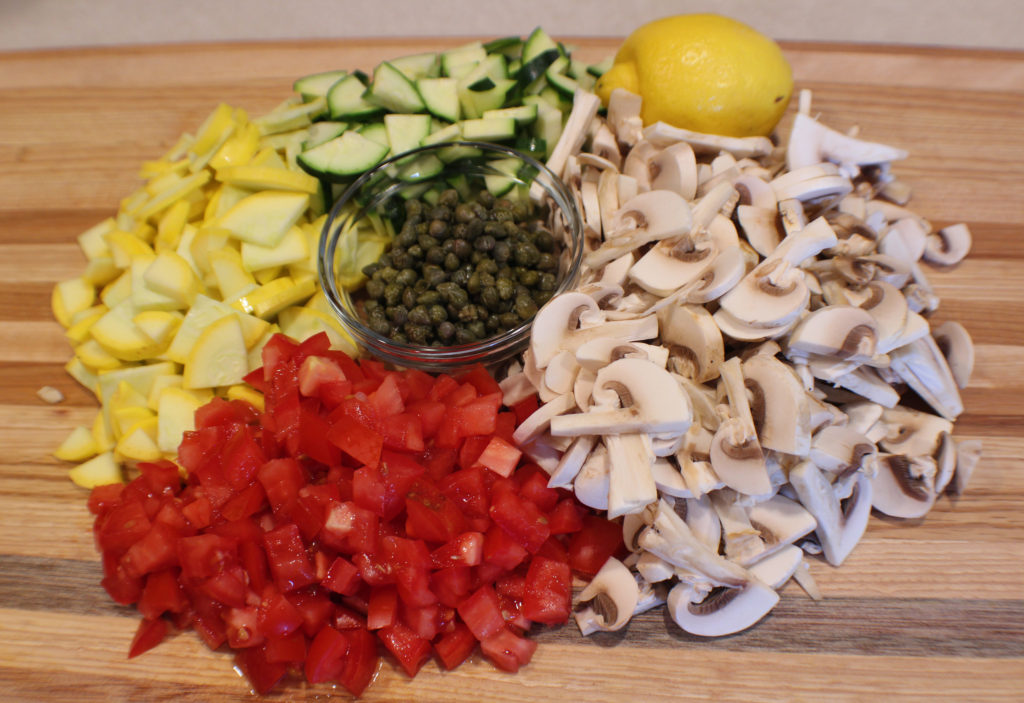
First prep your veggies. Cut the zucchini and yellow squash down the center and each half down the center one more time. Then cut into slices. Slice your mushrooms and chop your tomatoes. I generally use roma tomatoes in this dish since they have more meat and less juice and hold up better when cooking, but you could use any tomatoes you have on hand. Get your capers out and make sure your lemon is at room temperature – it will give you more juice.

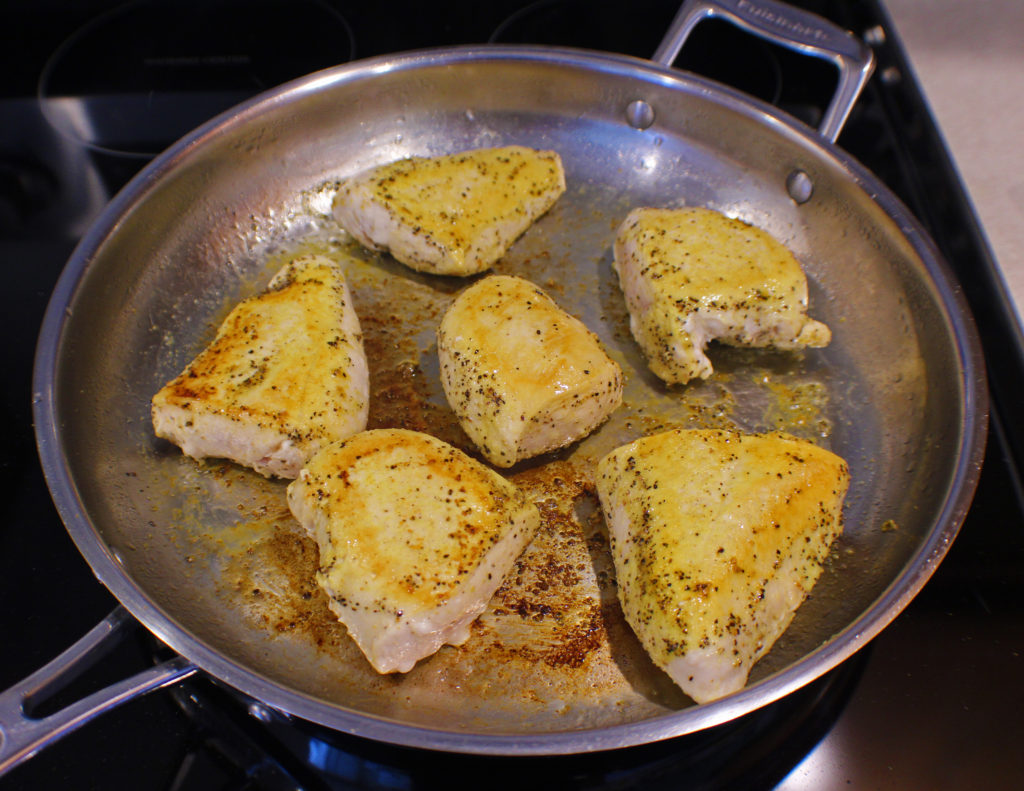
Heat up a large saute pan on the medium low setting. Add 1 tablespoon of the olive oil and butter. Then put your chicken in the pan making sure to scrape as much seasoning off the plate as you can.

Cover the pan and cook 3 – 5 minutes (depending on thickness of chicken). Flip over, replace lid and cook another 3 – 5 minutes. Remove chicken from the pan.

Time for the veggies. Add the other 1 tablespoon of olive oil and butter, zucchini, yellow squash, and mushrooms. Also add 1/2 cup of the chicken stock.

While stirring, scrape the bottom of the pan to incorporate all the seasonings left behind from the chicken.

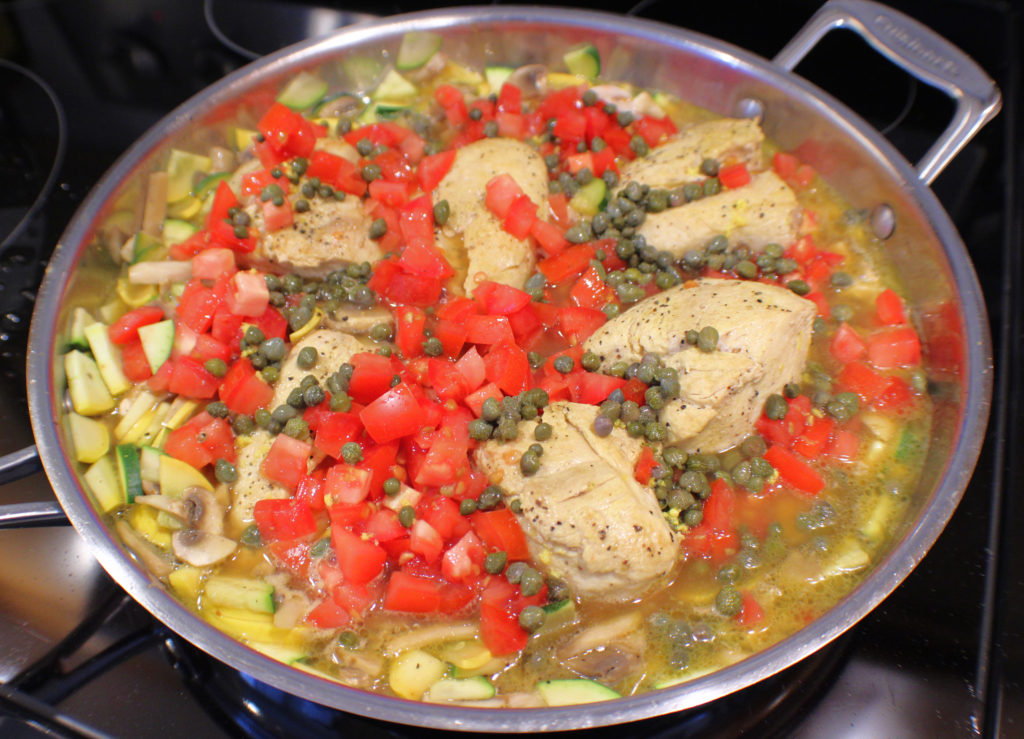
Once the seasonings have been scraped up and the chicken stock has simmered out – about 3 to 5 minutes – add the chicken back to the pan and the other 1/2 cup of chicken stock. Cover and cook 5 to 10 minutes – the chicken needs to reach 165 degrees.

Now, remove the lid and add the tomatoes, capers and fresh lemon juice and zest. Simmer for a few more minutes until the liquid has reduced down be about half.

Time to eat. I like to put some fresh greens on my plate and top it with the chicken and veggies plus some juice. This adds a little more nutrients to my meal. I also pair it with Quinoa Pilaf. Top with some fresh chopped parsley and chives to finish it off.

Enjoy!

Lemon Pepper Chicken & Veggies

This fresh and slightly tangy dish is good any time of the year. Fresh lemon juice and capers are a must to complete the flavors of this chicken and veggie entree.
Prep Time20 minutes
Cook Time25 minutes
Course: Main Course
Cuisine: American
Keyword: Chicken, Lemon pepper chicken
Servings: 6 servings
Calories: 107kcal
Author: Eating With Deb

Equipment

  • Large saute pan

Ingredients

  • 3 each chicken breasts cut in ½ for 6 pieces
  • 1 each zucchini small
  • 1 each yellow crookneck squash small
  • 4 cups mushrooms sliced
  • 3 each roma tomatoes
  • 3 tbsp capers
  • 1 each lemon zest and juice
  • 1 tbsp lemon pepper
  • 2 tbsp butter
  • 2 tbsp extra virgin olive oil
  • 1 cup chicken stock
  • Chopped chives and parsley
  • 2 handfuls fresh greens spinach, kale, arugula

Instructions

  • Slice mushrooms and dice tomatoes.
  • Slice zucchini and yellow squash in half lengthwise then in half again. Cut strips into slices.
  • Make sure your lemon is at room temperature and get your capers out.
  • Cut chicken breasts in half or if thick, slice through the middle to split full breast in half. Sprinkle lemon pepper on both sides of chicken breasts.
  • Heat a large sauté pan on medium low heat and add 1 tbsp olive oil and 1 tbsp butter. Add chicken breasts to pan. Cover and cook for 3 - 5 minutes. Flip, cover and cook for another 3 - 5 minutes. Remove from pan.
  • To pan, add 1 tbsp olive oil and butter plus zucchini, yellow squash, mushrooms and ½ cup chicken stock. Stir, scraping the bottom of pan to remove seasoning left from chicken.
  • Once tasty bits from bottom of pan are scraped off and chicken stock is almost boiled out, return chicken to pan plus the other ½ cup of chicken stock.
  • Cover and cook on low until chicken reaches 165 degrees – about 10 minutes.
  • Remove lid, add tomatoes, lemon juice and zest, and capers. Simmer for a couple minutes until stock is reduced by about ½.
  • Serve as is or on top of some fresh greens (the heat and juice will wilt the greens) and sprinkle some fresh chives and parsley on top.
  • Pairs well with Quinoa Pilaf.
  • Enjoy!

Nutrition

Calories: 107kcal | Carbohydrates: 4g | Protein: 3g | Fat: 9g | Saturated Fat: 3g | Cholesterol: 12mg | Sodium: 205mg | Potassium: 259mg | Fiber: 1g | Sugar: 2g | Vitamin A: 117IU | Vitamin C: 2mg | Calcium: 6mg | Iron: 1mg

Cornbread

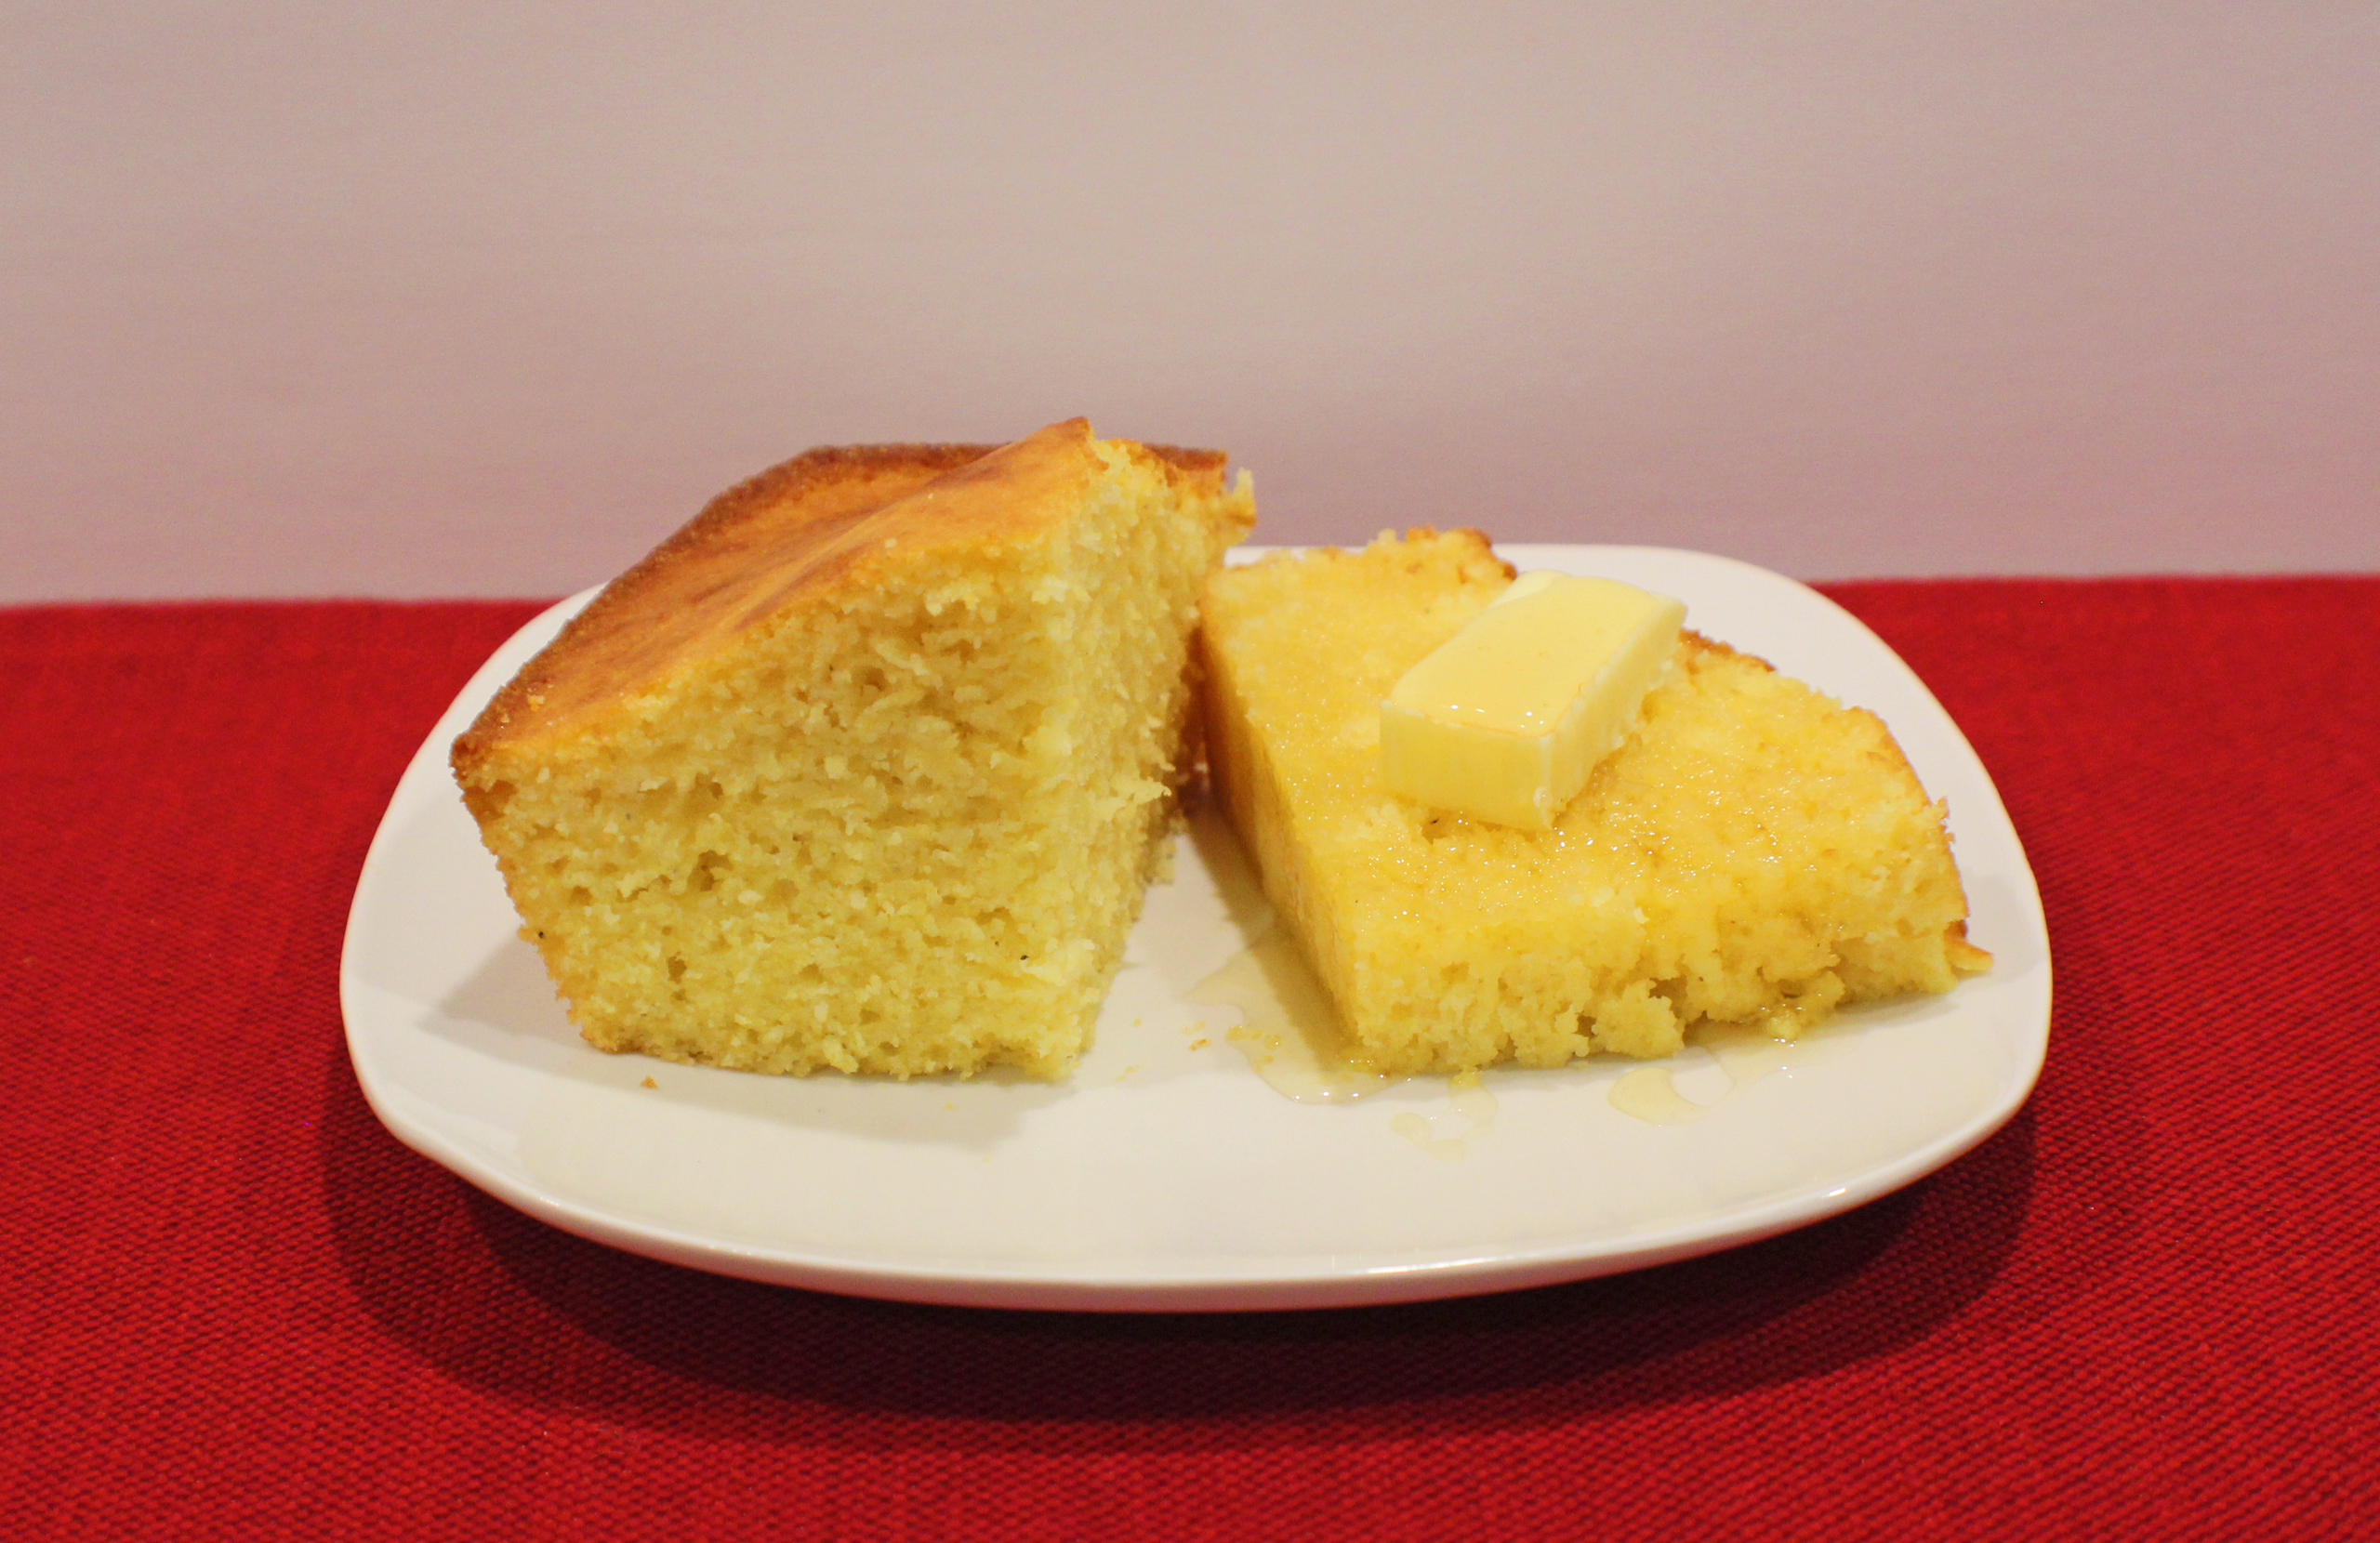
I love cornbread as long as I can spread butter and honey on it and pick it up without crumbling to bits. This recipe stays moist and holds together even if you need to make it gluten-free or dairy-free or both! It is simple and can be thrown together about as quick as any box mix. And, in my opinion, tastes better than any box mix.

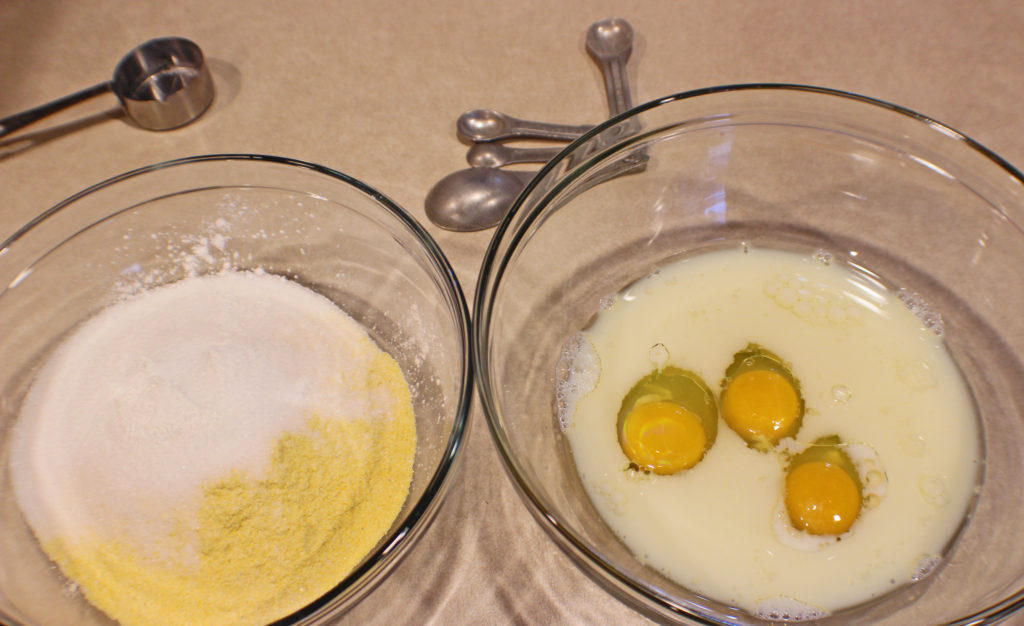
Just mix the cornmeal, flour (white or gluten-free), sugar, baking soda, and salt in one bowl and the milk (dairy or dairy-free), eggs and vegetable oil in another.

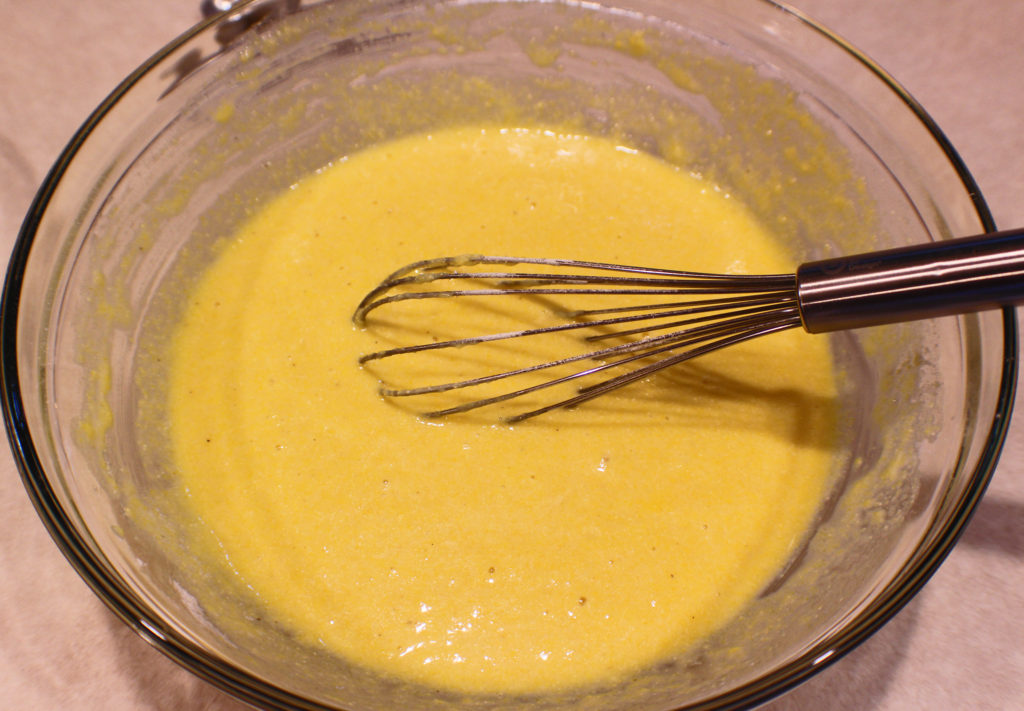
Then whisk the dry ingredients into the wet.

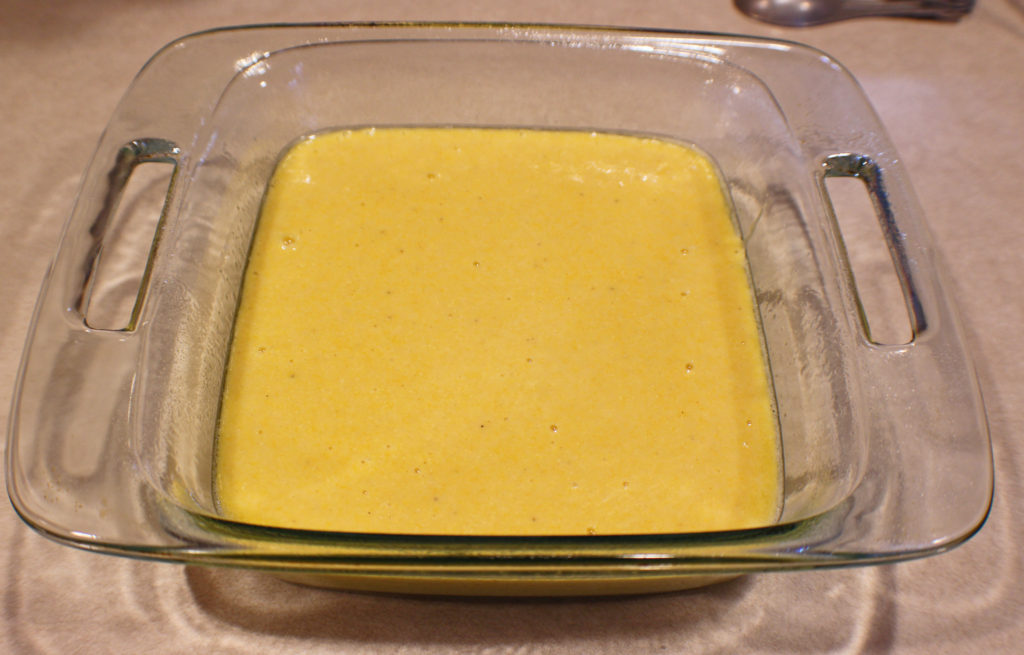
Line a 12 muffin tin with papers or spray an 8 x 8 glass pan and pour the batter in.

Bake in a 350 degree oven – about 20 minutes for muffins and 25 – 30 minutes for the pan. Insert a toothpick in the center and if it comes out clean, they are ready. Top with some butter (or butter substitute) and honey or your favorite preserves.

Enjoy!

Cornbread goes great with any chili. You can make my  No Bean Chili recipe in about 45 minutes.

Print Recipe
5 from 1 vote

Cornbread

Cornbread can go with just about any meal and can easily be made gluten-free just by replacing the flour with gluten-free baking flour. I have used the Bob's Red Mill 1 to 1 gluten-free baking flour and it turns out delicious and moist. This recipe can be made dairy-free as well by switching out the milk with unsweetened coconut or another nut or soy milk. I have made this gluten-free and dairy-free at the same time (crazy!) and it turns out tasty and moist.
Prep Time15 minutes
Cook Time20 minutes
Cook time for 8 x 8 pan30 minutes
Course: Bread
Cuisine: American
Keyword: Cornbread, Dairyfree, Glutenfree
Servings: 12 muffins
Calories: 186kcal
Author: Eating With Deb

Ingredients

  • 1 cup cornmeal
  • 1 cup flour all-purpose or Bob’s Red Mill 1 to 1 gluten-free
  • 1/2 cup sugar
  • 2 tsp baking powder
  • 1 tsp sea salt
  • 1 cup milk cow or coconut or another nut or soy milk
  • 3 each eggs
  • 1/3 cup vegetable oil

Instructions

  • Pre-heat oven to 350 degrees.
  • In a large bowl, whisk together wet ingredients.
  • In a medium bowl, whisk together dry ingredients.
  • Add dry to wet and mix until just incorporated.
  • Makes 12 regular size muffins. I like using muffin papers so I know they won't stick.
  • Or, spray an 8x8 pan (preferably glass) with non-stick cooking spray and add the mixture to pan.
  • Bake about 20 minutes for the muffins or 25 – 30 for the pan. Insert a toothpick or knife, if it comes out clean, the cornbread is done.
  • Enjoy!

Nutrition

Calories: 186kcal | Carbohydrates: 27g | Protein: 3g | Fat: 8g | Saturated Fat: 5g | Cholesterol: 3mg | Sodium: 274mg | Potassium: 81mg | Fiber: 2g | Sugar: 10g | Vitamin A: 33IU | Calcium: 64mg | Iron: 1mg

Parmesan Crisps

I love a good bowl of homemade soup especially with the addition of a parmesan crisp. Put one of these in your hot soup and it will start melting as you stir it around and eat your soup. But it won’t stick to your spoon like grated cheese does when added to soup.

Or you can use it like a cracker, add your favorite toppings and munch away.

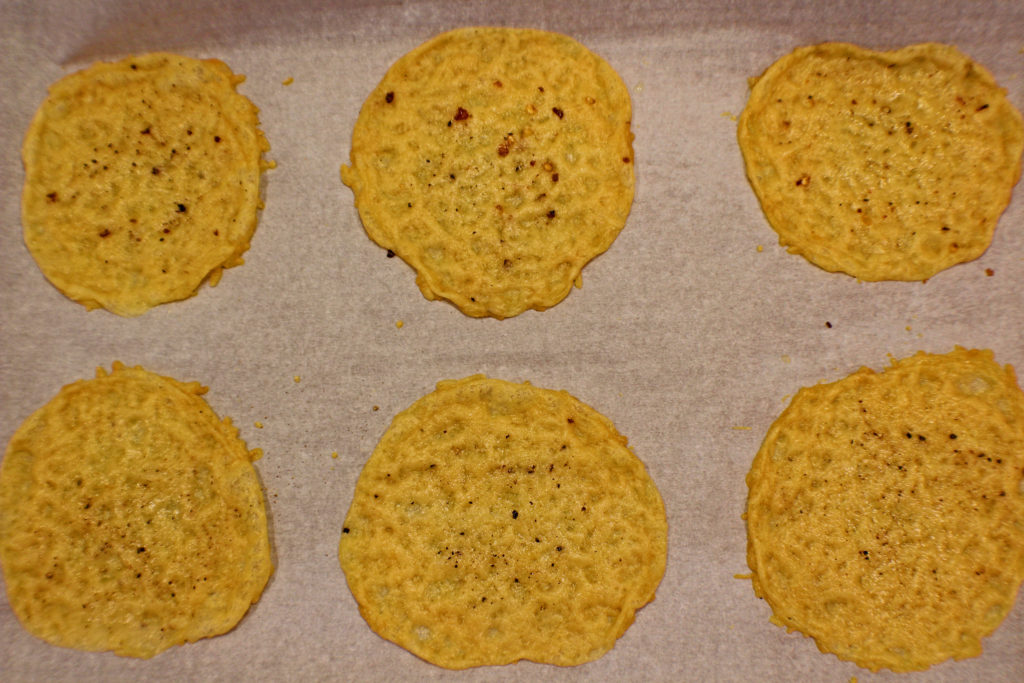
This is really easy. Line a sheet tray with parchment paper or a baking mat. Put 6 piles of 1/4 cup each of shredded parmesan on the tray. Flatten them slightly and push stray shreds into the piles.

You can decide to season them or not. I sprinkle with black pepper and crushed red pepper flakes for split pea soup, Italian seasoning for tomato soup, taco seasoning for chicken enchilada soup, I could go on. All of these seasonings work great too if you are using the crisps for crackers.

Bake in a 400 degree oven for about 5 minutes. You may have to bake another minute or 2 to get them brown, but if you do, watch closely, they go from done to overdone rapidly.

Let them cool to crisp more and Enjoy!

Print Recipe
5 from 1 vote

Parmesan Crisps

Parmesan crisps are quick to make, keep in the refrigerator for a very long time and add great flavor to all kinds of soups, but split pea and tomato soup for me these are a must! You can also use as a cracker and top with some lunch meat or salami to munch on.
Prep Time5 minutes
Cook Time5 minutes
Course: Appetizer, Soups
Cuisine: American
Keyword: Crackers, Crisps
Servings: 6 crisps
Calories: 98kcal
Author: Eating With Deb

Equipment

  • Lined sheet tray

Ingredients

  • 1 1/2 cup Parmesan shredded

Instructions

  • Pre-heat oven to 400 degrees.
  • Line a sheet tray with parchment paper.
  • Take 1/4 cup shredded Parmesan and put in piles on the sheet tray. Flatten just slightly and tuck stray shreds into pile. 6 piles fit on 1 sheet tray.
  • You can sprinkle some seasoning on these like black pepper, Italian seasoning, crushed red pepper flakes, taco seasoning... It all depends on your final use for these.
  • Bake 5 to maybe 7 minutes until they are brown.
  • Enjoy in soup or used as a cracker!

Notes

These can go from done to overdone rapidly, so if you cook longer than 5 minutes, watch them closely.
When first pulled from the oven they will be soft but will firm up as they cool.
Store in a recloseable bag or plastic wrap in the refrigerator until ready to use.
Each crisp will come out to about 3 inches and fits nicely on top of soup in your bowl.

Nutrition

Calories: 98kcal | Carbohydrates: 1g | Protein: 9g | Fat: 6g | Saturated Fat: 4g | Cholesterol: 17mg | Sodium: 401mg | Potassium: 23mg | Sugar: 1g | Vitamin A: 195IU | Calcium: 296mg | Iron: 1mg

No-Bean Chili

I love good chili, but I am picky about it. I don’t like kidney beans (I generally use black beans) and many chilis I’ve tried only taste like chili powder or are so hot that you can’t taste a depth of flavor.

A friend of mine likes all beans but they no longer like him so he asked for an easy no bean chili recipe with added vegetables for some substance. So here you are!

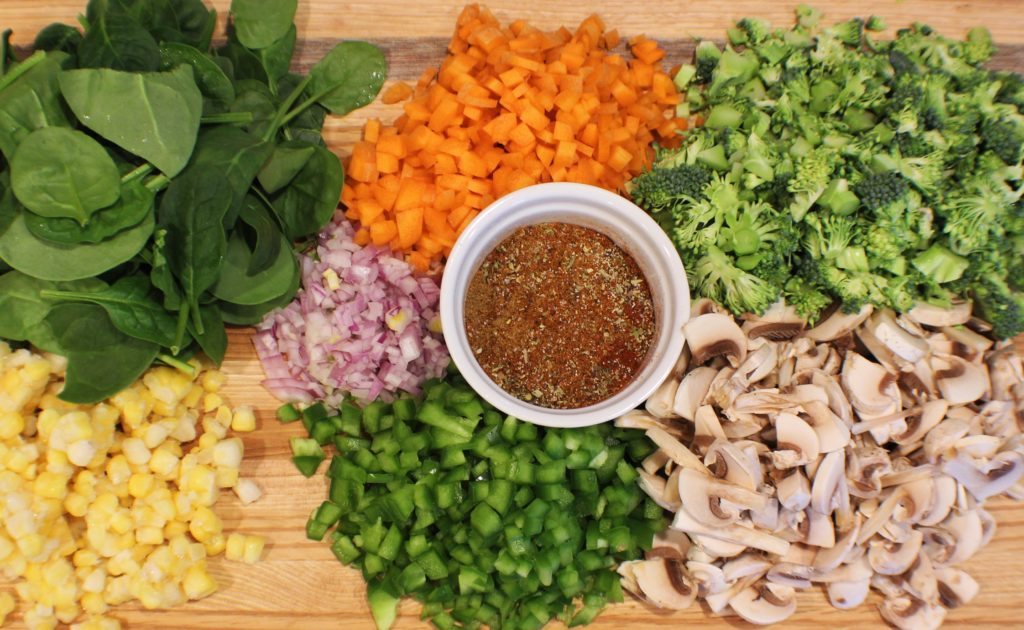
This is a quick recipe, so gather and prep all your ingredients before you start cooking.

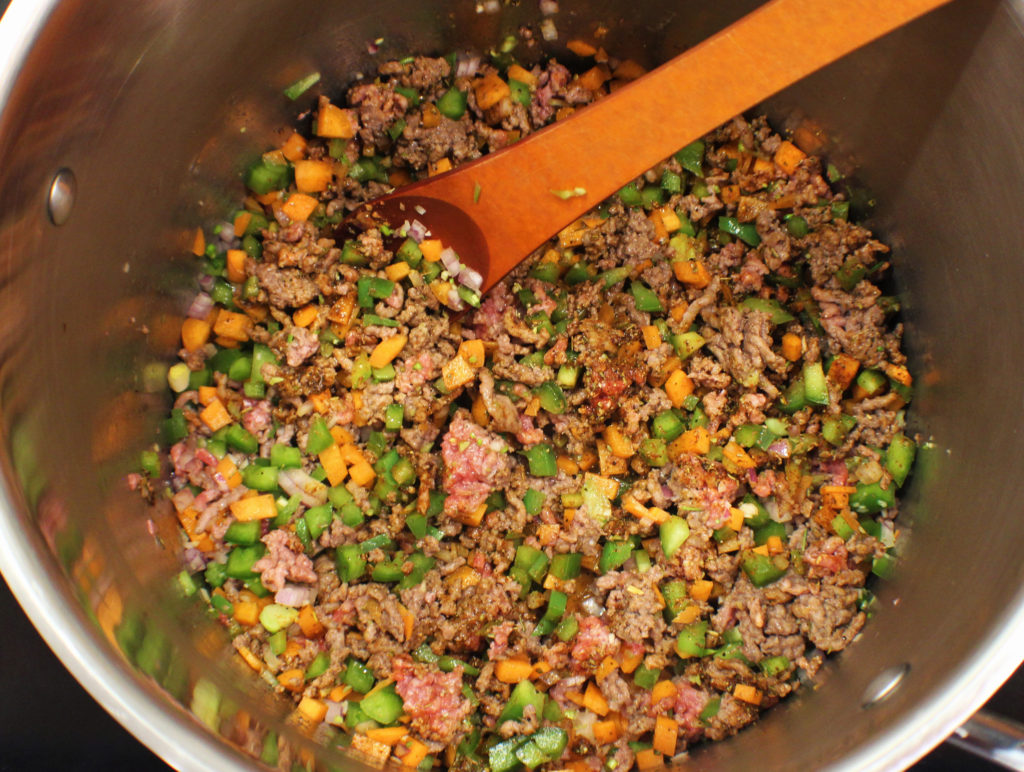
In a large pot, start browning your meat. When it is about half way cooked through, add the onions, bell peppers, carrots, and dry seasonings. Mix those in and cook for about 5 minutes stirring a couple of times.

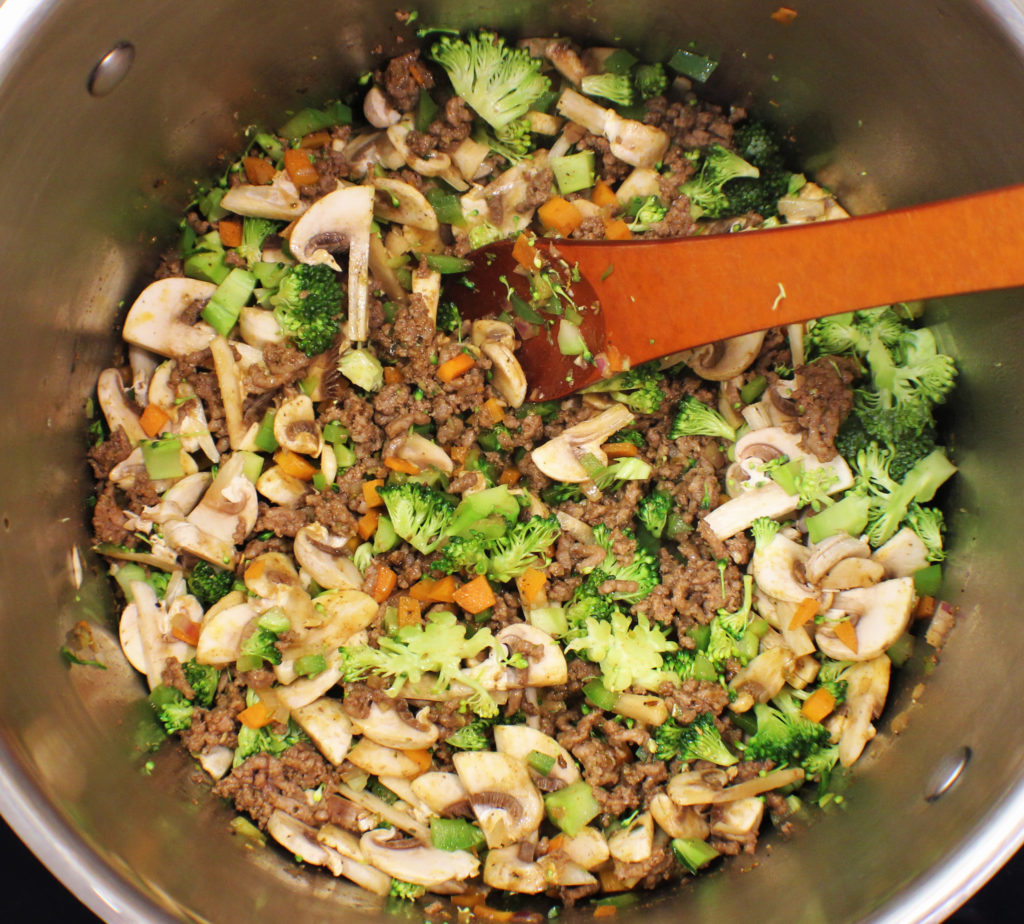
Next you’ll add the broccoli, mushrooms, and garlic. Stir that around and cook for another 5 minutes.

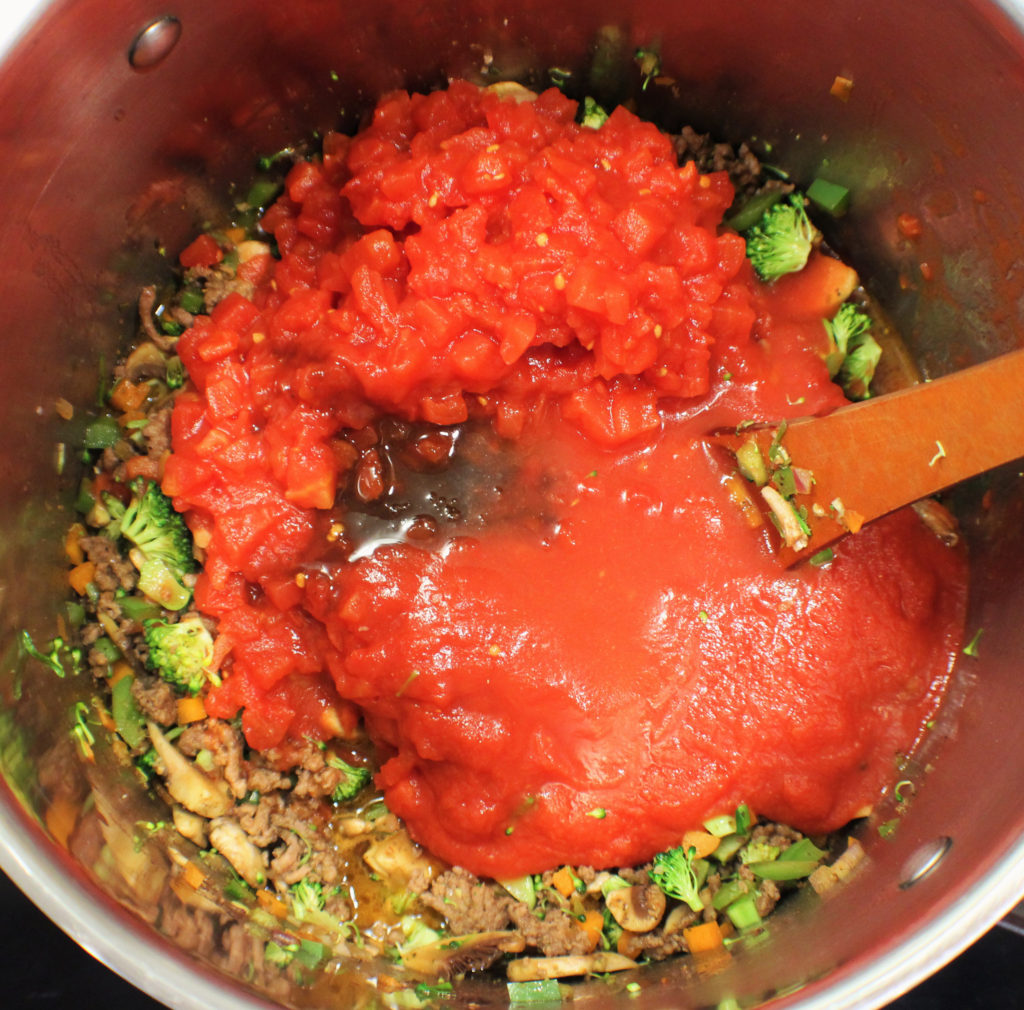
Add the tomatoes and Worcestershire sauce, bring to a simmer and cook for about 10 minutes.

Finally stir in the spinach and corn and simmer for a couple more minutes until the spinach is wilted.

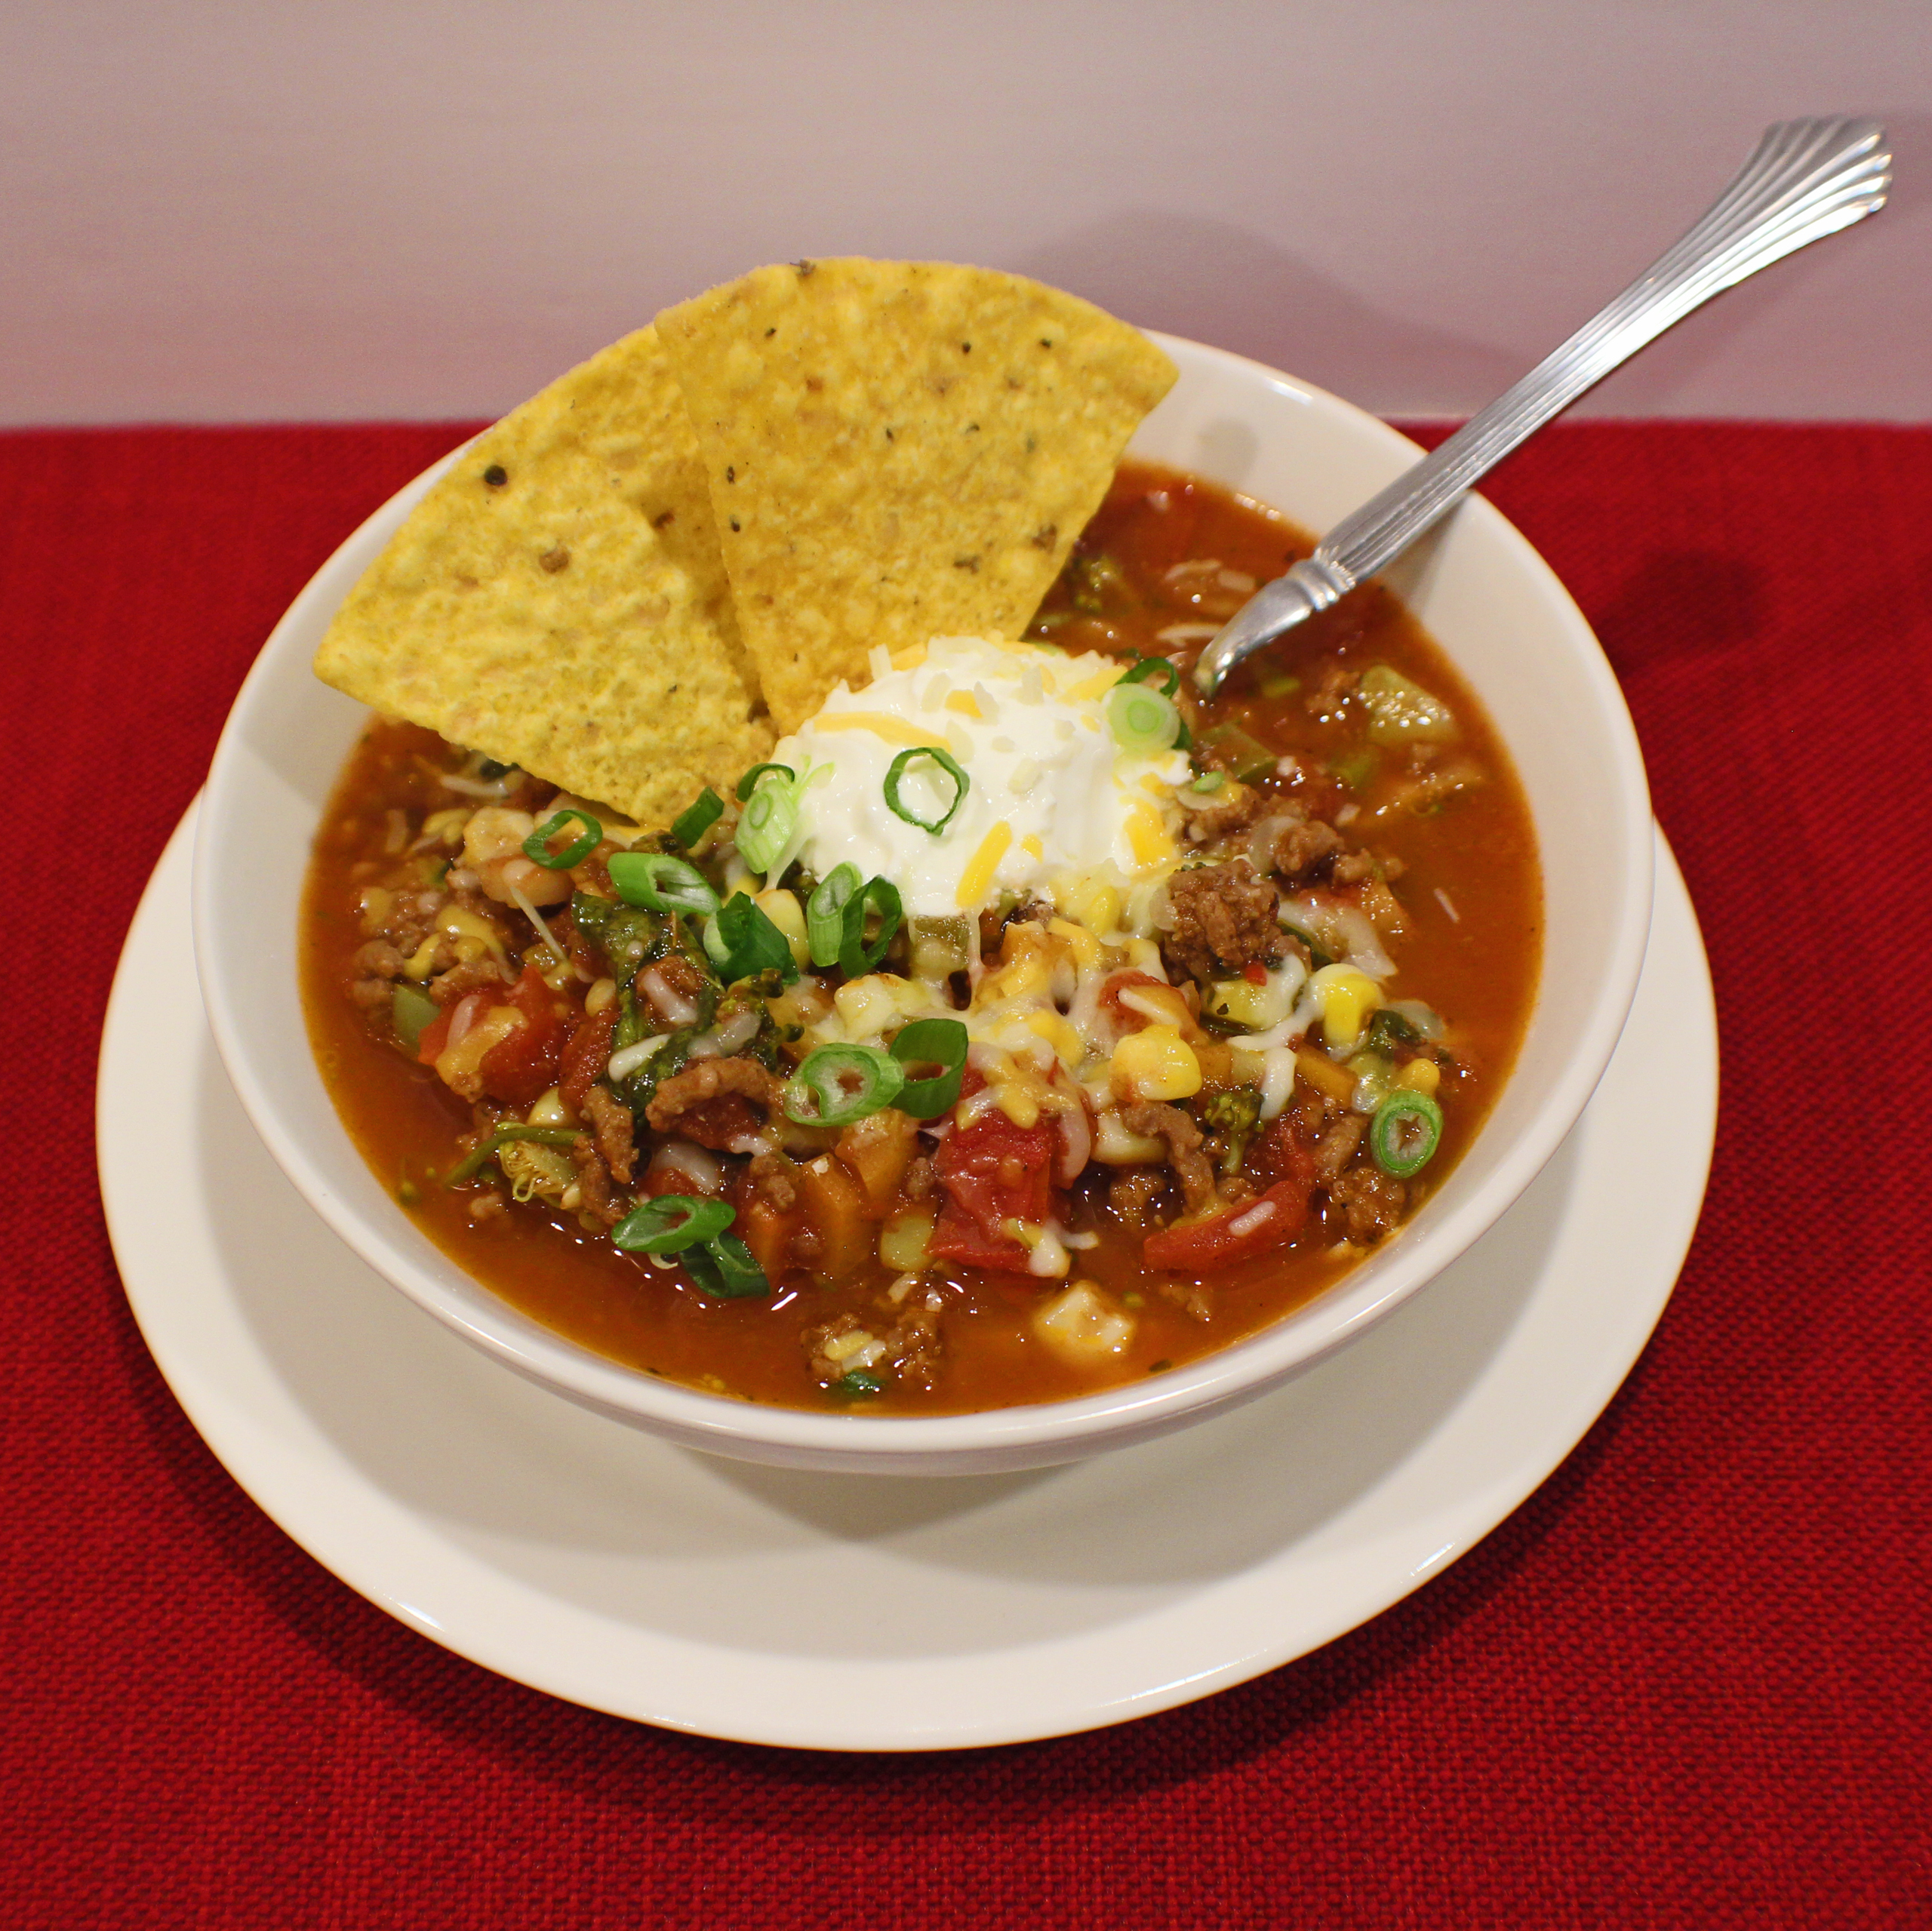
And now it’s time to Enjoy! Eat is as is or top it with your favorite chili toppings like sour cream, cheese and green onions. For an added depth of flavor, sprinkle on some crispy bacon bits, because as you know, everything is better with bacon!

And what better to serve with chili than cornbread.

Print Recipe
5 from 1 vote

No-Bean Chili

This is a quick chili without the added bean gases and full of nutritious veggies!
Prep Time15 minutes
Cook Time30 minutes
Course: Dinner, Lunch, Main Course
Cuisine: American
Keyword: Dairyfree, Glutenfree, Nobean
Servings: 12 cups
Calories: 141kcal
Author: Eating With Deb

Equipment

  • 4 - 5 quart stock pot

Ingredients

  • 1 lb lean or extra lean ground beef or meat alternative (Gimme Lean works great!)
  • ¼ cup onions diced, yellow or red
  • 1 each bell pepper diced, your choice of color
  • 1 cup carrots diced
  • 2 cups mushrooms sliced
  • 2 cups broccoli chopped
  • 3 handfuls spinach fresh
  • 1 cup frozen corn
  • 1 tbsp garlic fresh, minced
  • 2 cans diced tomatoes in sauce 15 ounce
  • 2 cans tomato sauce 15 ounce
  • 1 tbsp Worcestershire
  • 2 tsp cumin
  • 2 tsp chili powder
  • 2 tsp oregano
  • ½ tsp paprika
  • ¼ - ½ tsp chipotle powder depending on how much heat you want
  • ½ tsp sea salt
  • ½ tsp black pepper

Instructions

  • In a large pot, start browning the ground beef. When almost cooked through, add the onions, bell peppers, carrots and dry seasonings. Continue cooking until onions are translucent – 3 or 4 minutes should do.
  • Then add the broccoli, mushrooms, and garlic. Sauté for about 5 minutes.
  • Add the canned tomatoes, tomato sauce, and Worcestershire sauce. Bring to a simmer and simmer for 10 minutes.
  • Stir in the spinach and corn. Keep stirring until the spinach is wilted. Taste. Add more salt or pepper or other seasonings to your taste.
  • It’s important not to overcook or the broccoli will turn brownish and be too mushy.
  • Top with your favorite chili toppings e.g. sour cream, shredded cheese, green onions, tortilla chips or my favorite, bacon (trust me on this!).
  • Enjoy!

Notes

If you use anything other than lean or extra lean ground beef you will need to drain some of the grease that the meat produces as it cooks.
If you use Gimme Lean meat substitute, you will need to add a couple tablespoons of oil.
This freezes well. I save sour cream containers to fill with chili or soup to put in the freezer.

Nutrition

Calories: 141kcal | Carbohydrates: 16g | Protein: 12g | Fat: 5g | Saturated Fat: 2g | Cholesterol: 25mg | Sodium: 854mg | Potassium: 873mg | Fiber: 4g | Sugar: 8g | Vitamin A: 3313IU | Vitamin C: 33mg | Calcium: 71mg | Iron: 4mg