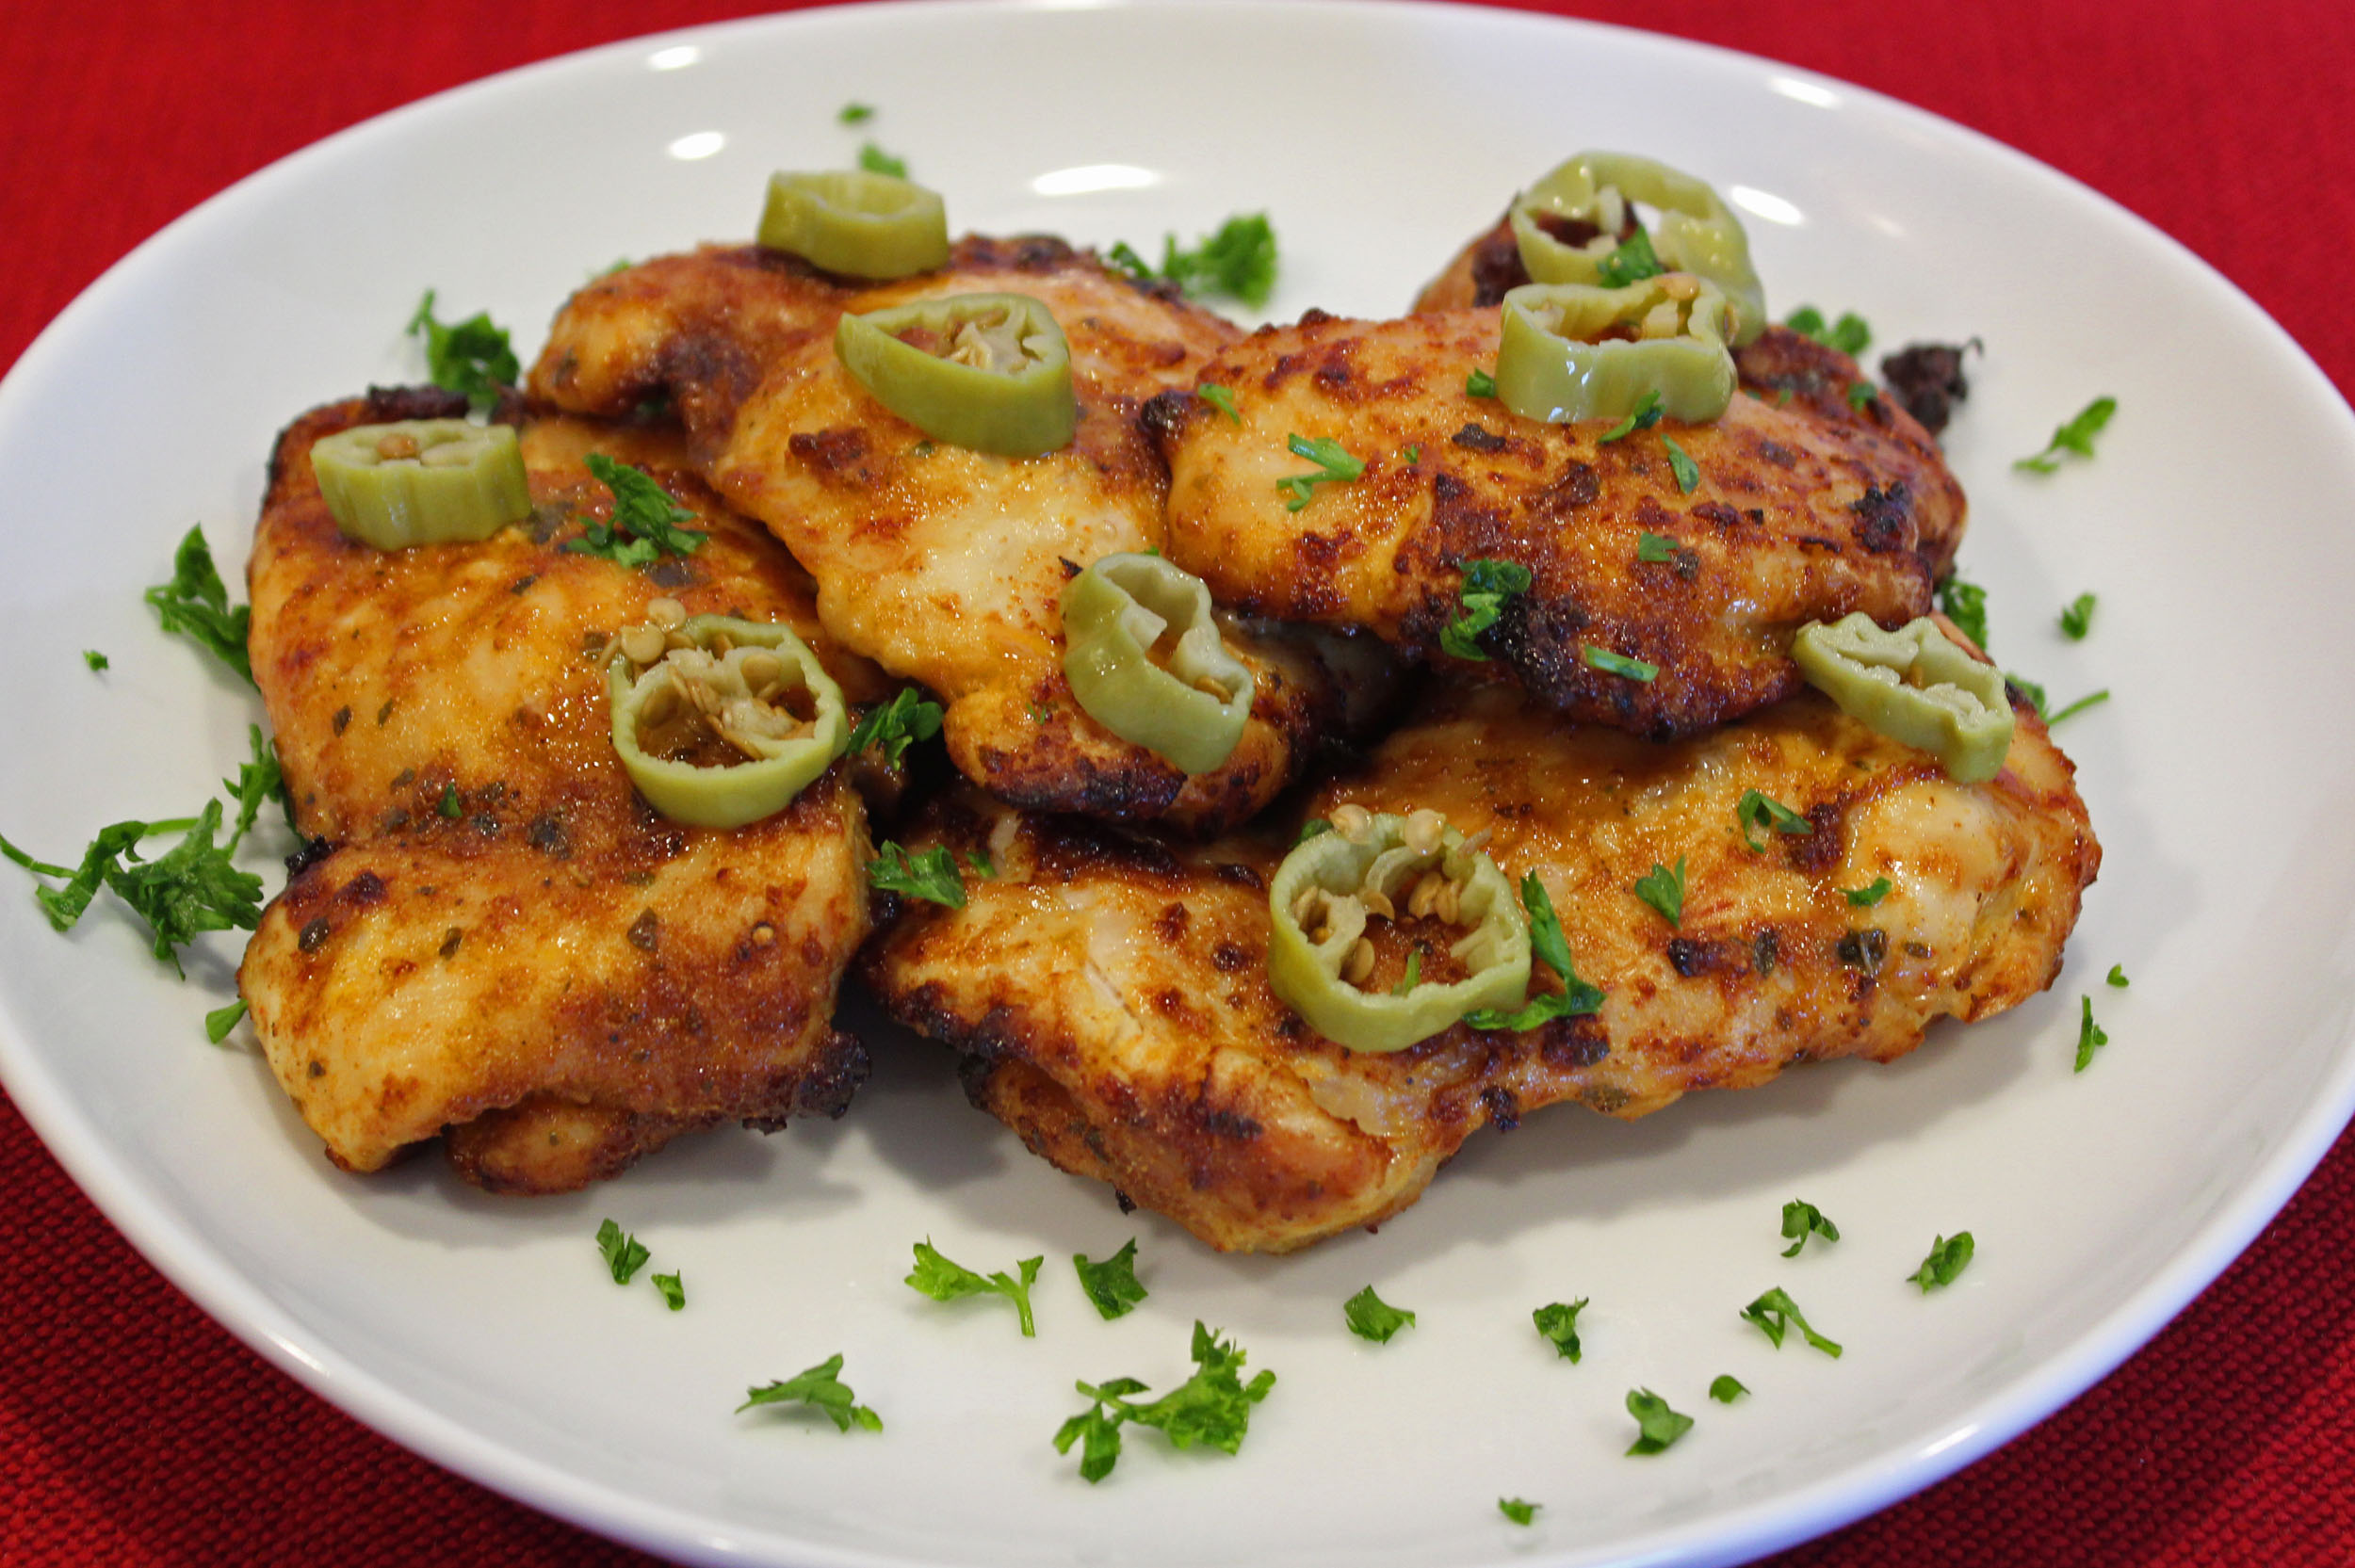
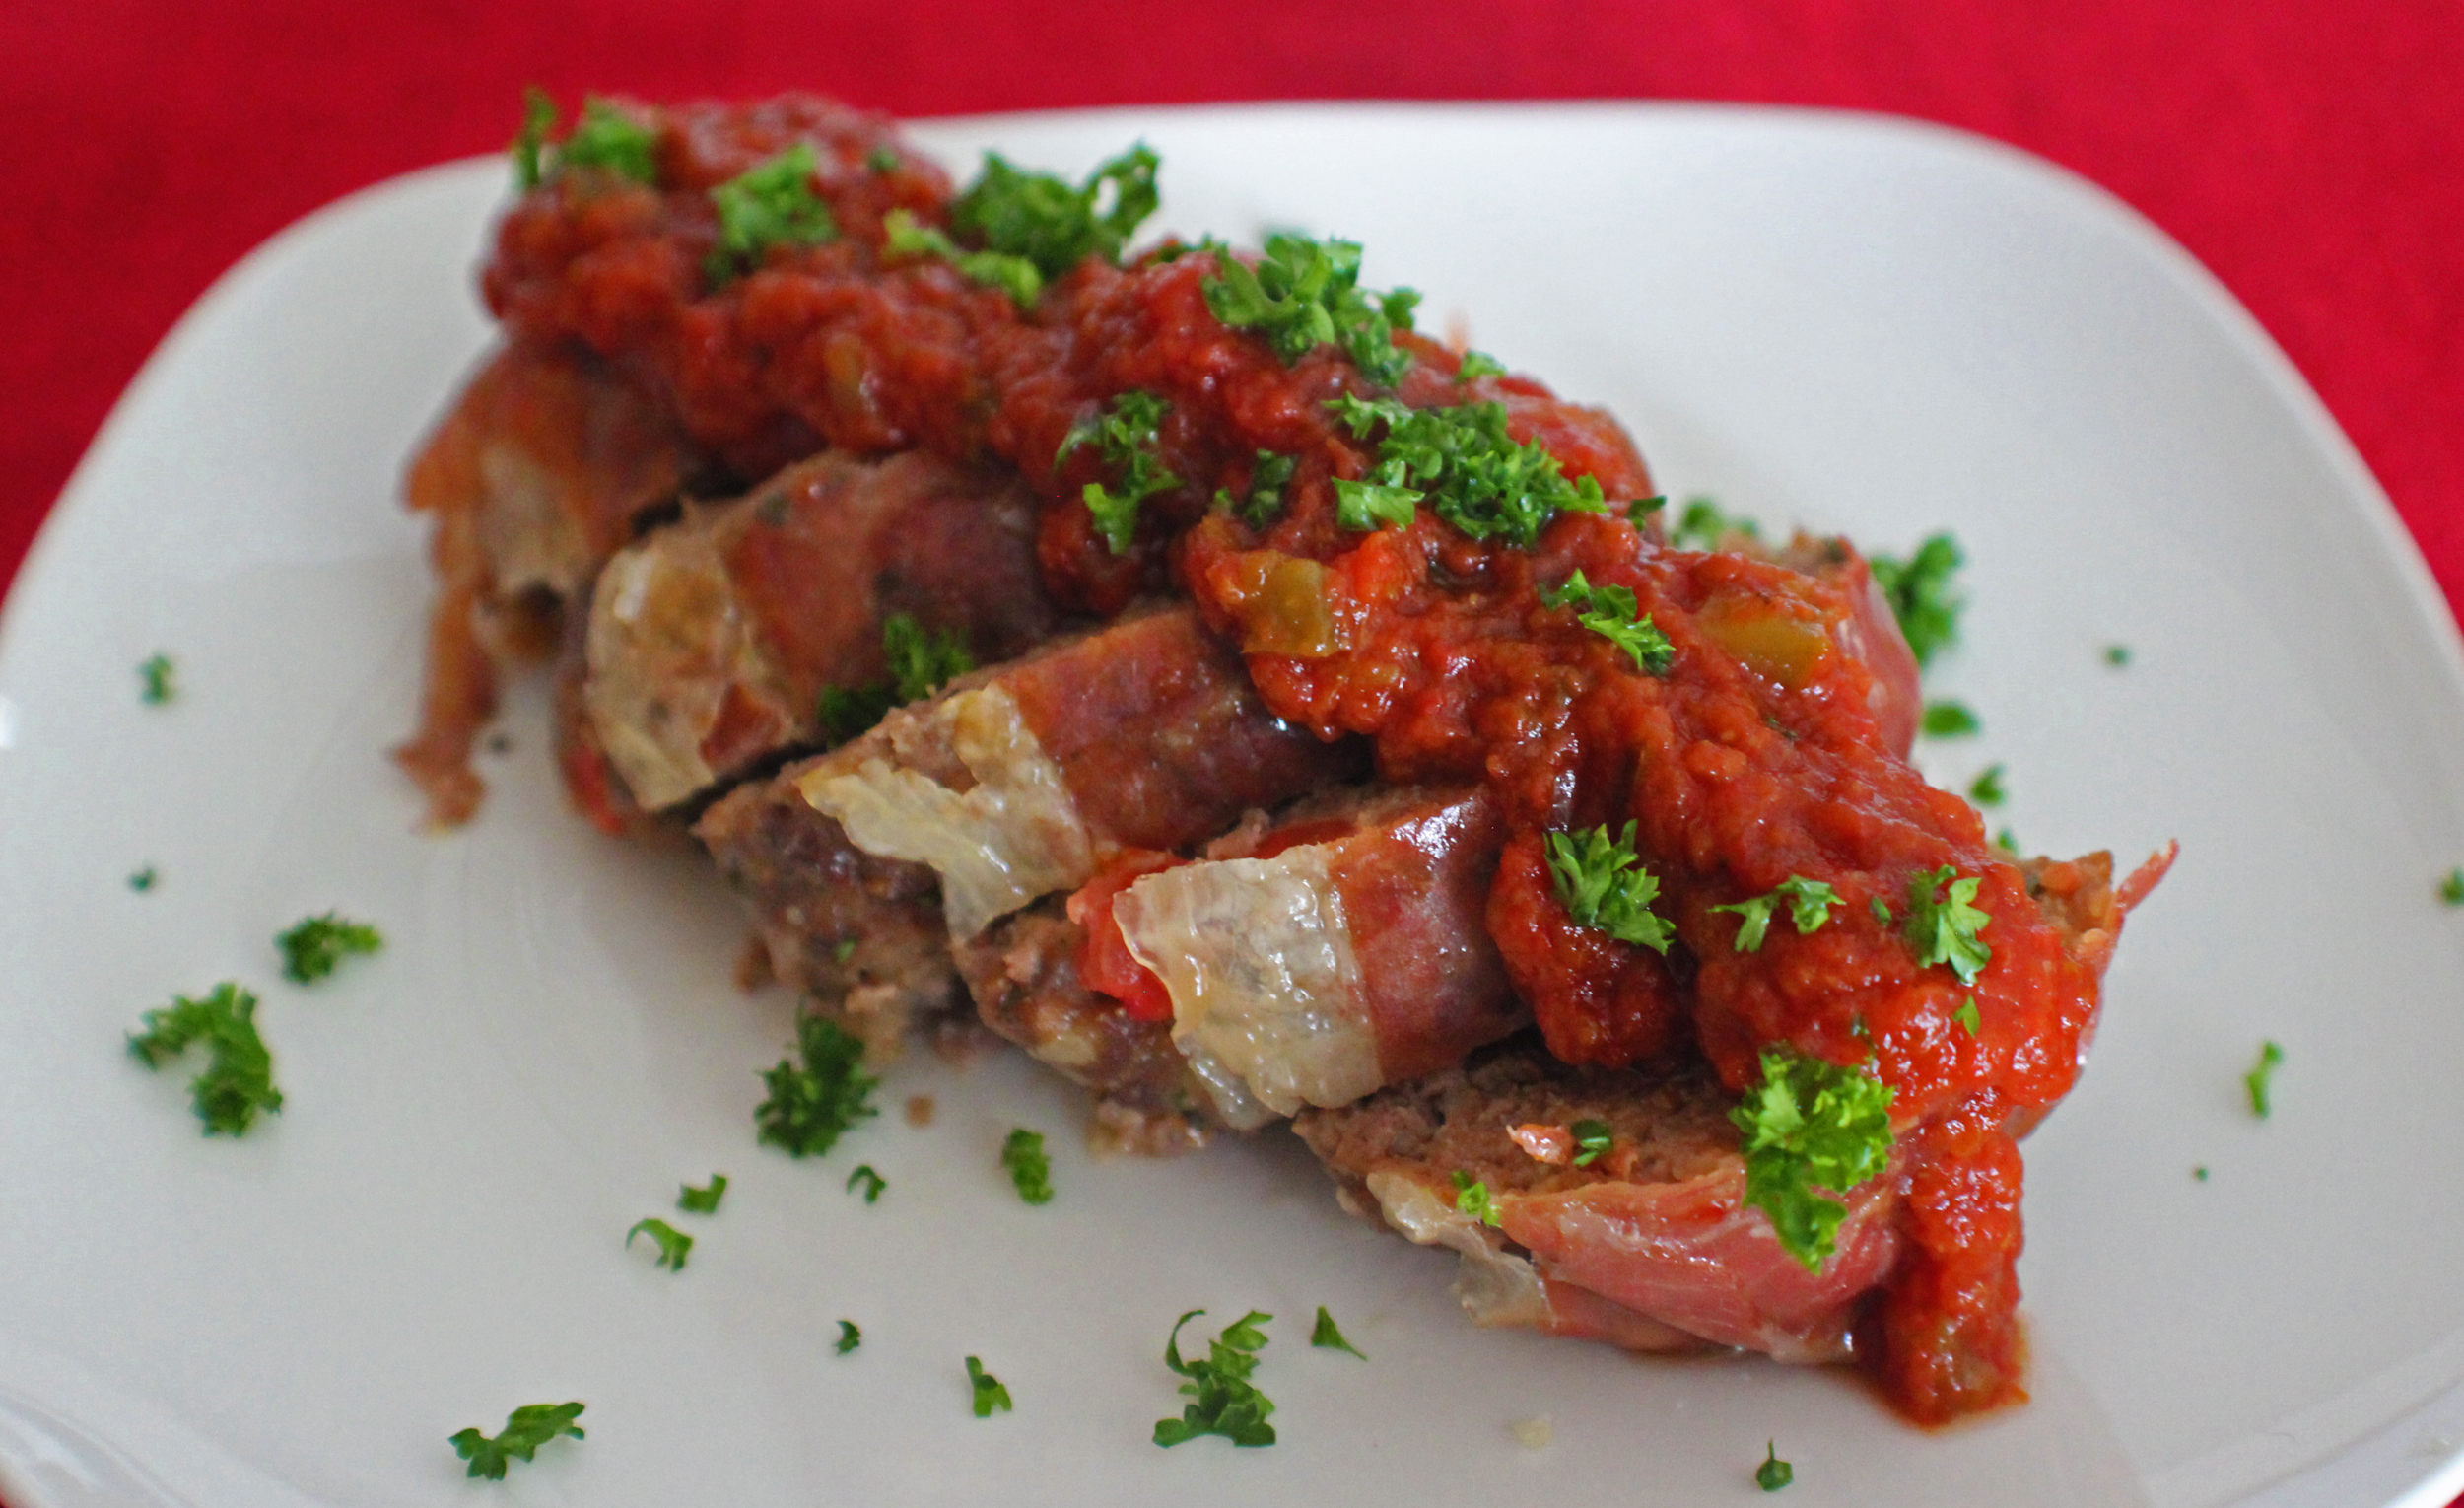


Italian Meatloaf Wrapped with Prosciutto
Italian seasoned mini meatloafs wrapped in slices of prosciutto and baked for a crispy outside and tender, juicy inside. Top of with some marinara sauce for a quick and delicious dinner.
Servings: 4 people
Calories: 312kcal
Equipment
- Lined sheet tray
- Large bowl
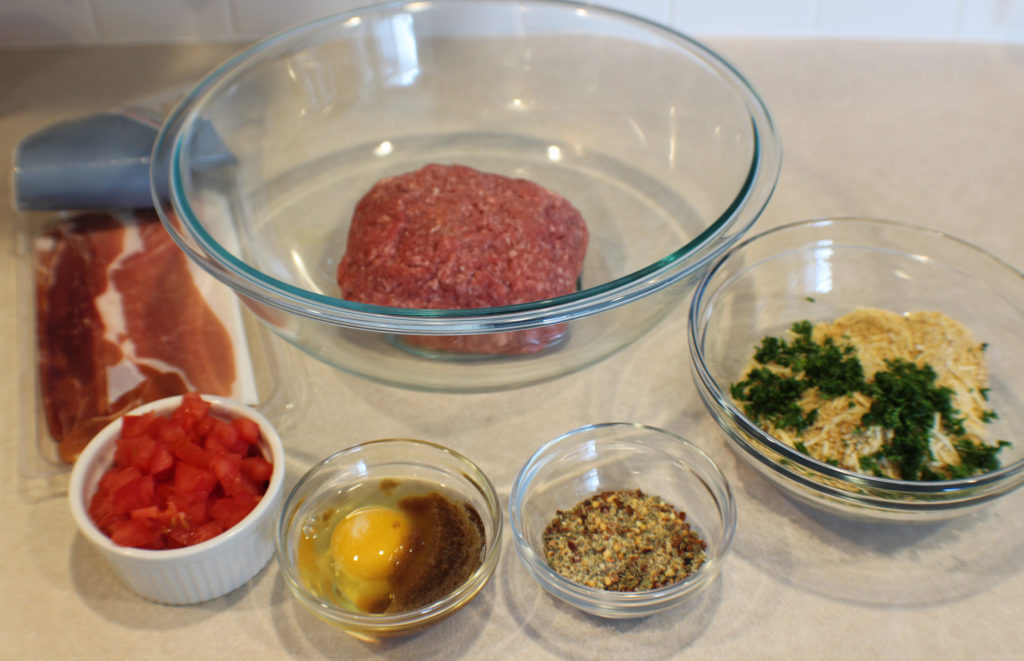
Ingredients
- 1 pound lean ground beef
- 1 each roma tomato fine diced
- ½ cup Italian seasoned bread crumbs
- 1 each egg
- 1 tbsp Worcestershire
- ½ cup parmesan cheese shredded (1/4 cup nutritional yeast flakes for dairy-free)
- 1 tbsp parsley fresh, chopped
- ½ tbsp Italian seasoning
- 1 tbsp granulated garlic
- ½ tsp dry mustard
- ½ tbsp red pepper flakes optional
- 4 slices prosciutto
Instructions
- Preheat oven to 350 degrees.
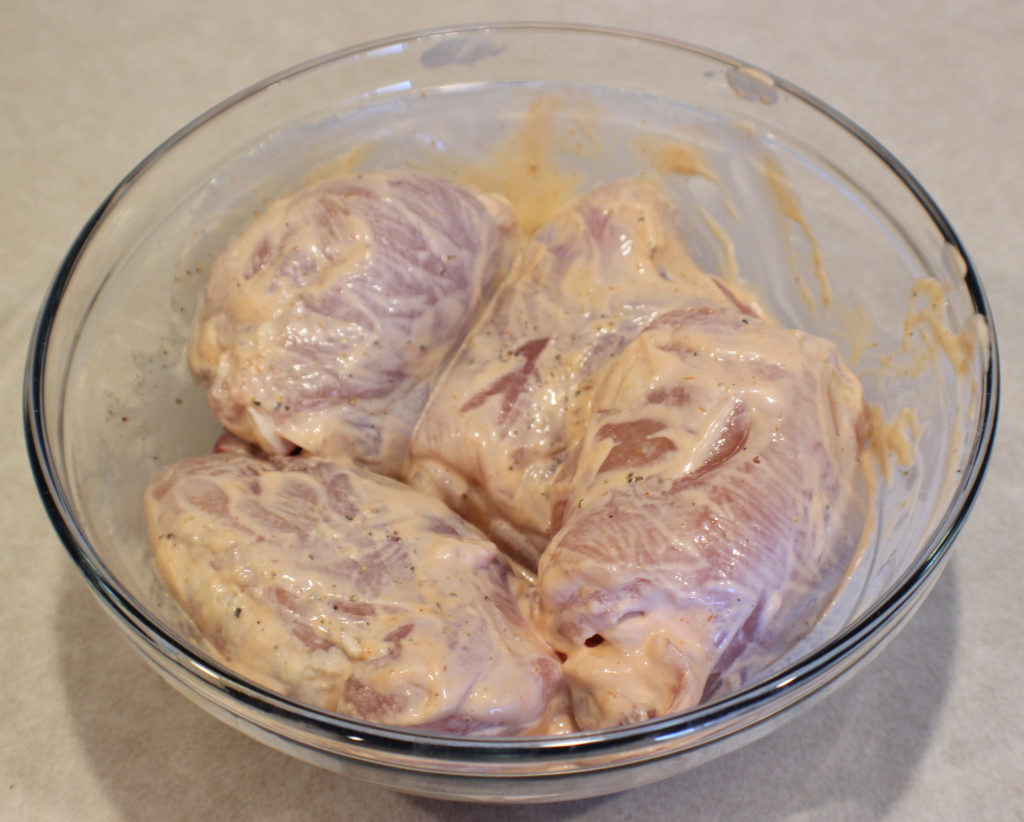
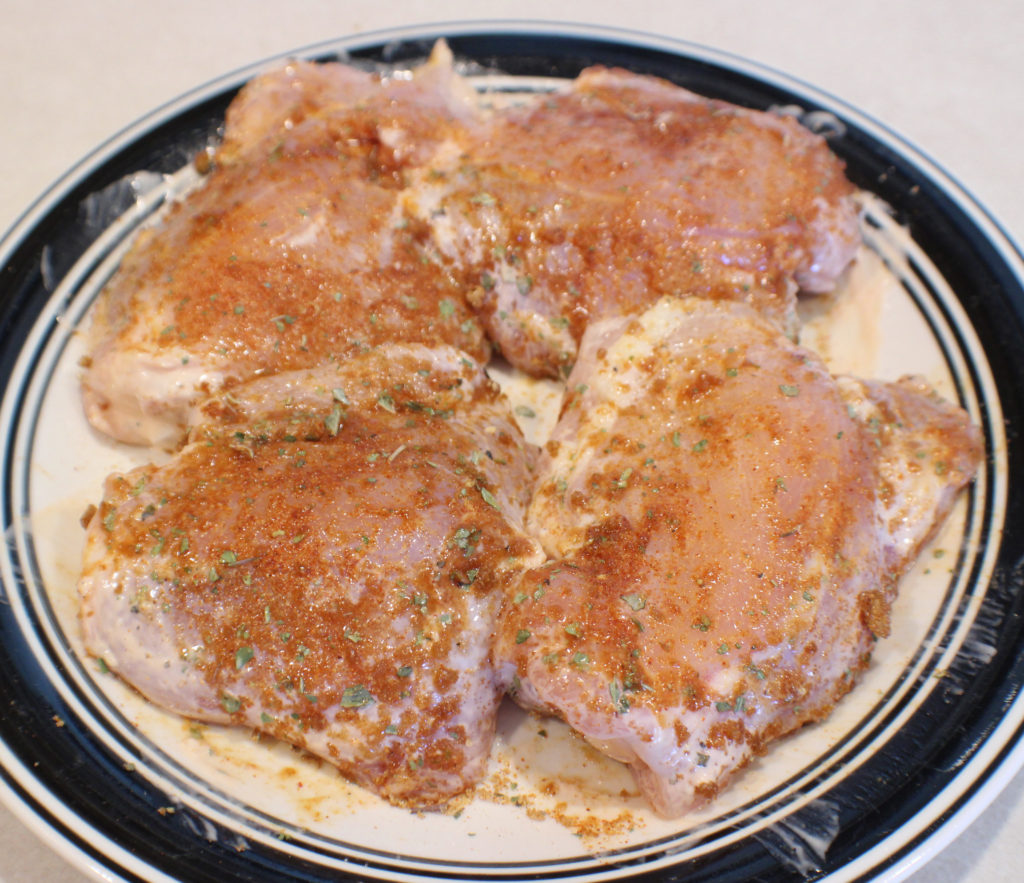
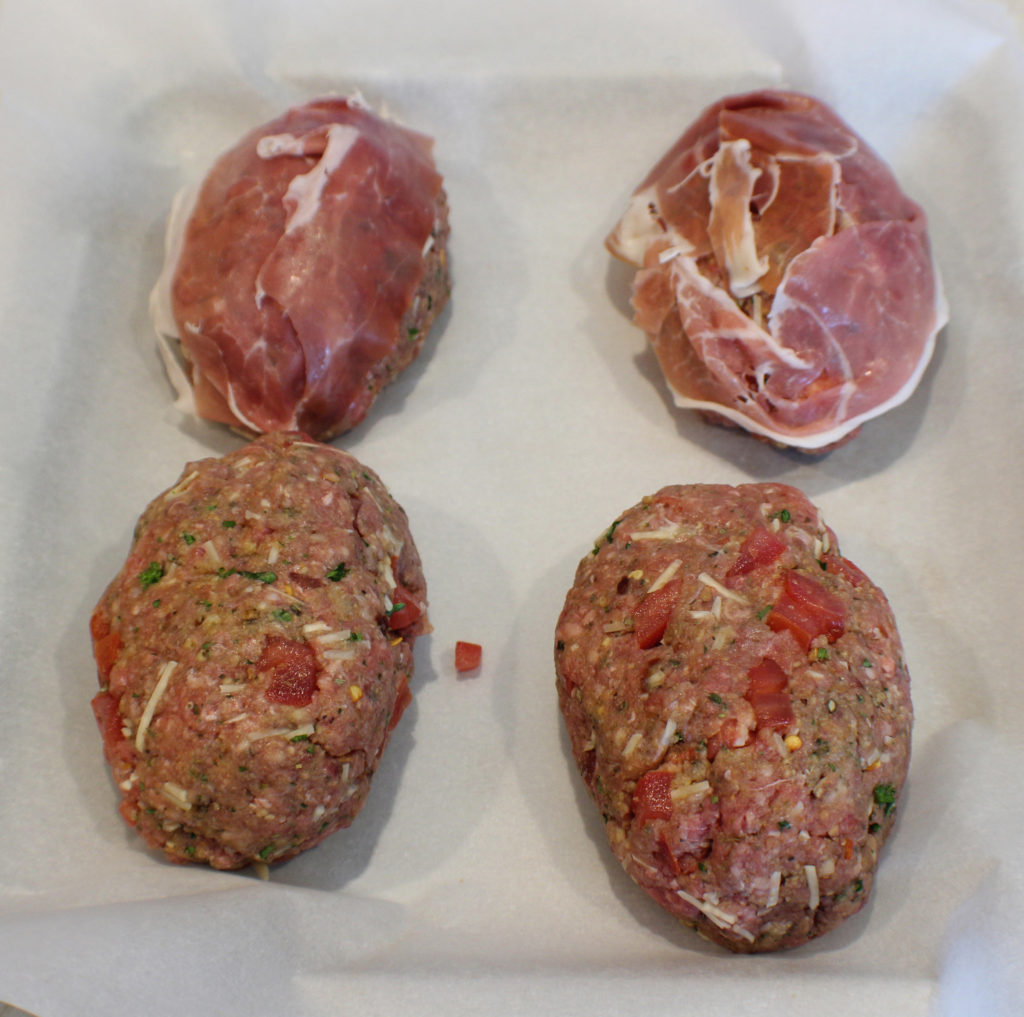
- Combine all ingredients except prosciutto.
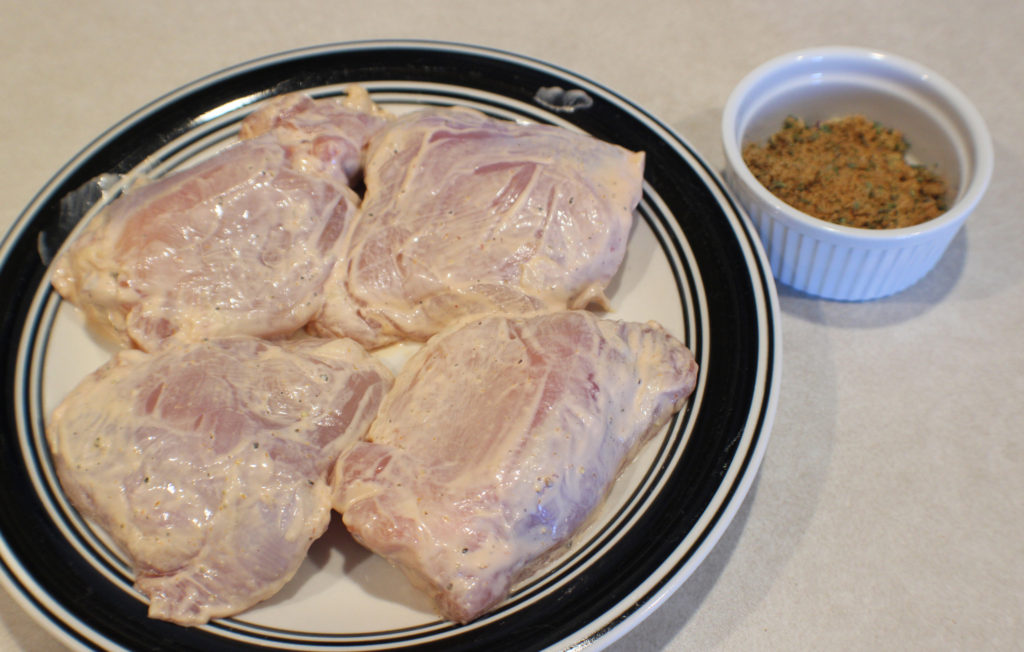
- Portion into 4 mini meat loafs. Wrap 1 slice of prosciutto over the top and around the edges of each mini loaf.
- Put loafs on a parchment lined pan. Bake for 45 minutes (until the internal temperature reaches 155 degrees).
- Top with marinara sauce and parmesan cheese.
- Enjoy!
Nutrition
Calories: 312kcal | Carbohydrates: 14g | Protein: 33g | Fat: 13g | Saturated Fat: 6g | Trans Fat: 1g | Cholesterol: 85mg | Sodium: 589mg | Potassium: 548mg | Fiber: 2g | Sugar: 2g | Vitamin A: 528IU | Vitamin C: 2mg | Calcium: 208mg | Iron: 4mg